DIY Hexagon Painted Wall
I have a little boy that LOVES green and dinosaurs! Well, green (at least the green he likes) is definitely not my color! There was no way I was painting his entire room green!!! So I got my creative juices flowing and searched pinterest for some fun accent wall ideas. I instantly fell in love with some cool hexagon designs. I searched a little more and finally decided on a plan that incorporated his super cool dinosaur dressers.
Initial Transformation
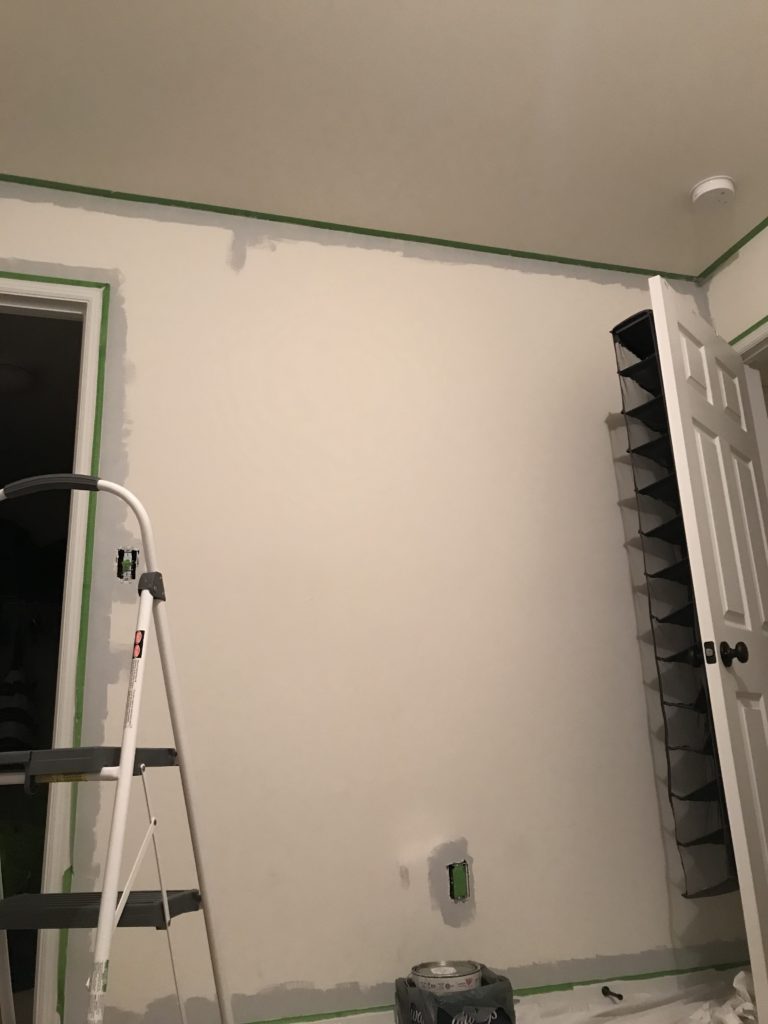
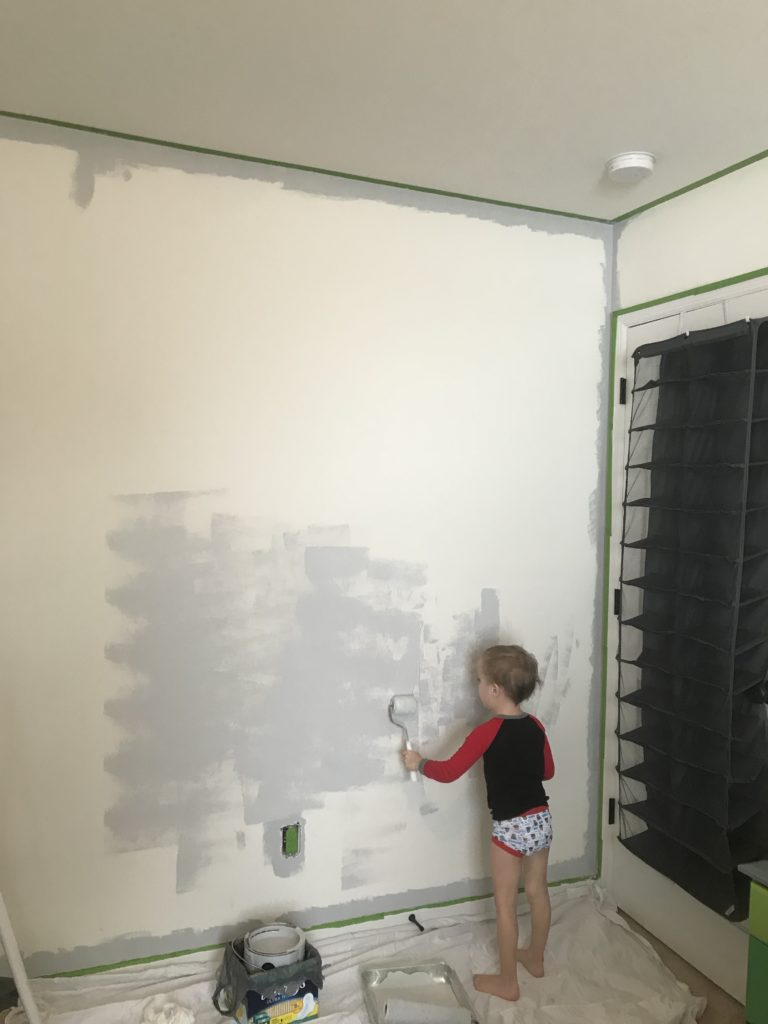
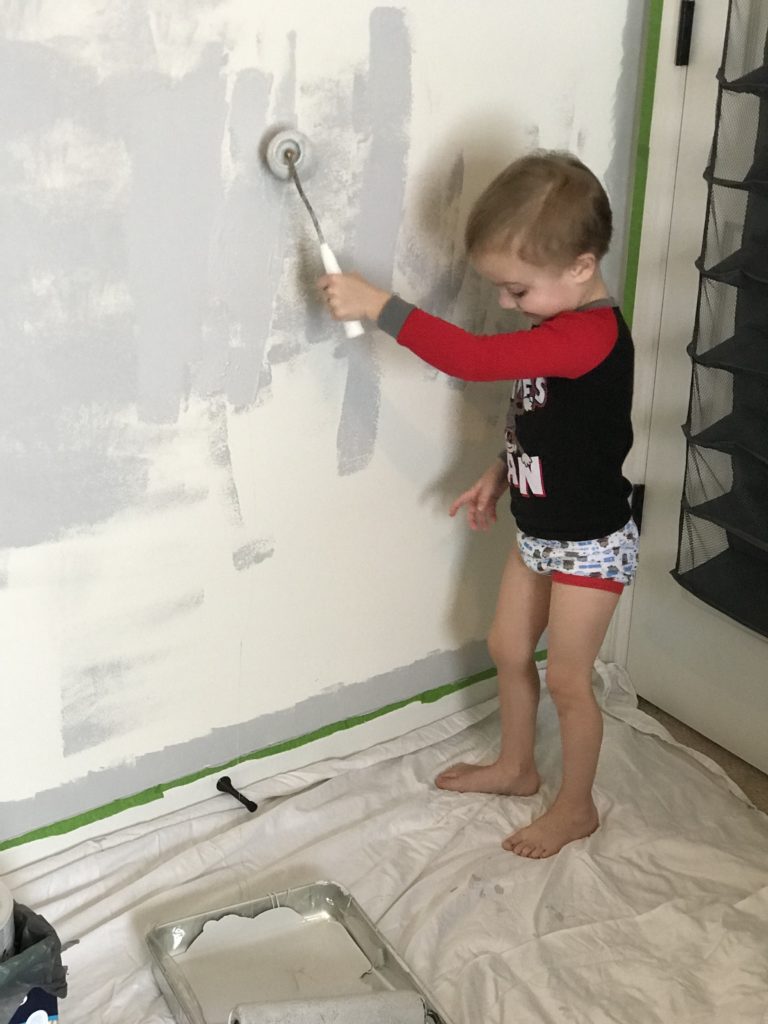
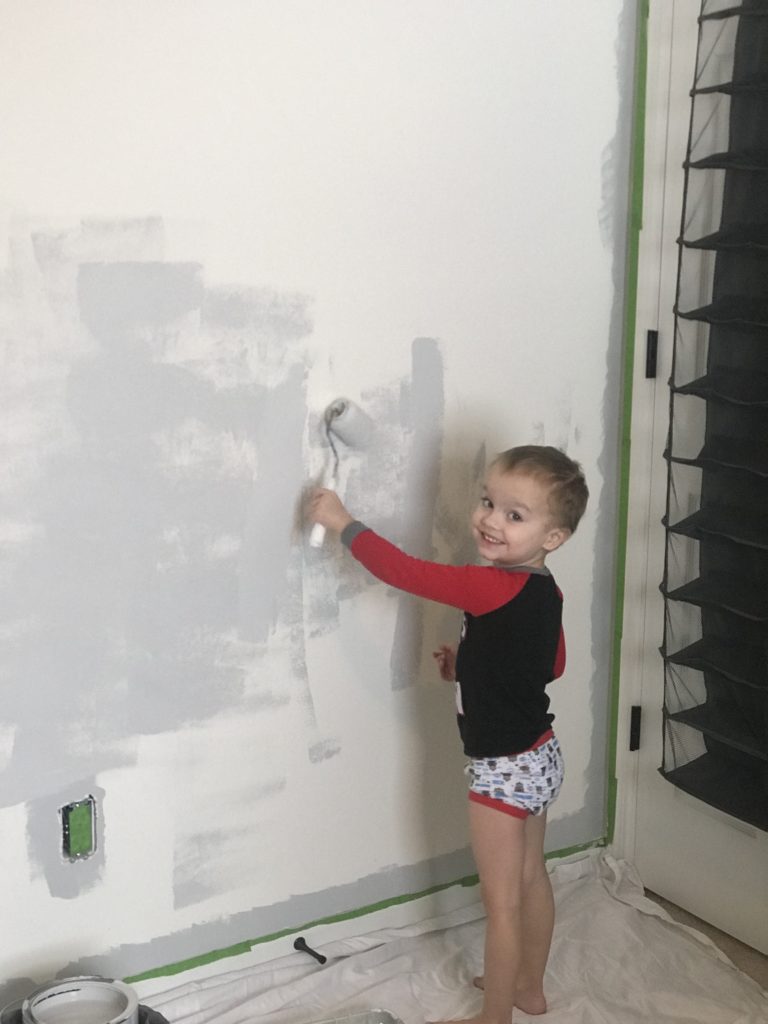
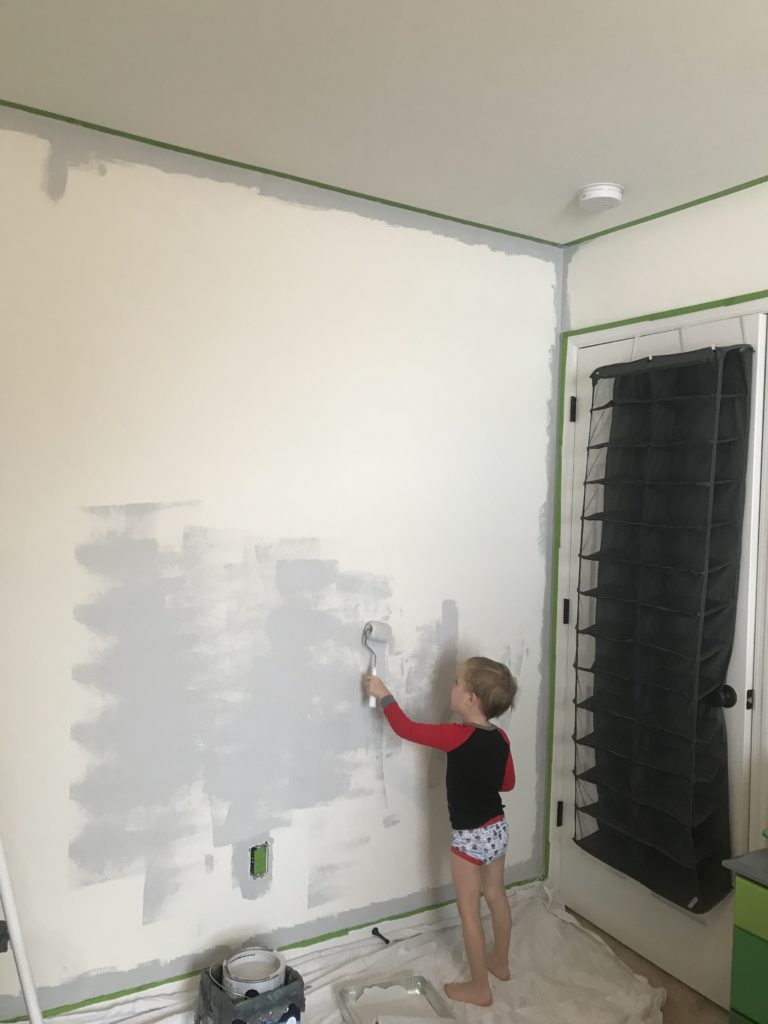
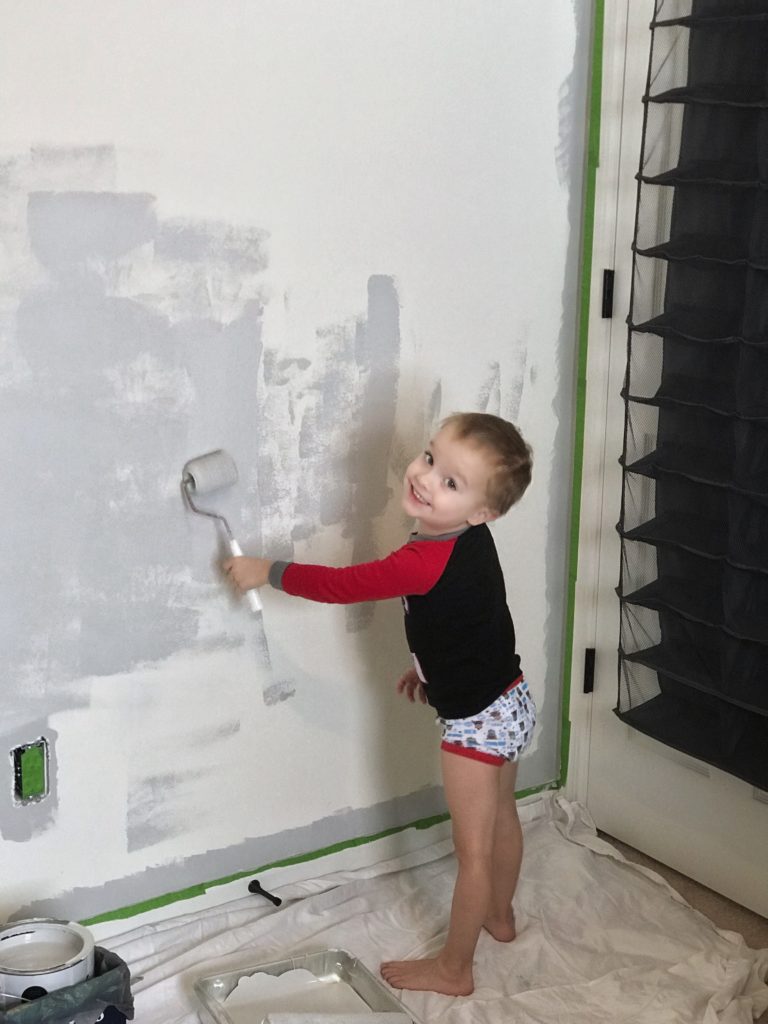
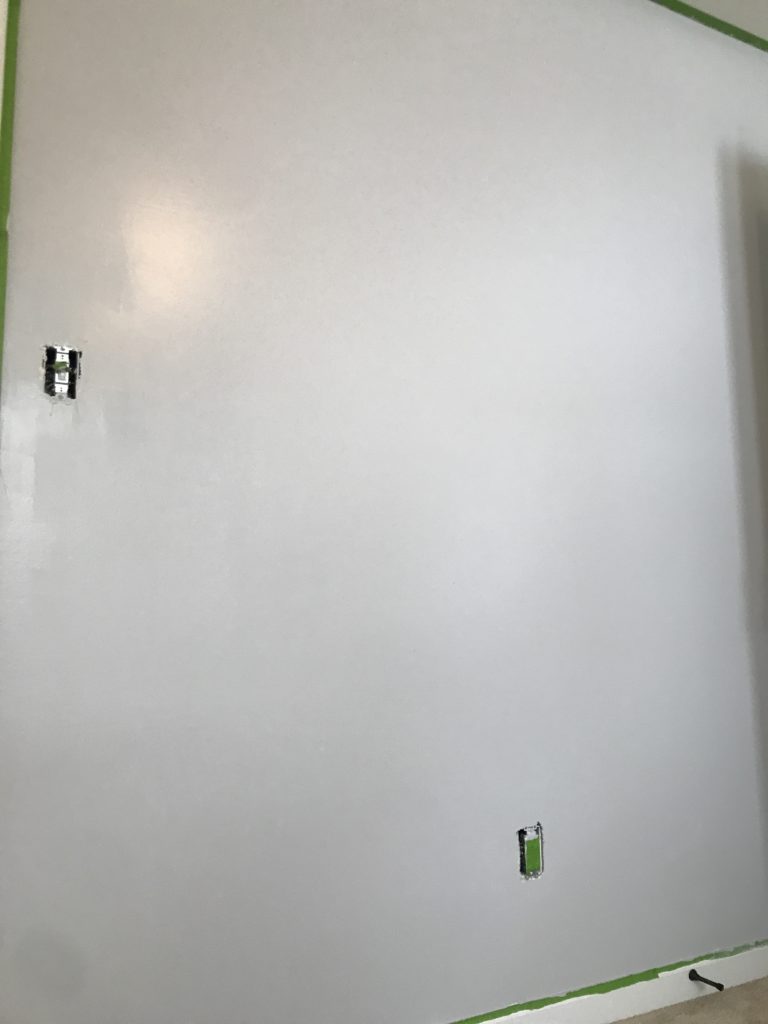
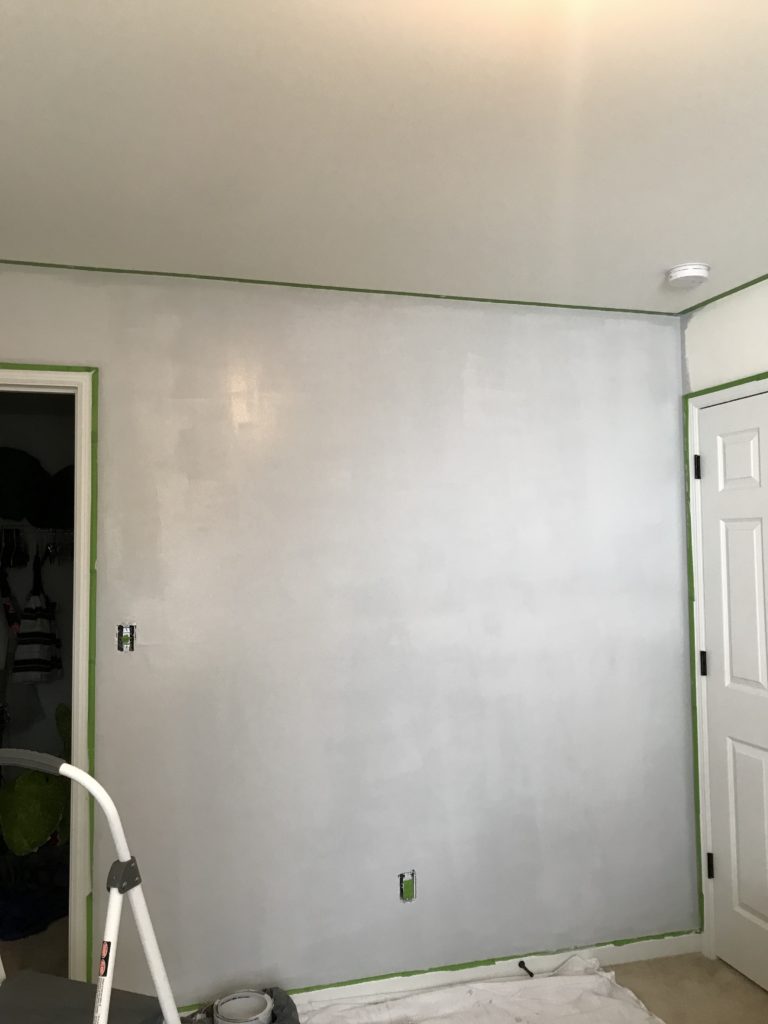
The first step was to turn the builder grade, beige, flat wall paint into a satin grey. I love grey. It’s such a versatile color! I chose a light grey with a slightly yellow undertone to compliment the green that is to come….
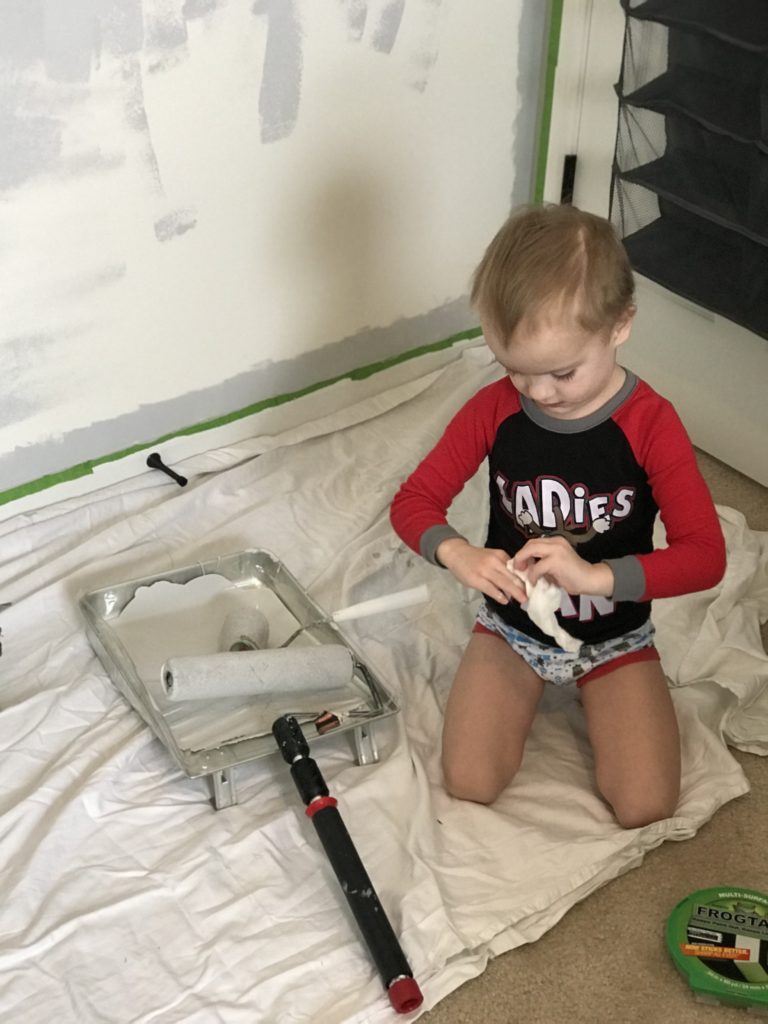
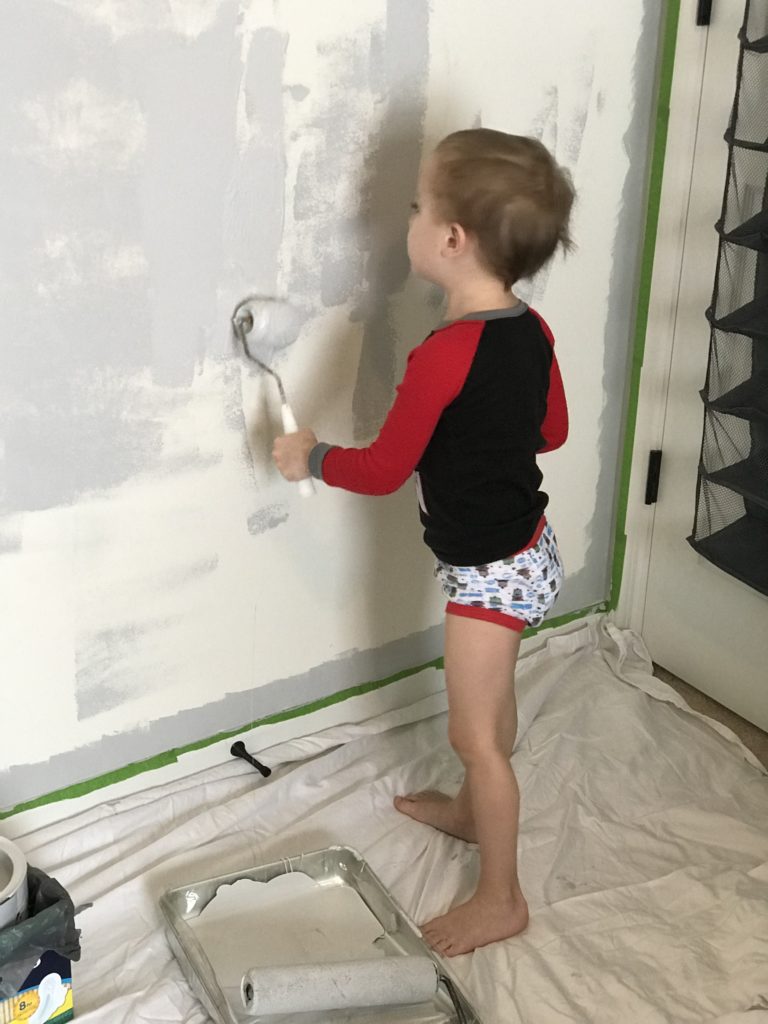
I taped off the ceiling and trim and got to work. I even had a little helper! We got the entire room painted grey and then it was time for fun!
Hexagon Wall Creation
I have to start by making fun of myself a little bit. If you follow me over on instagram, you may have seen this in my stories. So, a hexagon has 6 sides…..I started taping off an octagon!! OMGosh…duh! Octagons don’t fit together like hexagons. It took my daughter coming in to look at it to tell me what I was doing wrong. Ya’ll I could NOT figure it out. The blonde roots run deep….
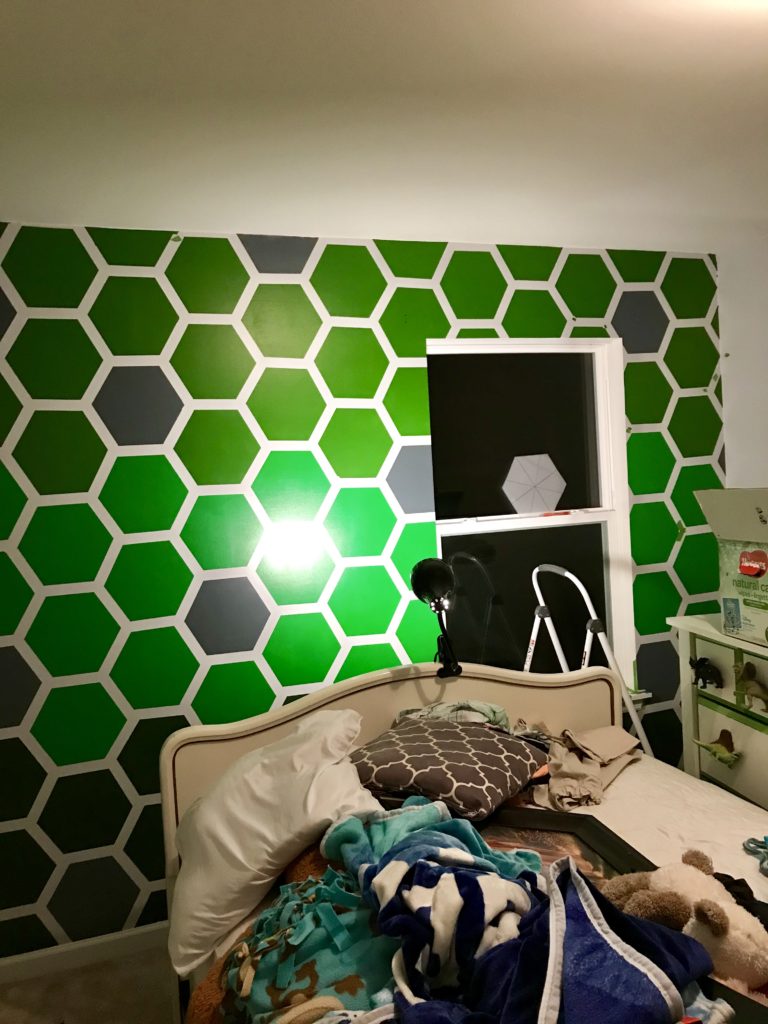
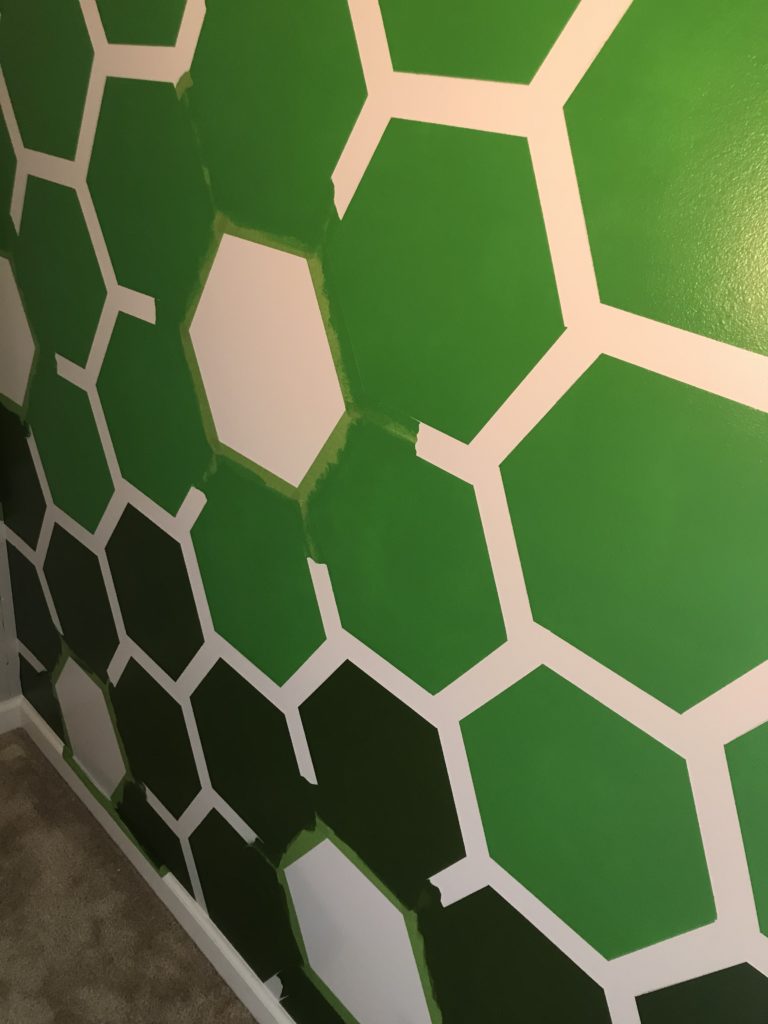
Once I got that figured out, it was time to make some progress. Here’s the final project! Don’t mind the mess…everything had to just go into the middle of the rom. I’ll have a room post up soon!
Step By Step
Step by step….ooohhh baby…..gonna get to ya…. Just reliving a little of my youth…..NKOTB! I just dated myself big time!
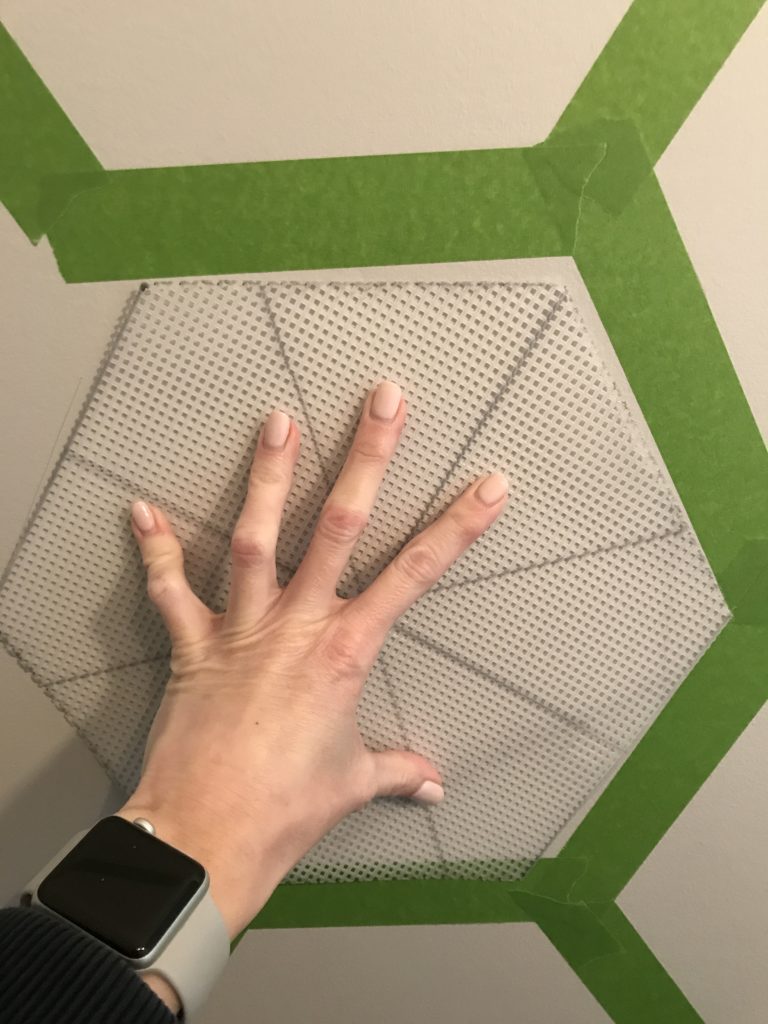
Taping off the Hexagons
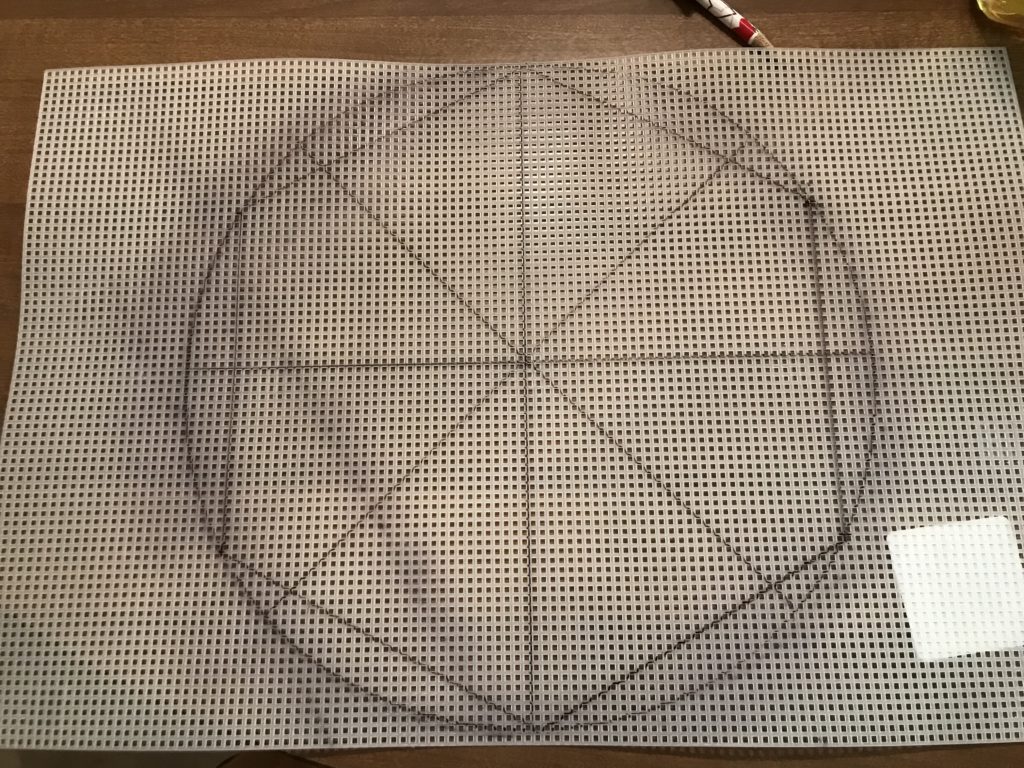
I started by creating a template…the right shape! I found this plastic mesh at JoAnn Fabrics. Once you have it drawn, cut it out!
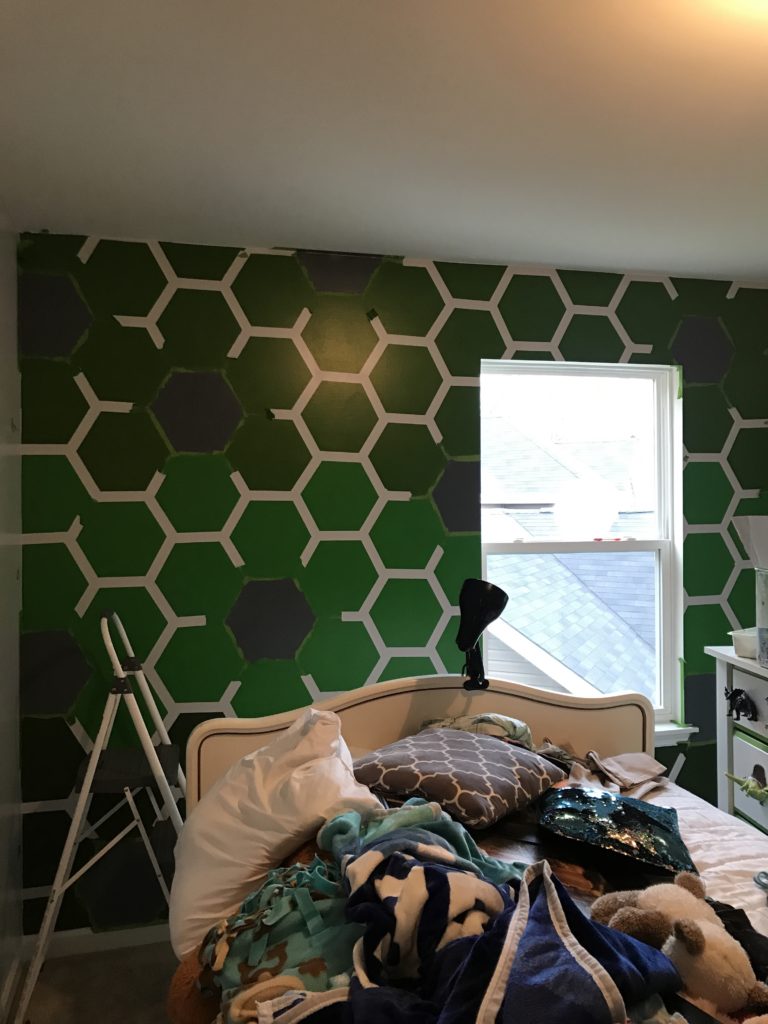
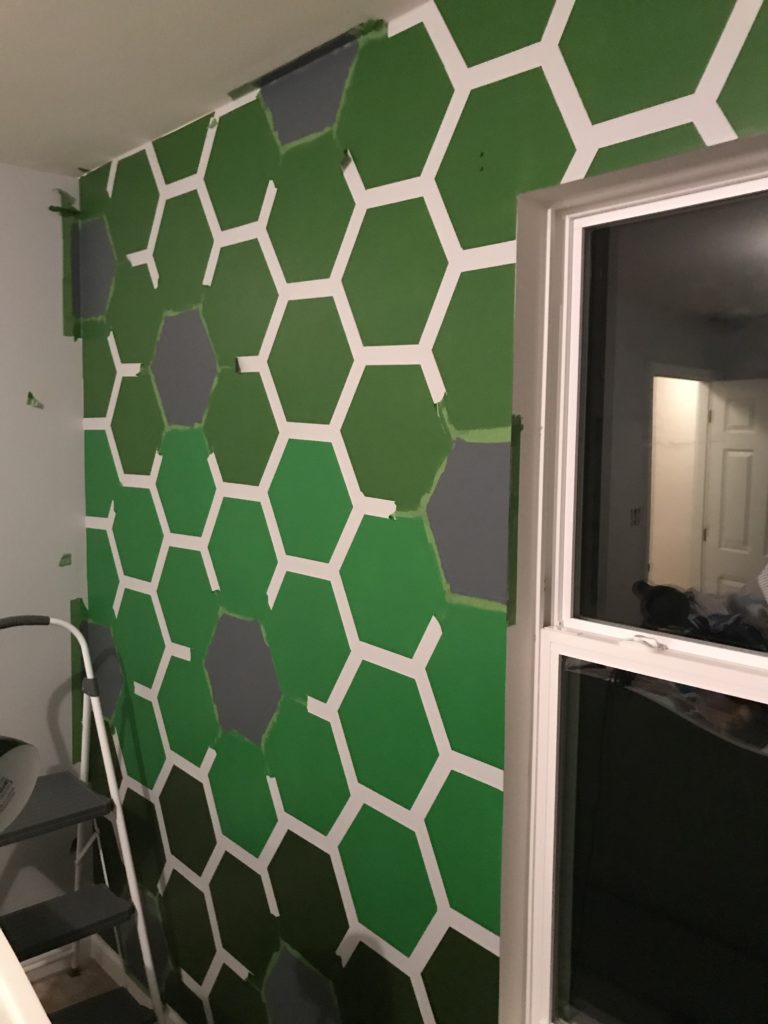
Place the template on the wall and make a few pencil lines around to guide your tape lines. Bad picture, but you can see the pencil line on the left that I used as my guide to connect the tape. You’ll need to do 1 hexagon at a time. This is the most time consuming part of this wall.
Your wall will look like this when you are done. I do recommend starting at the top. I started at the bottom and found that the wall (and probably my lines) were a little off at the top. The bottom is easier to hide being slightly “off”.
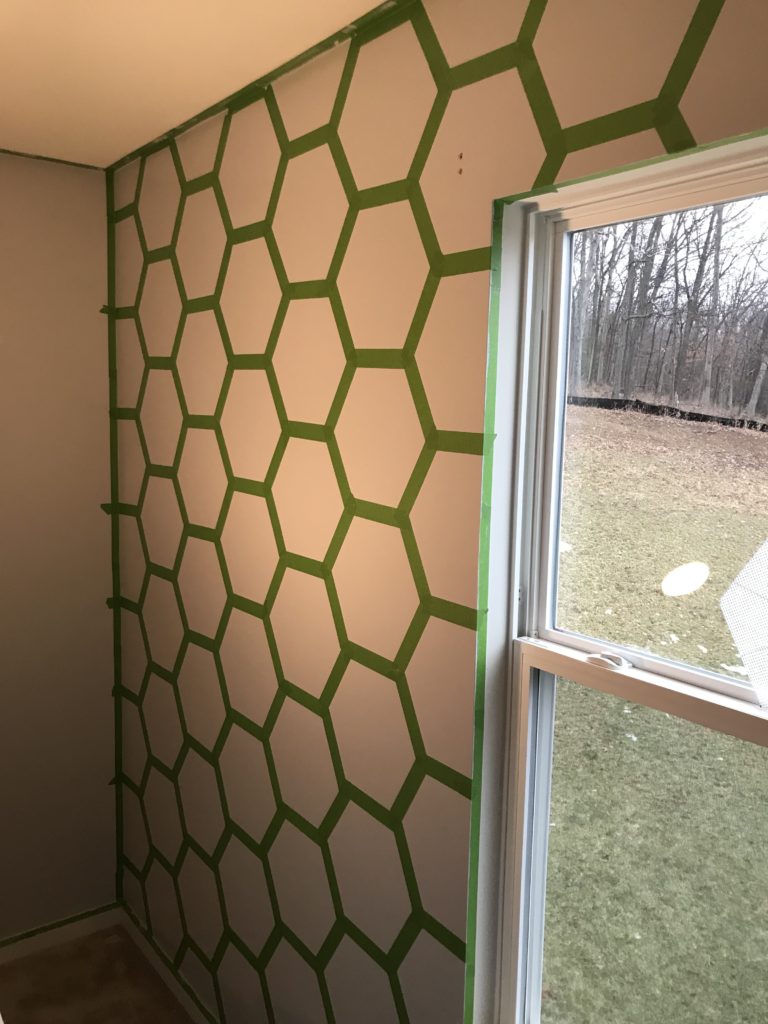
Use FROG TAPE! I talked about it last week in my Friday Favs post. I’ll never go back to the blue stuff again!
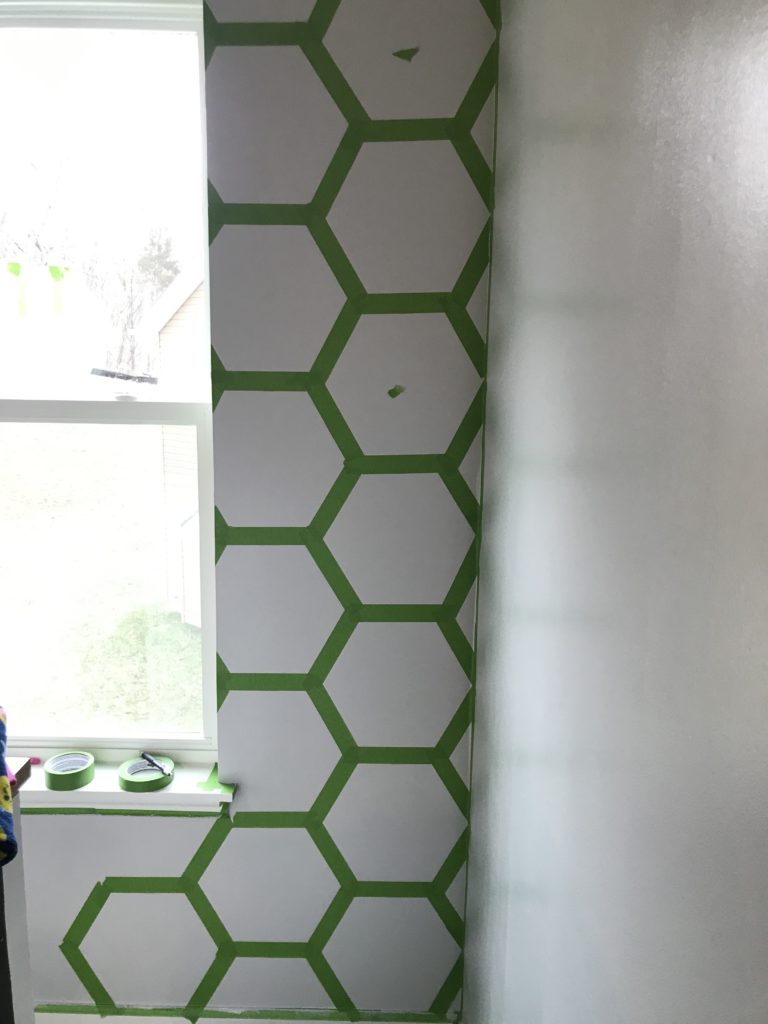
Painting the Hexagons
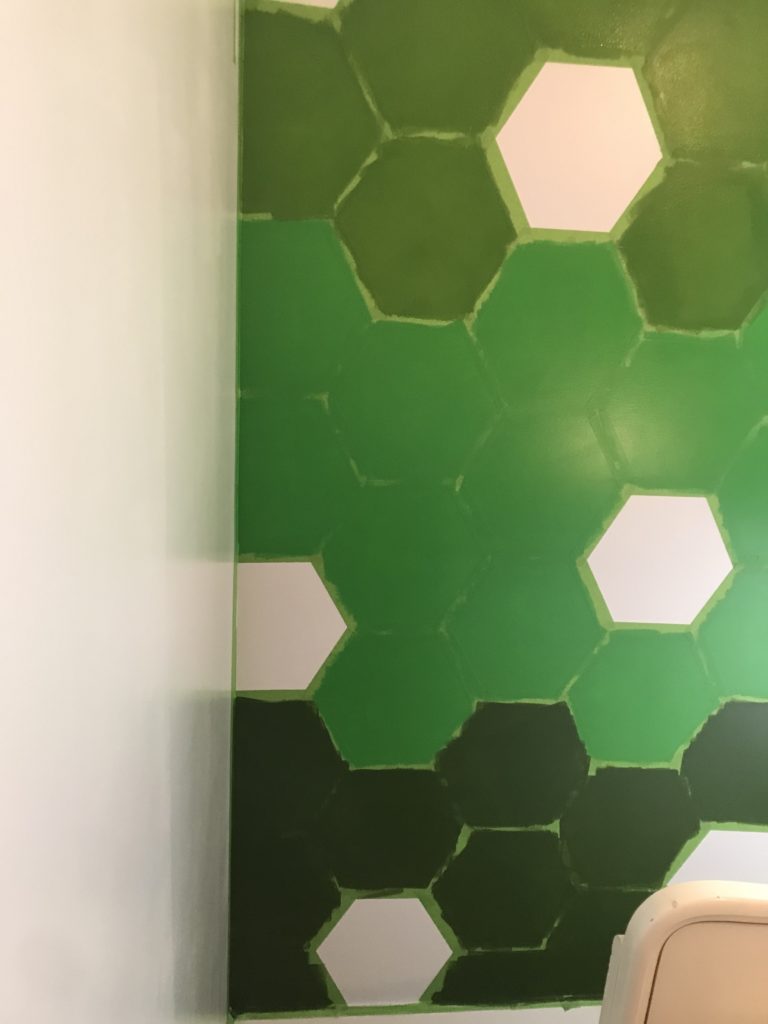
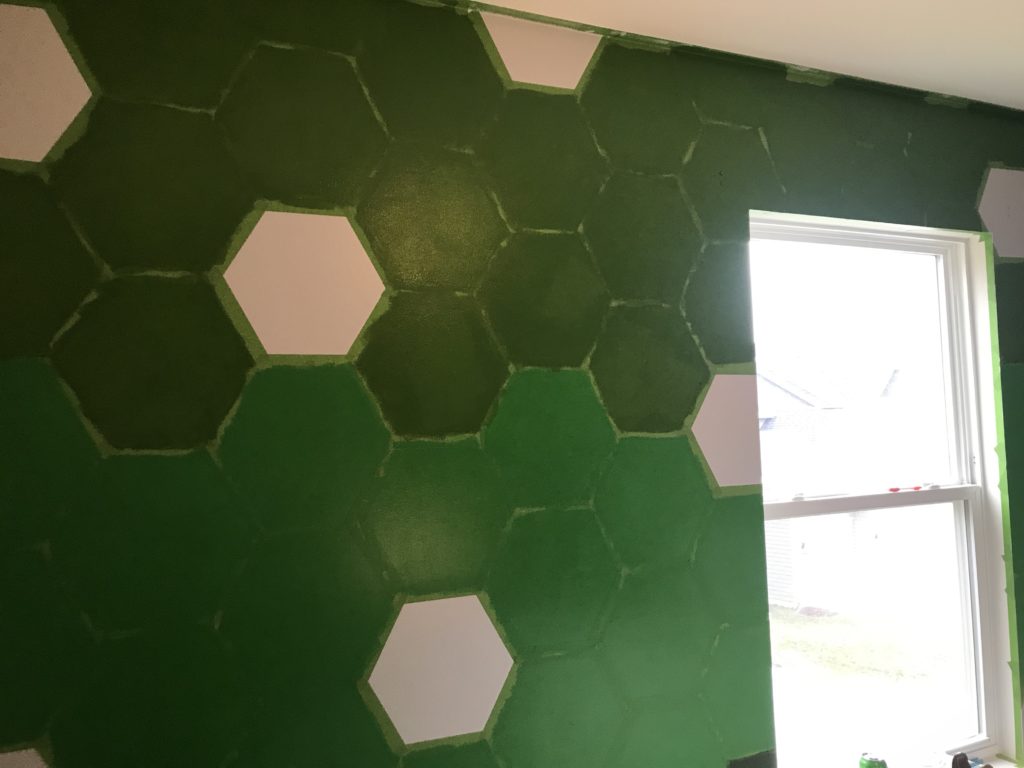
Before you start painting, you might want to think about the “look” you want. One solid color? Ombre? a design? Look at pinterest. There are lots of ideas. Just search “hexagon wall”.
You’ll probably need multiple coats. And let it dry thoroughly before taking the tape off!
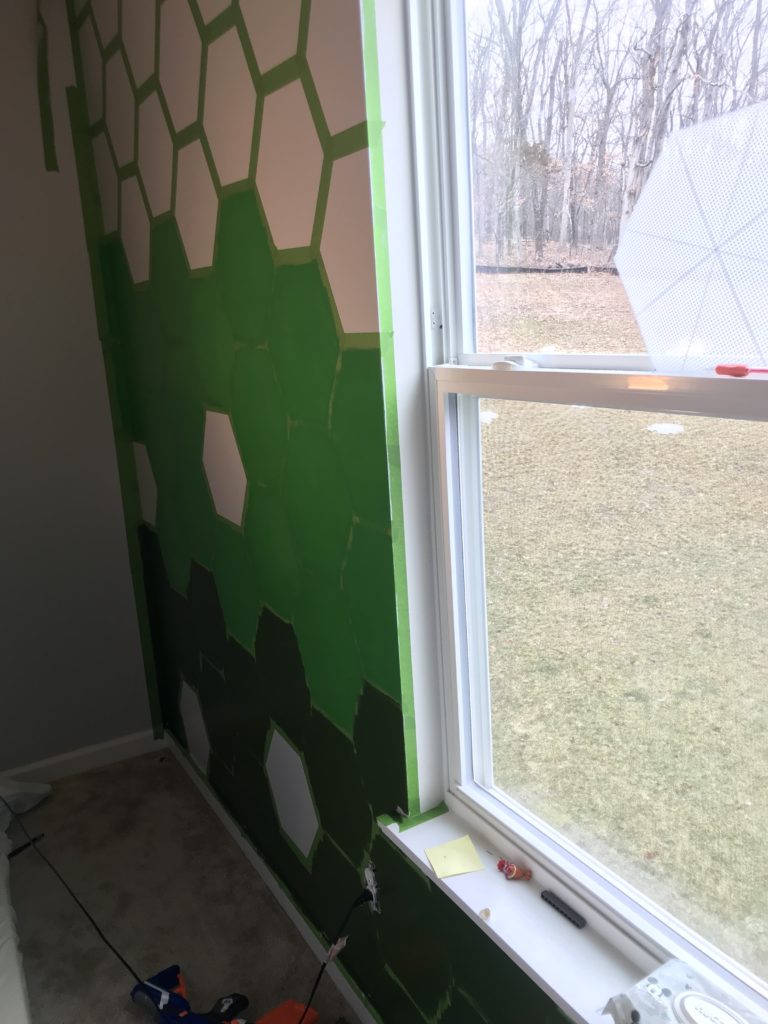
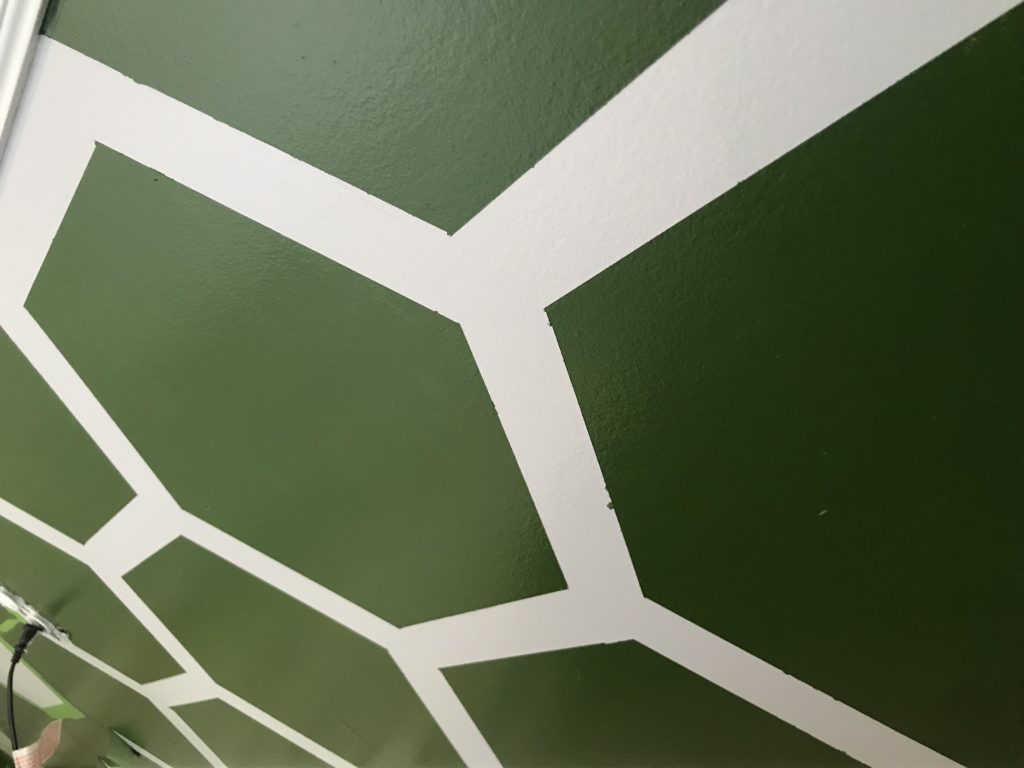
Remove the Tape
Now the fun part….seeing your creation come together. Start removing the tape! You’ll be so happy you used the Frog Tape!
Stay tuned…..
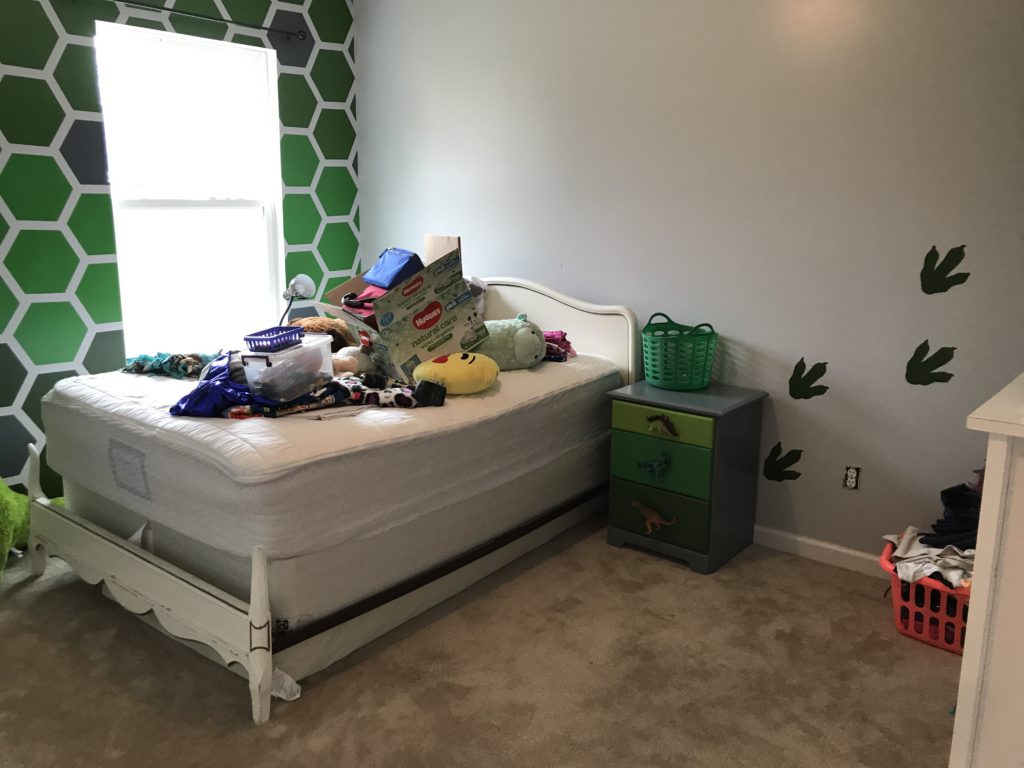
I can’t wait to share the entire room with you!


They turned out amazing! you’re giving me ideas…
Author
OH, I’m so glad it can be an inspiration to you!!! Let the creative juices flow!
OMG This is great! He looks like he had a blast helping out too 😂💖 so cute! This is my first time seeing a hexagon feature wall and I must say, I love! Such a creative compromise and way better than just all green walls.
Author
Thanks!!! I am so happy I did it!! Made me nervous, but SO worth it!