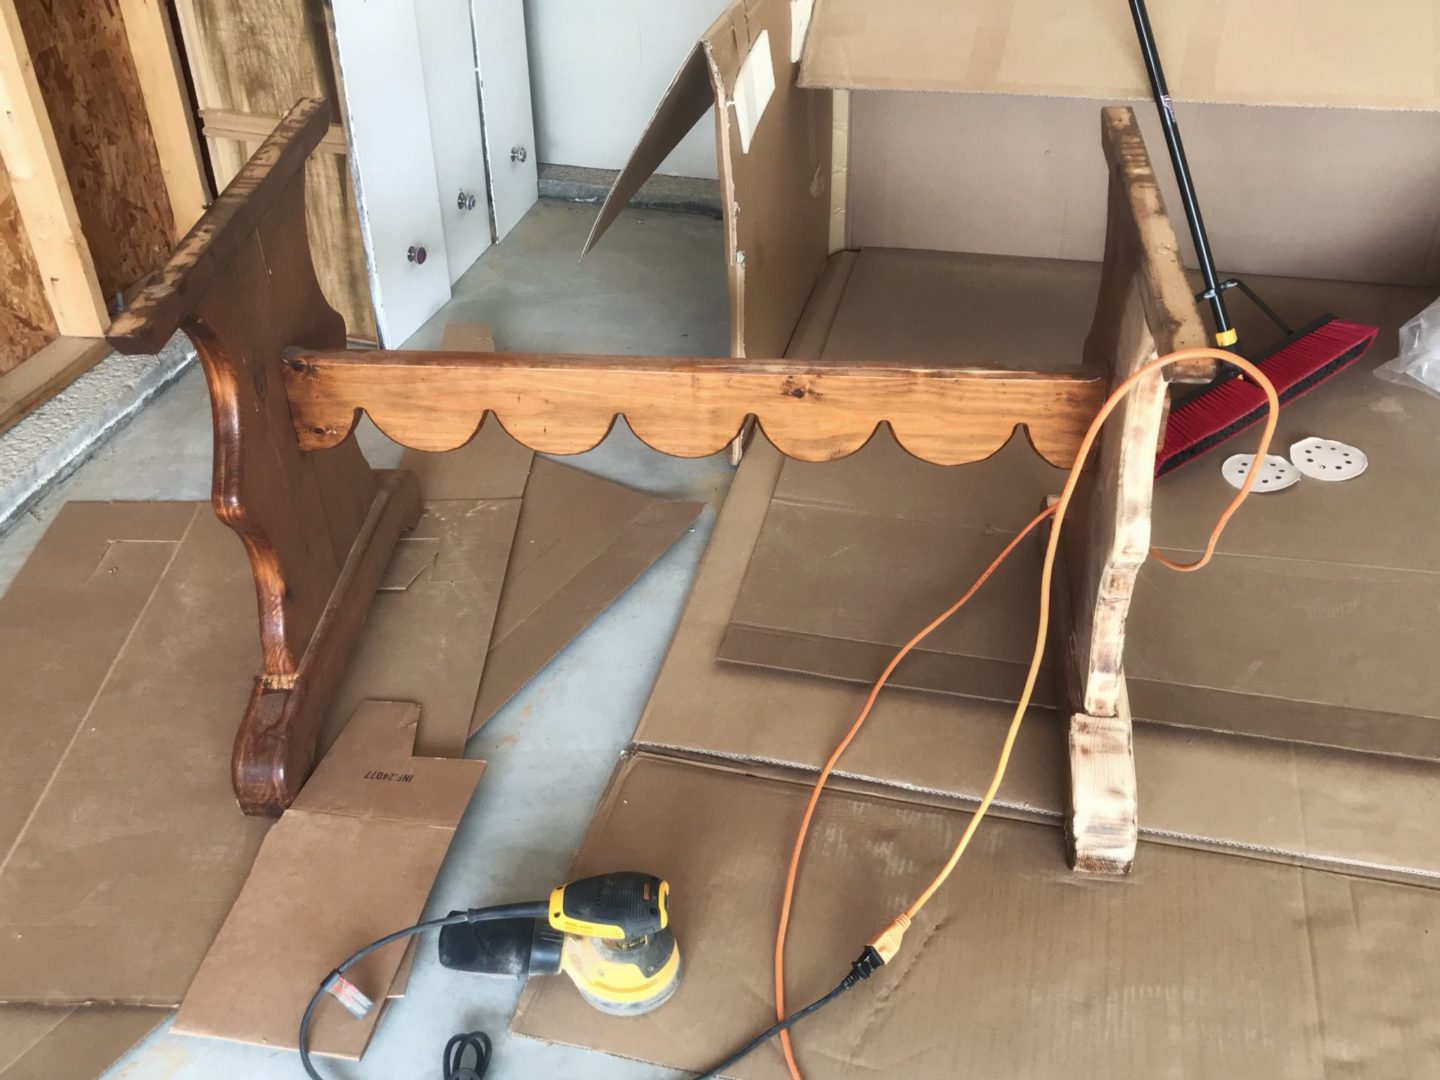
I ALWAYS forget to take the before picture…DUH! I get so excited to dig in that I forget to show progress. Oooops! In my defense, this table had been in storage in my parents outdoor arena for almost 2 years. It was already taken somewhat apart when I started the job….. That’s my excuse, I’m sticking to it!


This table was Creg’s parents kitchen table so there’s a little sentimental value to it. That being said, it was due for some refinishing. The varnish was cracked in many places and there were several “dings’ in the wood. Nothing a little sanding and re-staining couldn’t take care of!
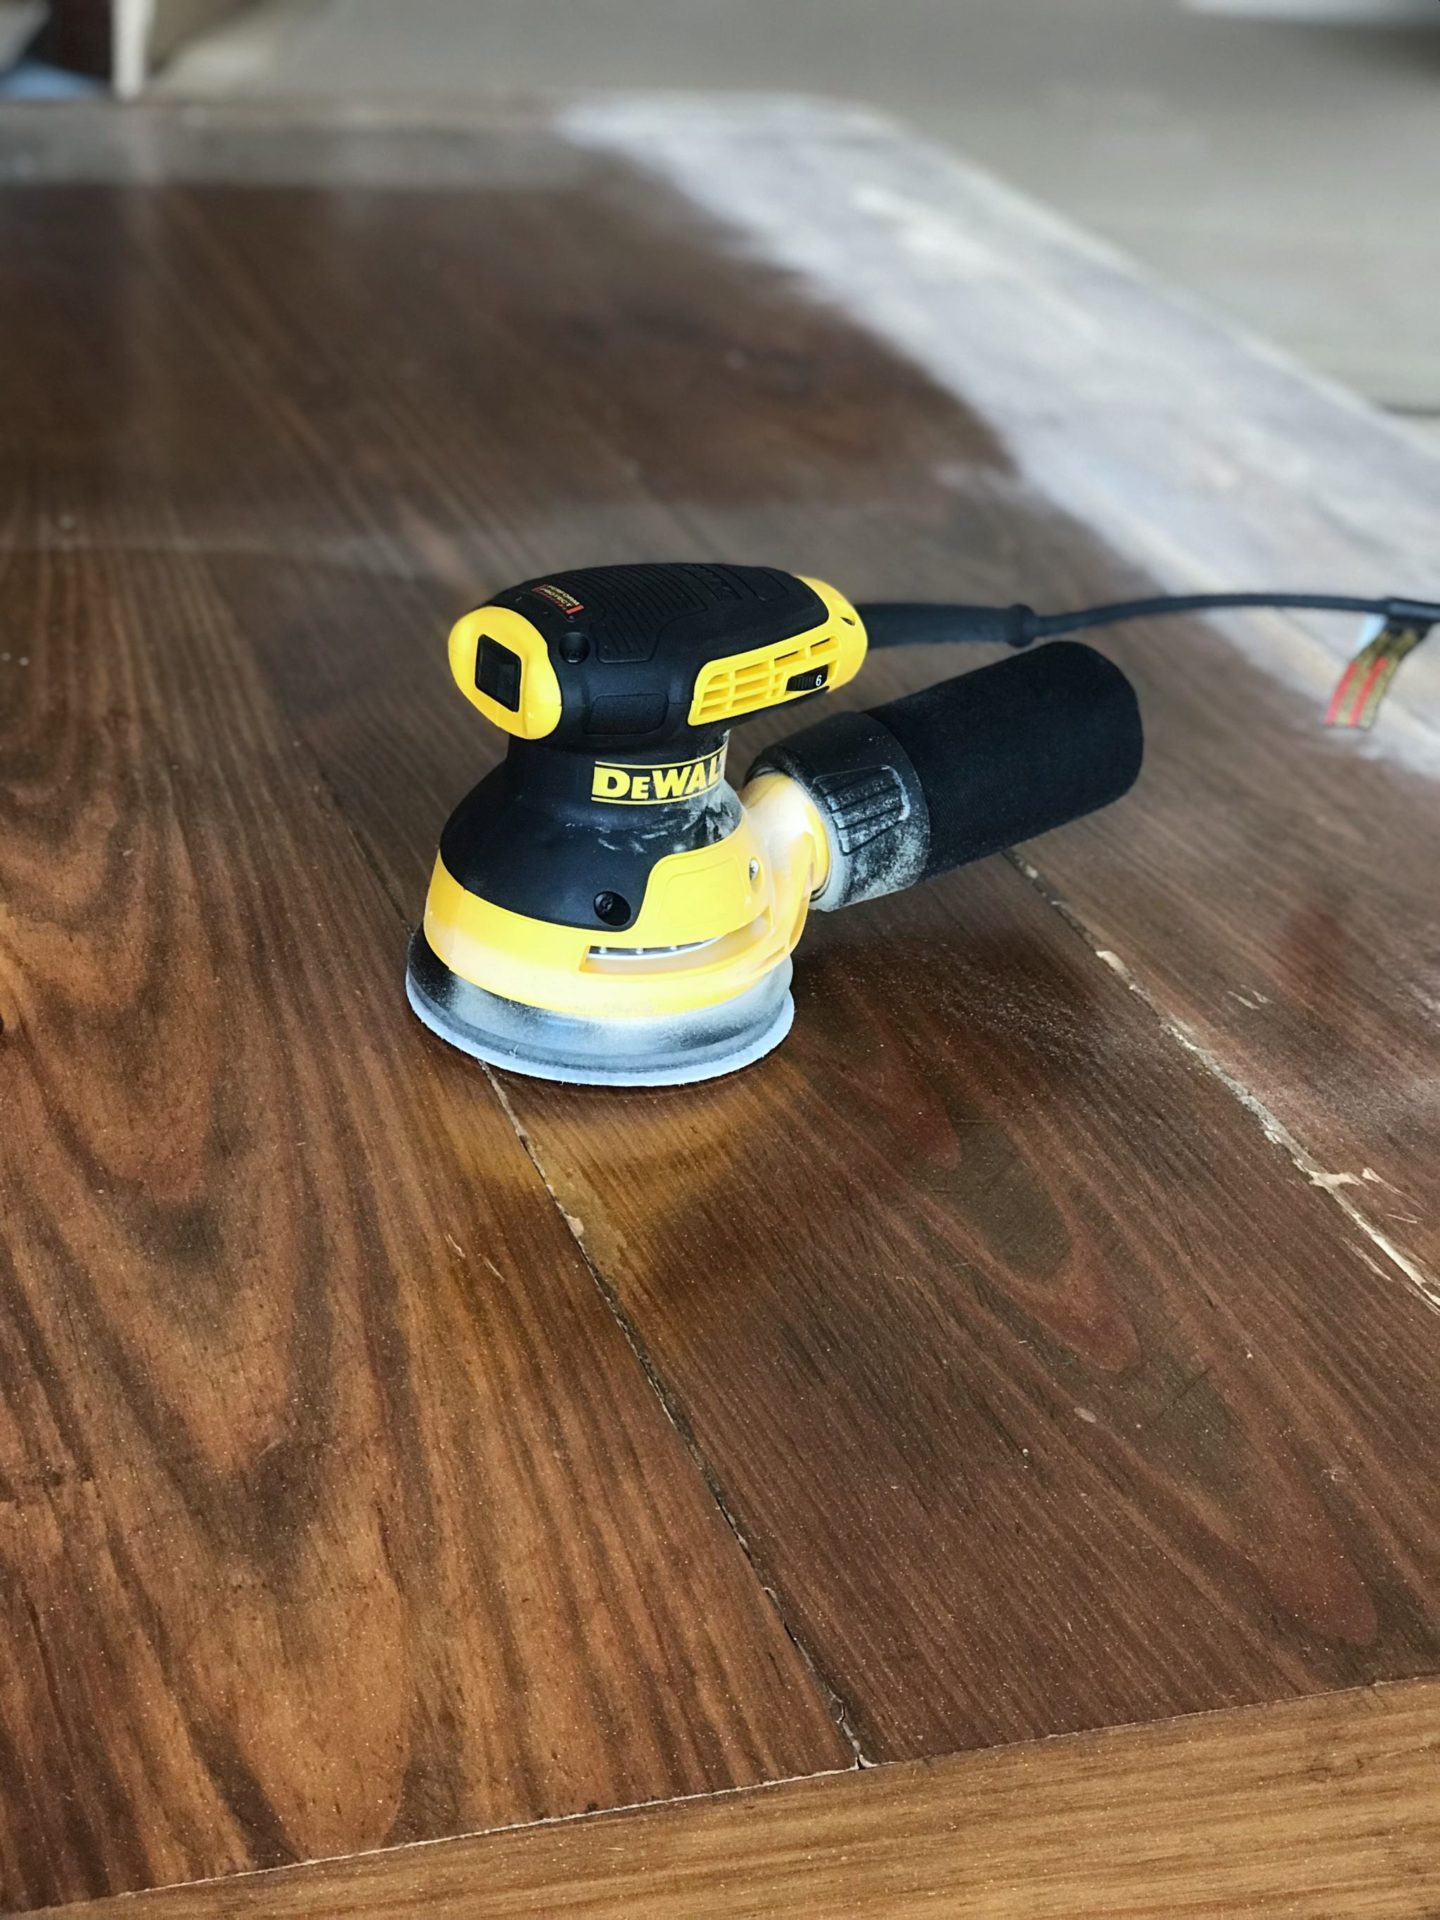
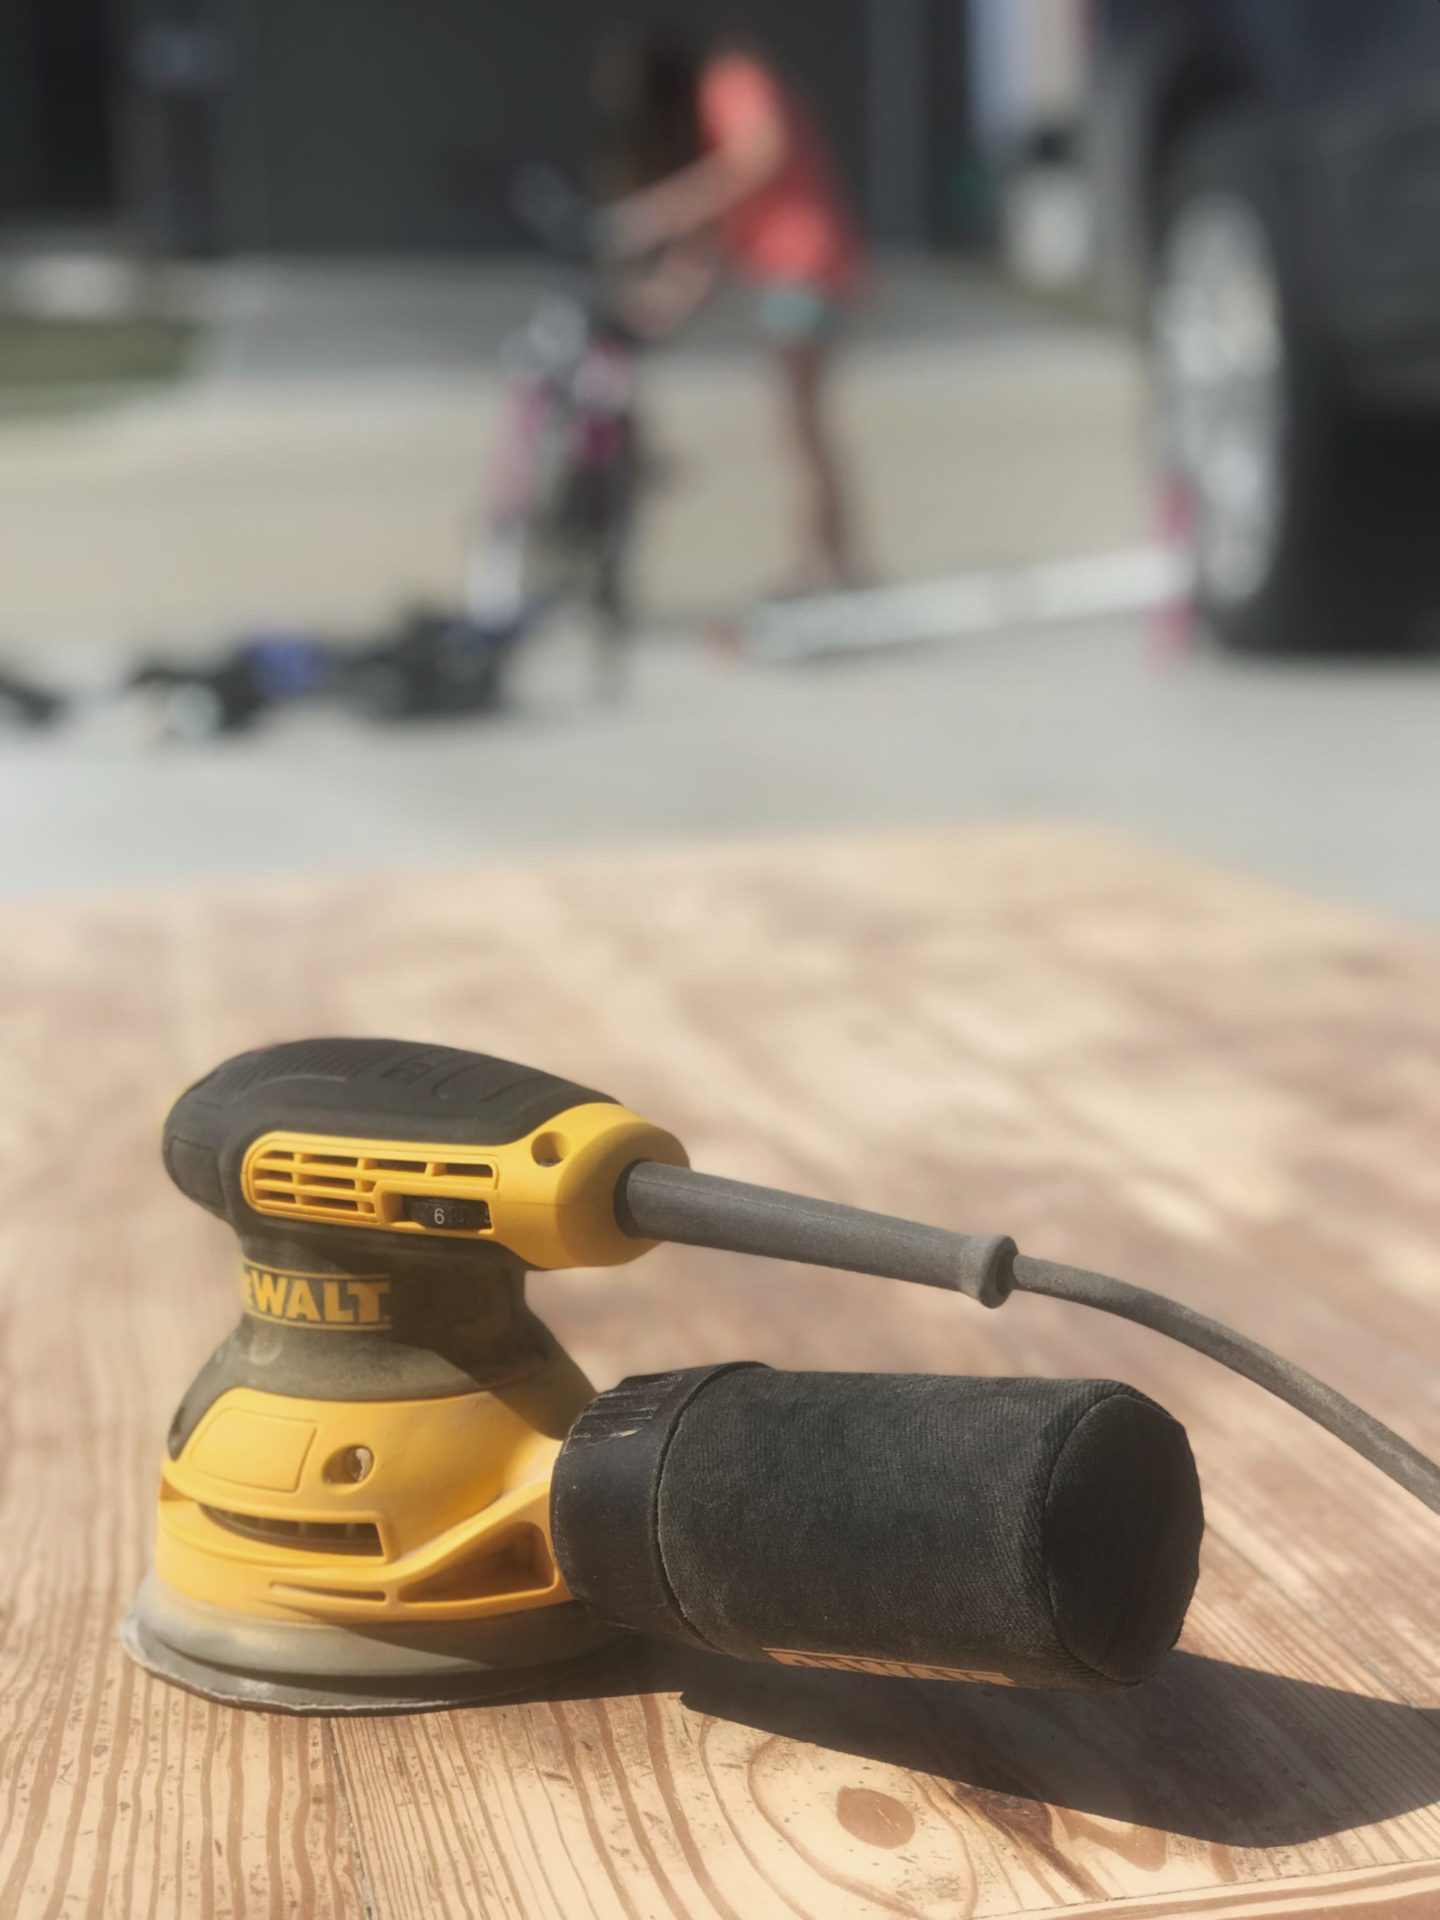
Get a Good Sander
If there’s one thing I can’t stress enough….If you are going to be doing a lot of sanding, invest in an electric sander. Hand sanding is great for the little jobs, but you’ll never get through the big ones without one.
I use the DeWalt palm sander and I love it!!! You’ll need both coarse and fine grit sand paper to go with it. I’ve linked both in my amazon storefront.
Start sanding! I do recommend doing this outside or in the garage. Even though there is a bag on the sander to catch the dust, you’ll still end up with lots on the ground. You may want to wear a mask if you’re sensitive to it, too.
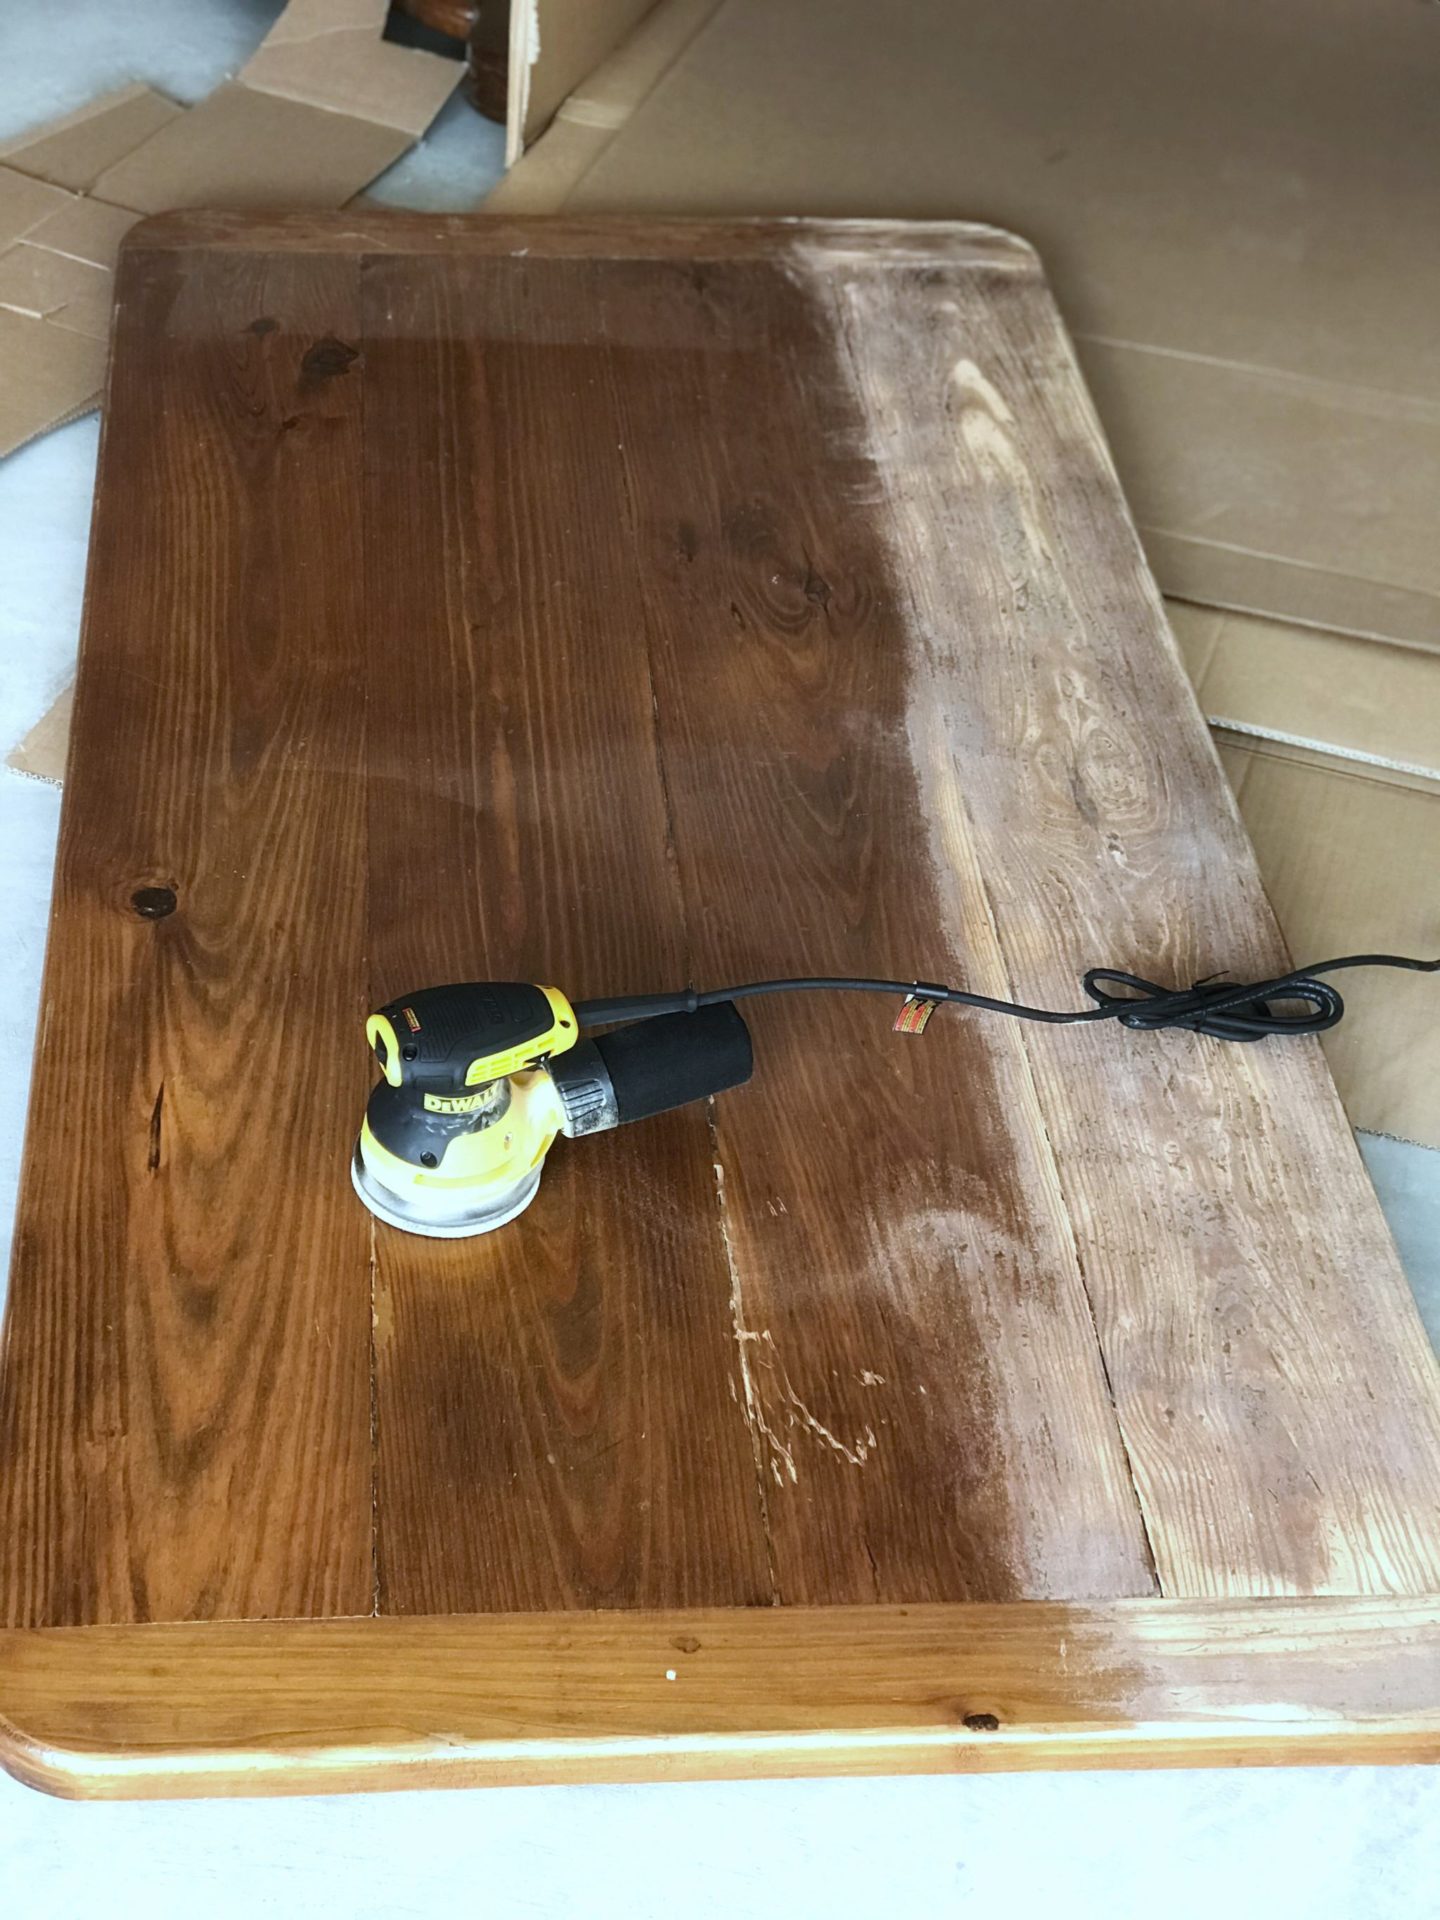
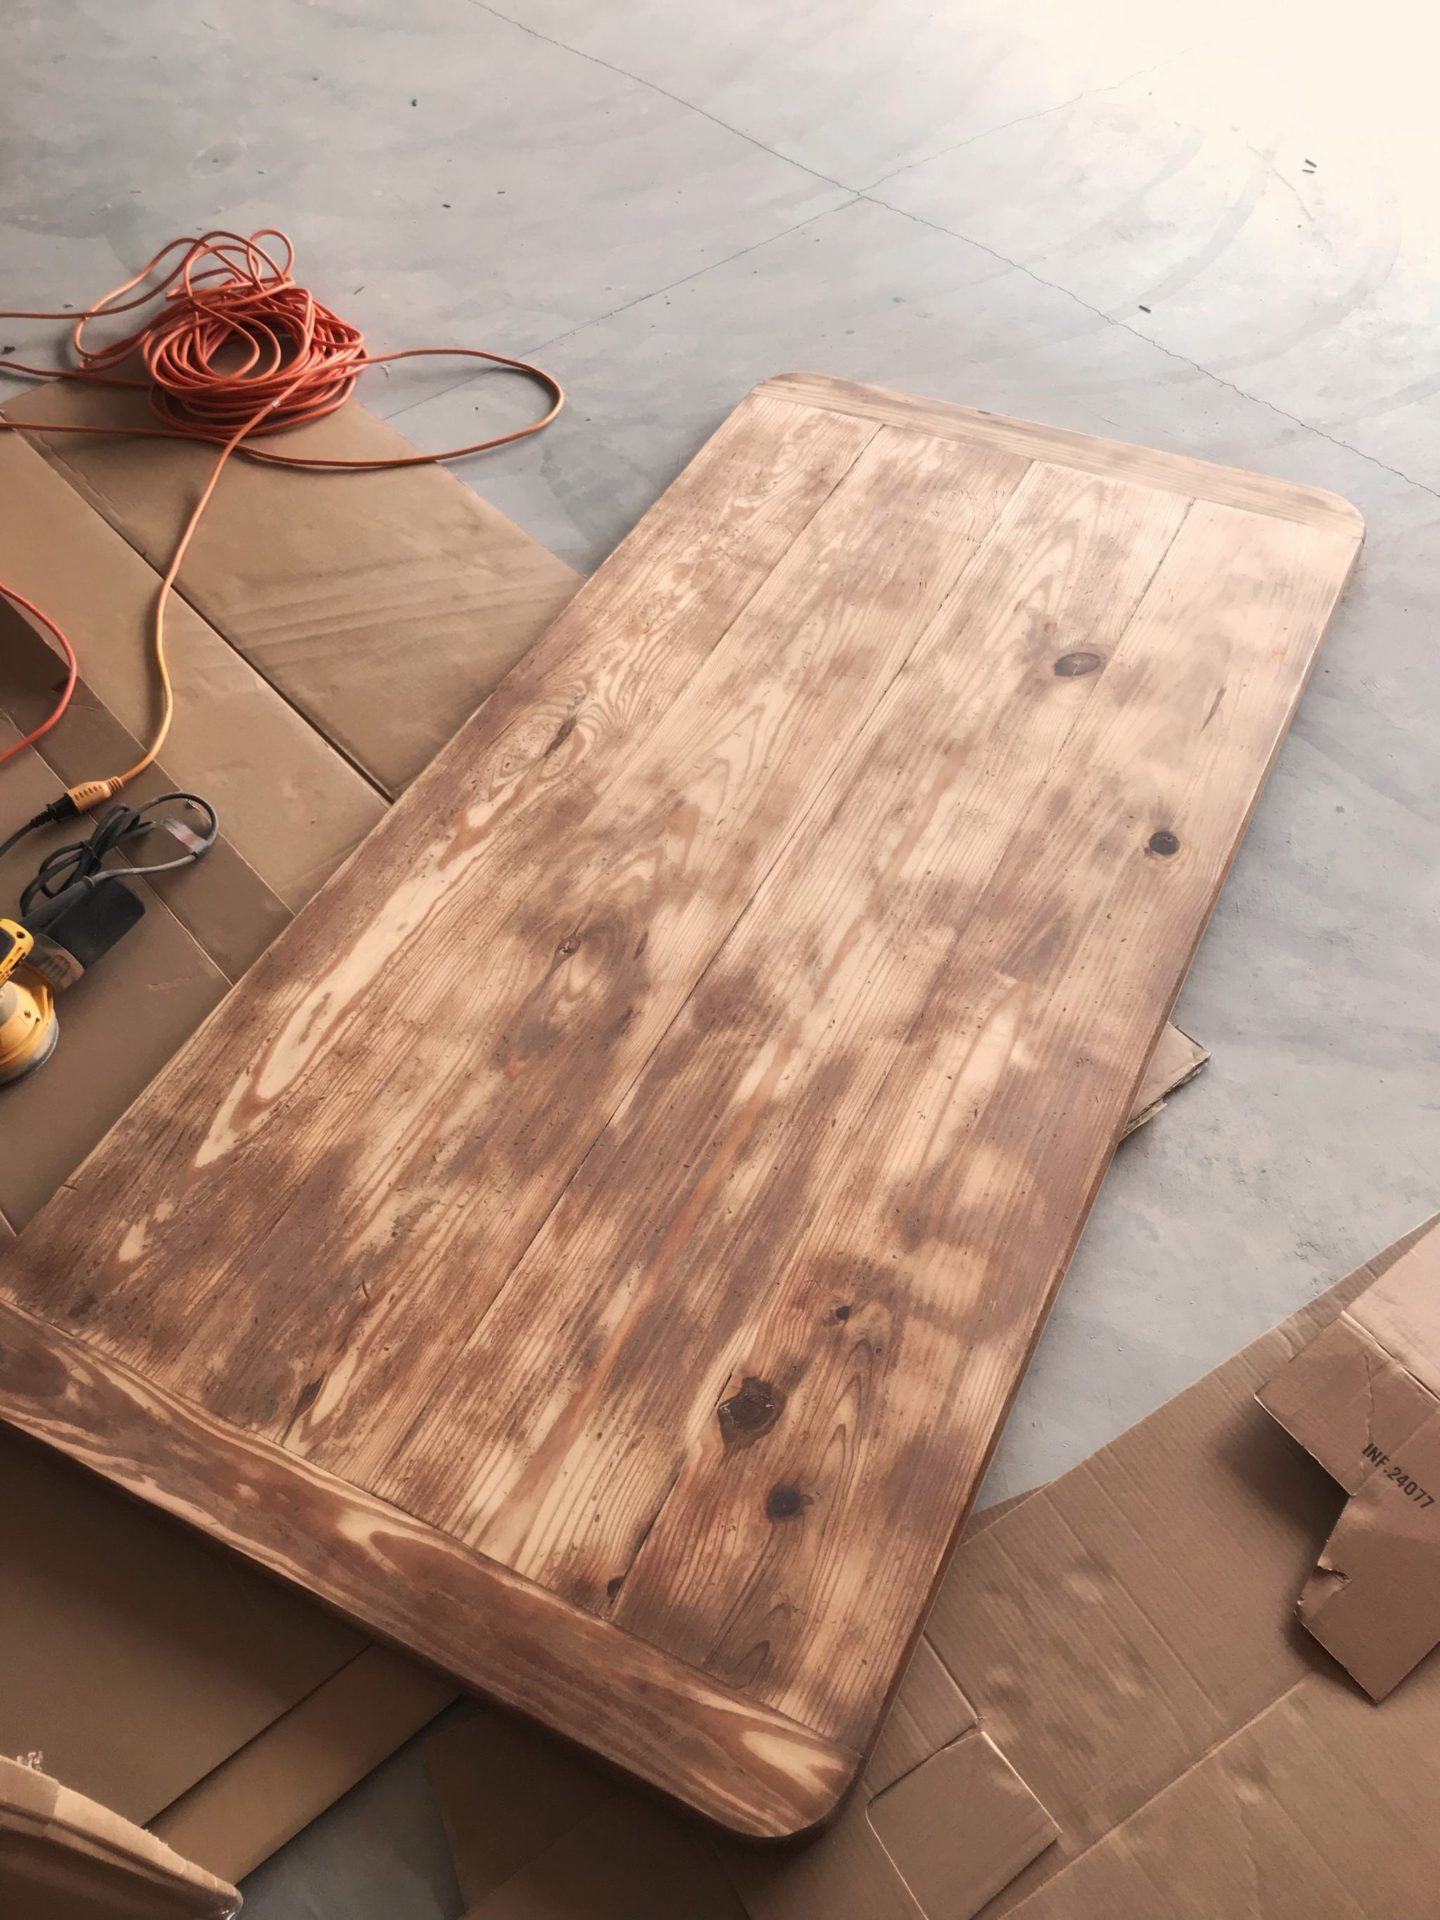
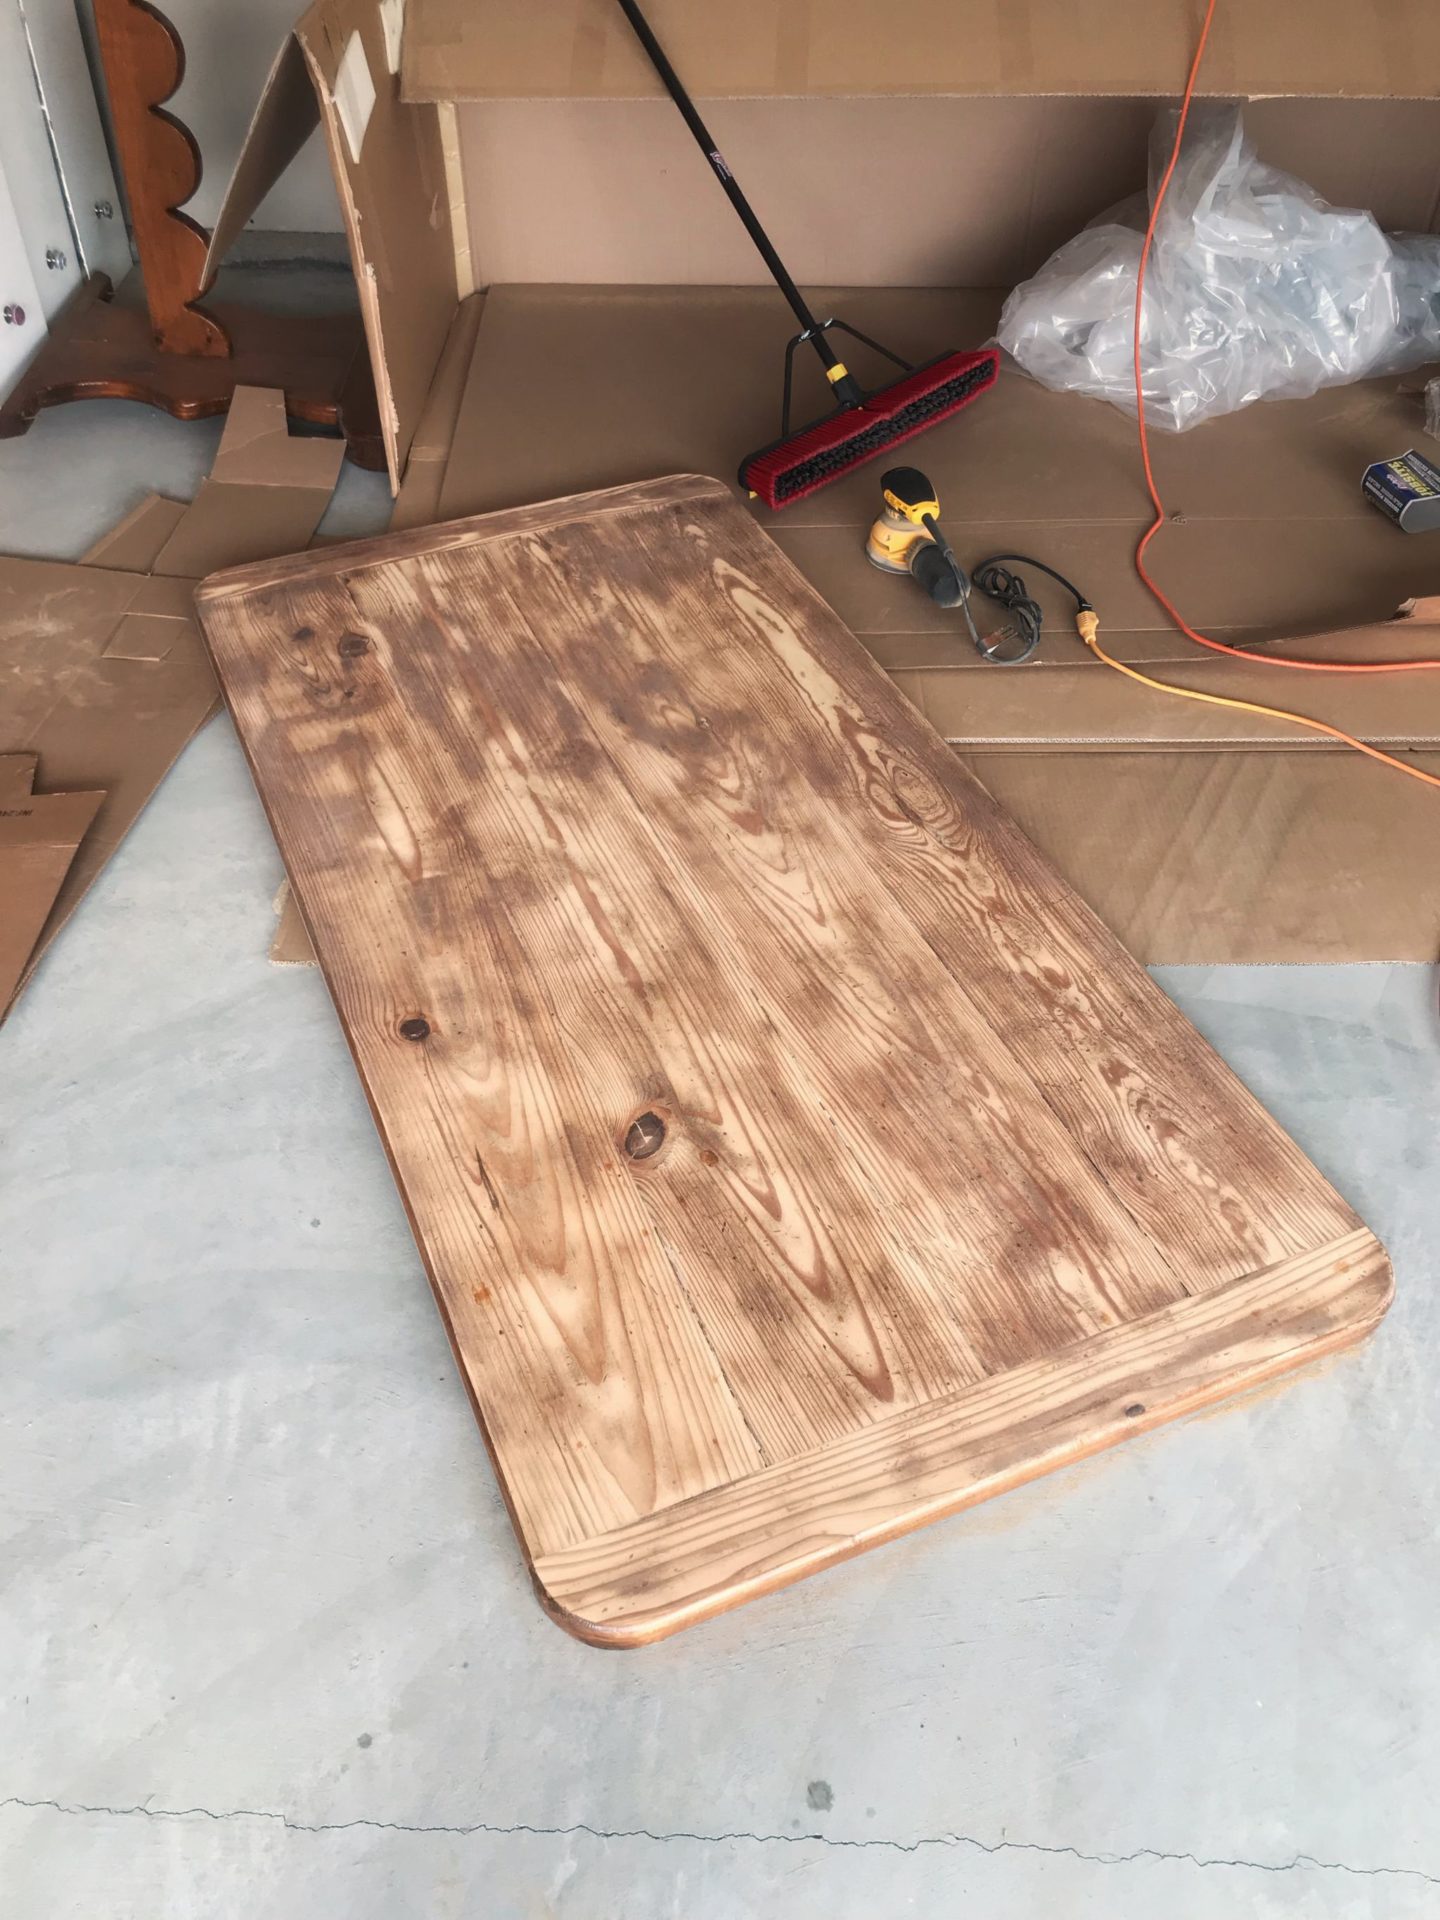
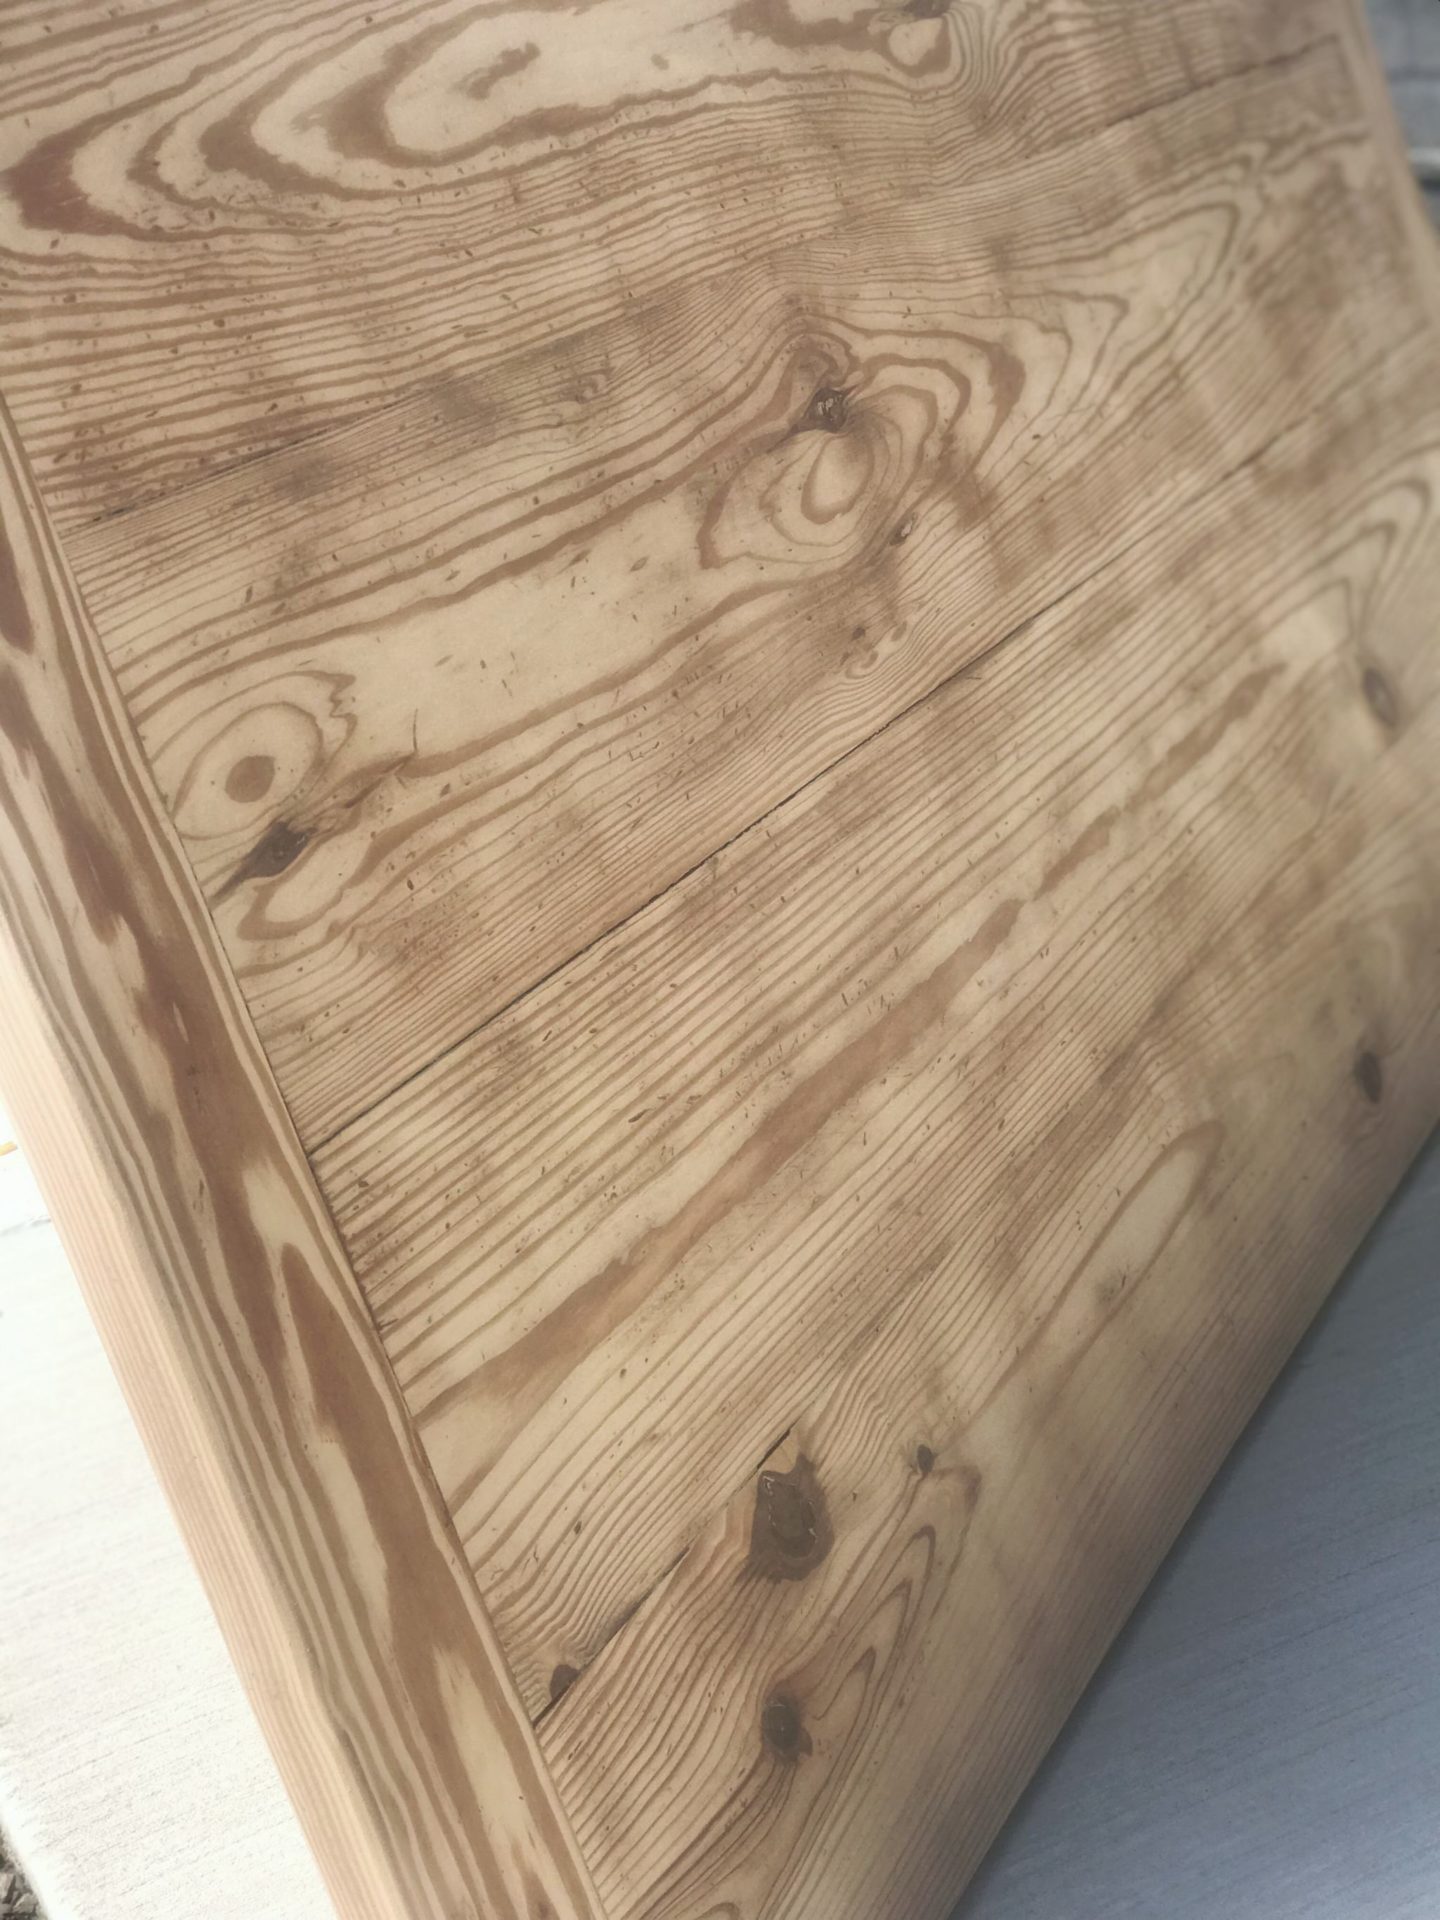
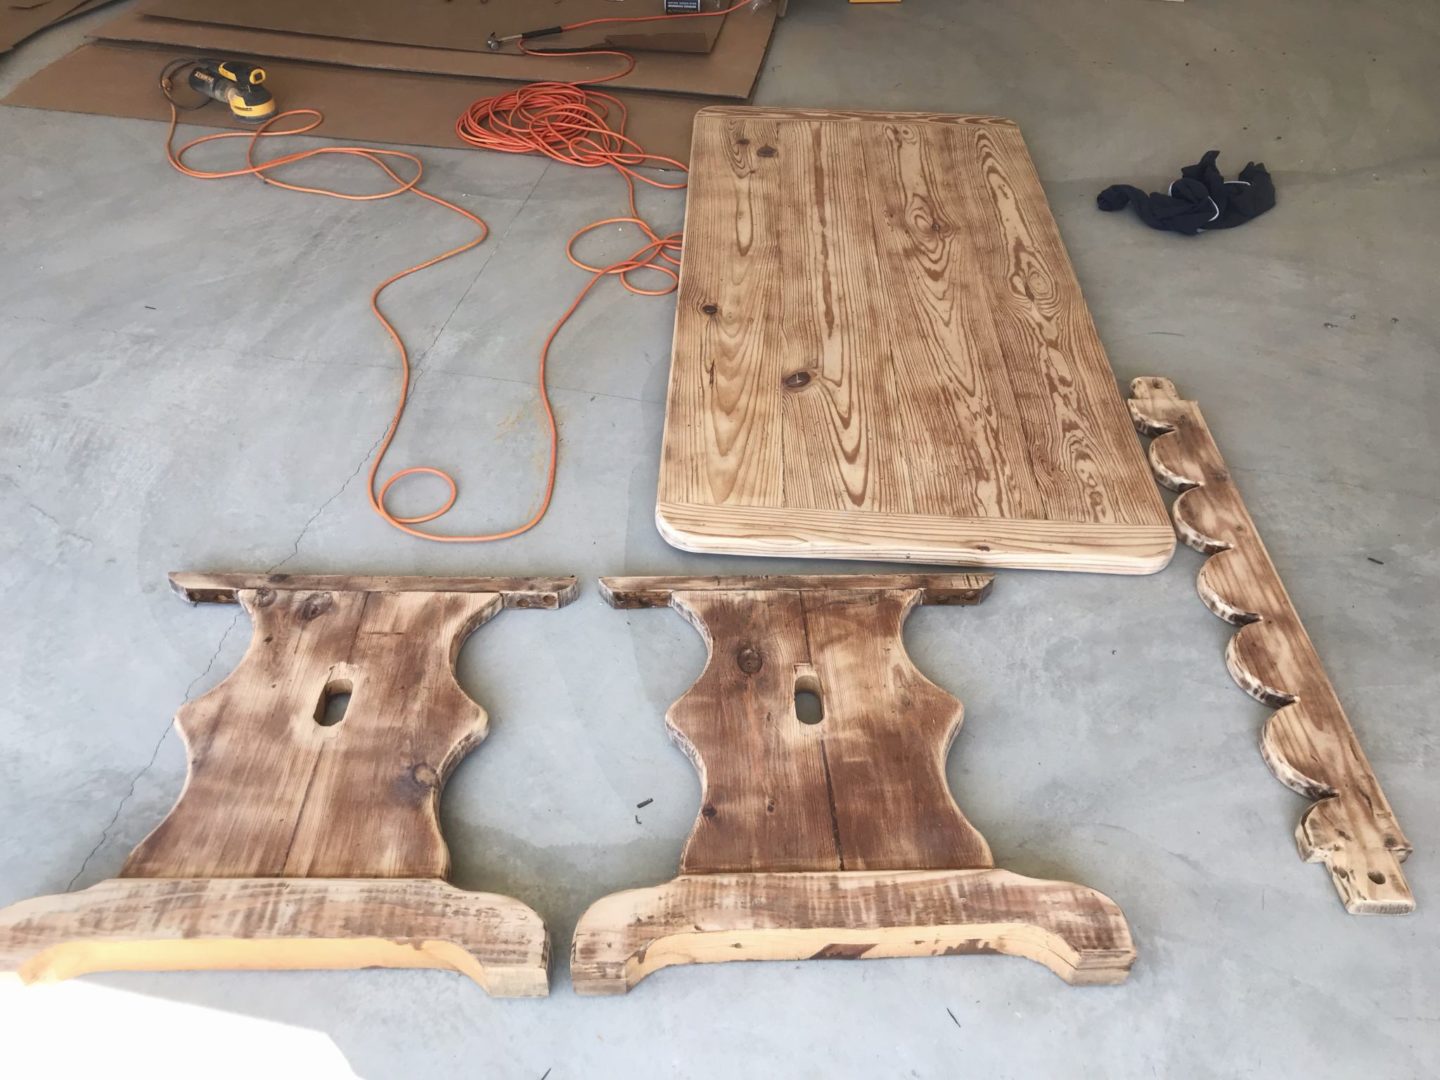
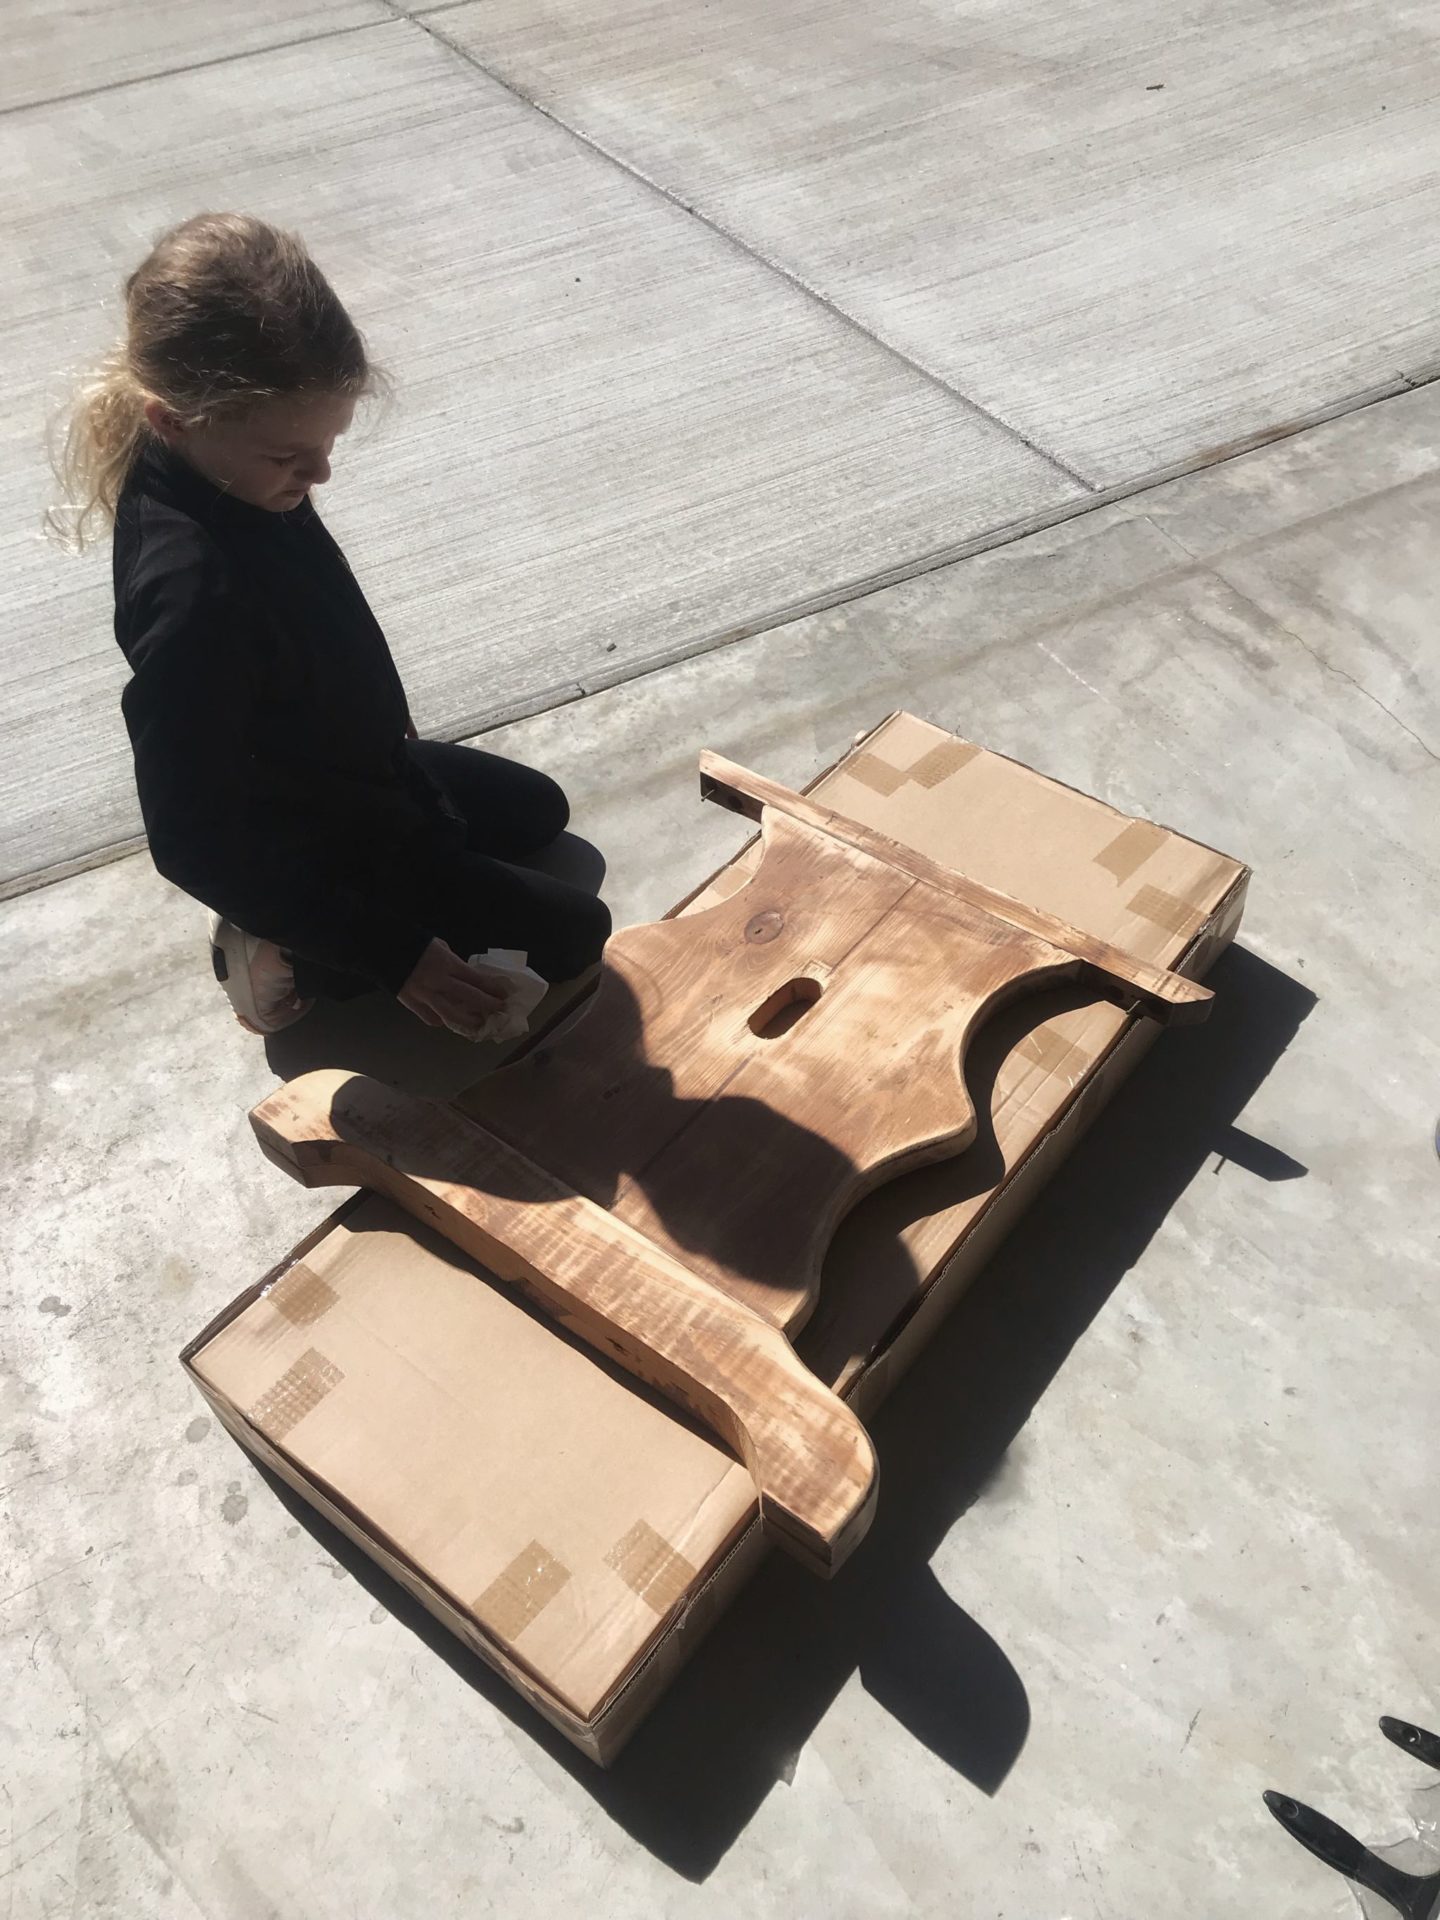
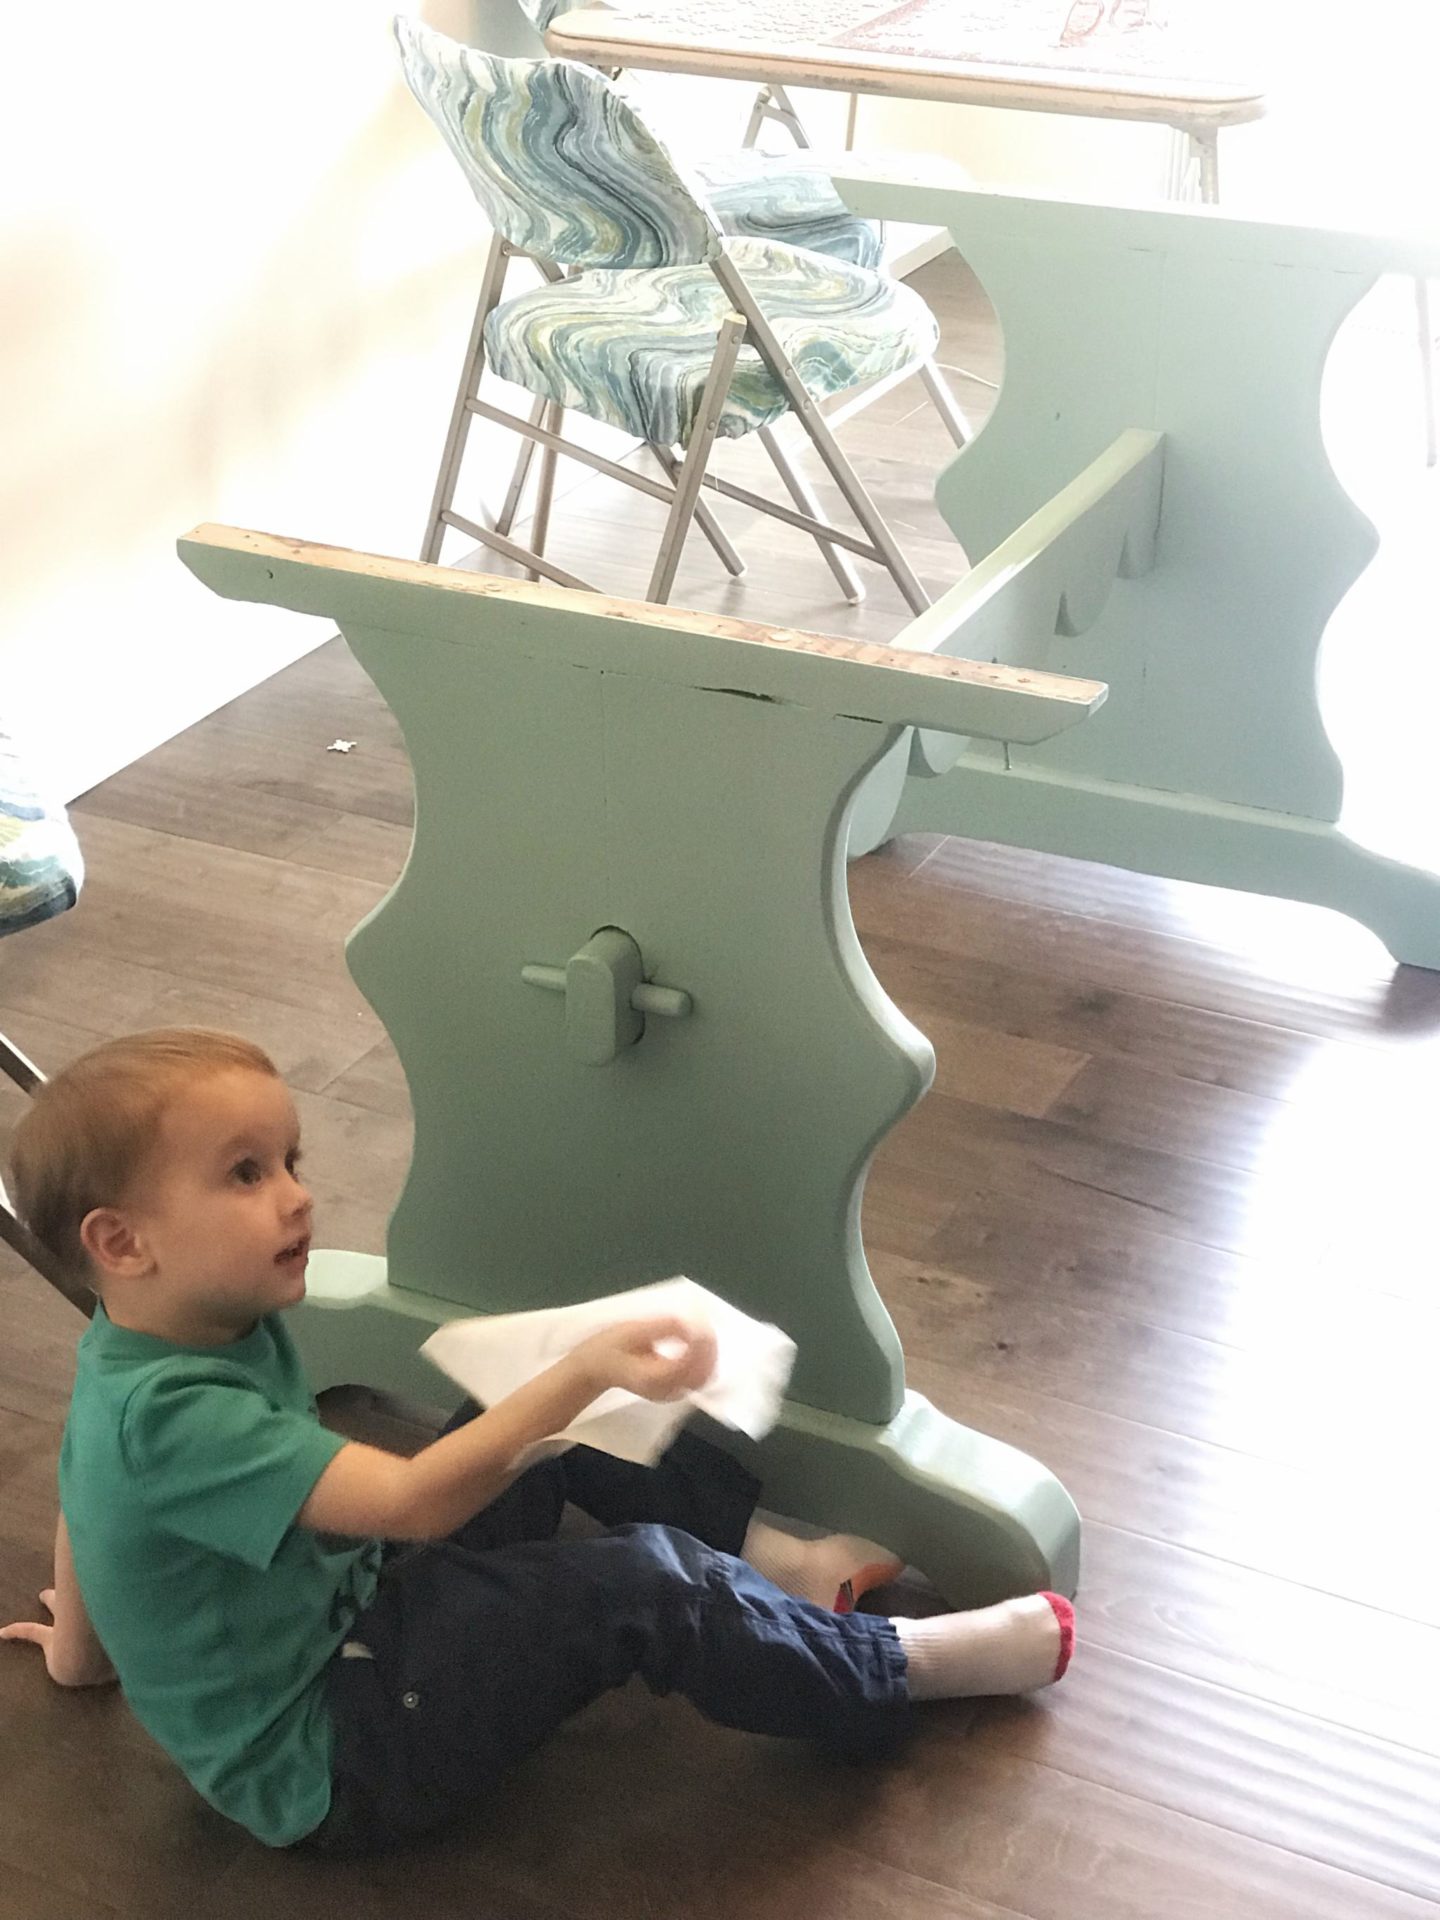
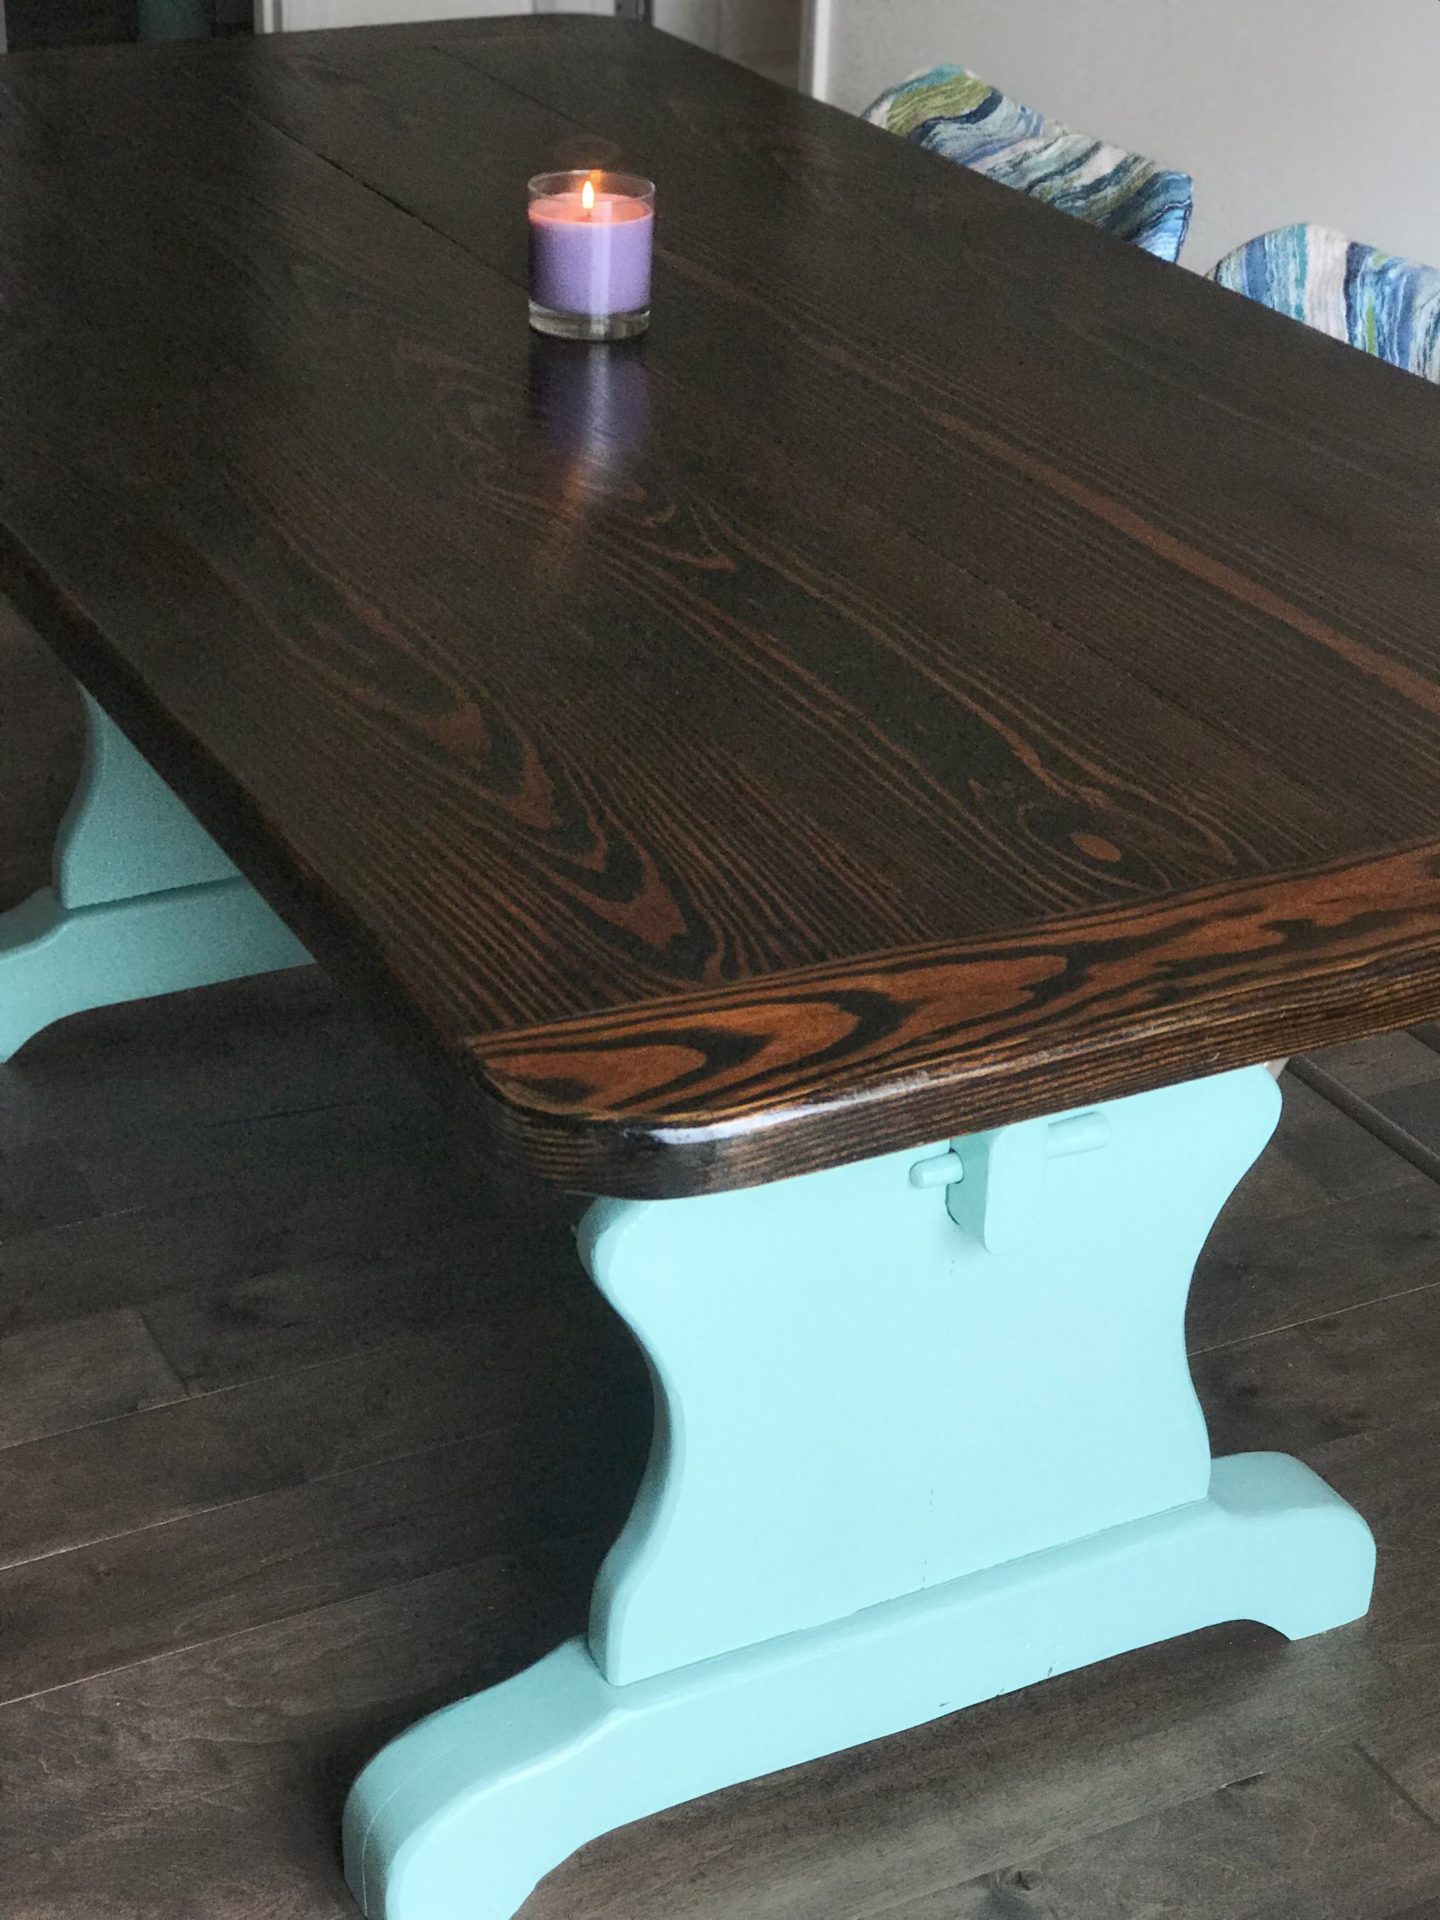
I didn’t take as much time sanding the legs since I knew I was going to paint those. I made sure to get all the old varnish off, but wasn’t too concerned with even wood tones or smoothness. The top was smooth as glass!! So satisfying!

On to Stain and Paint
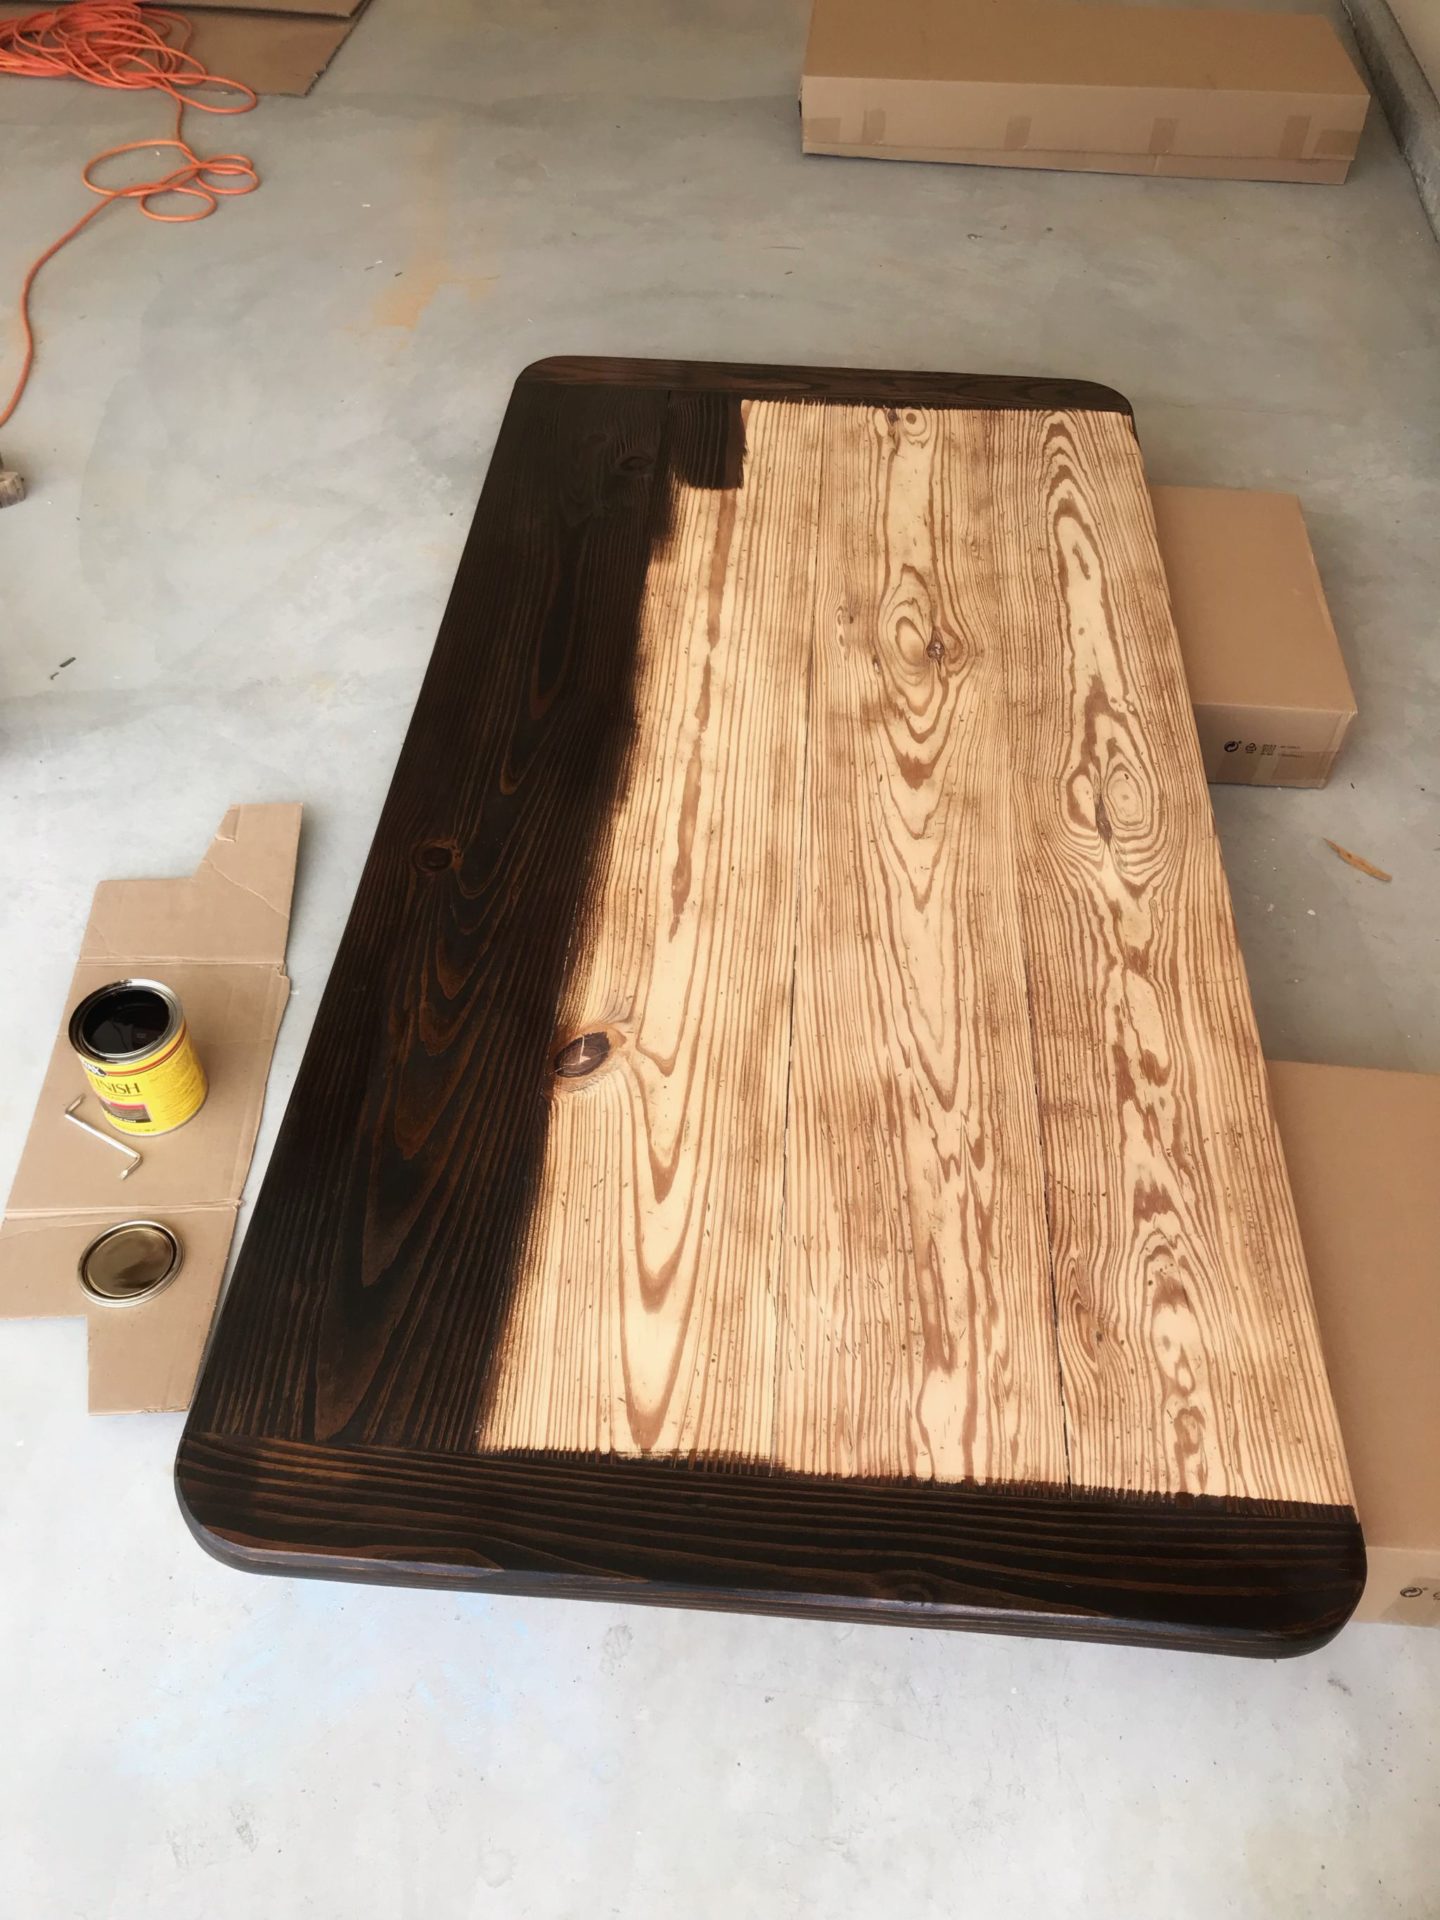
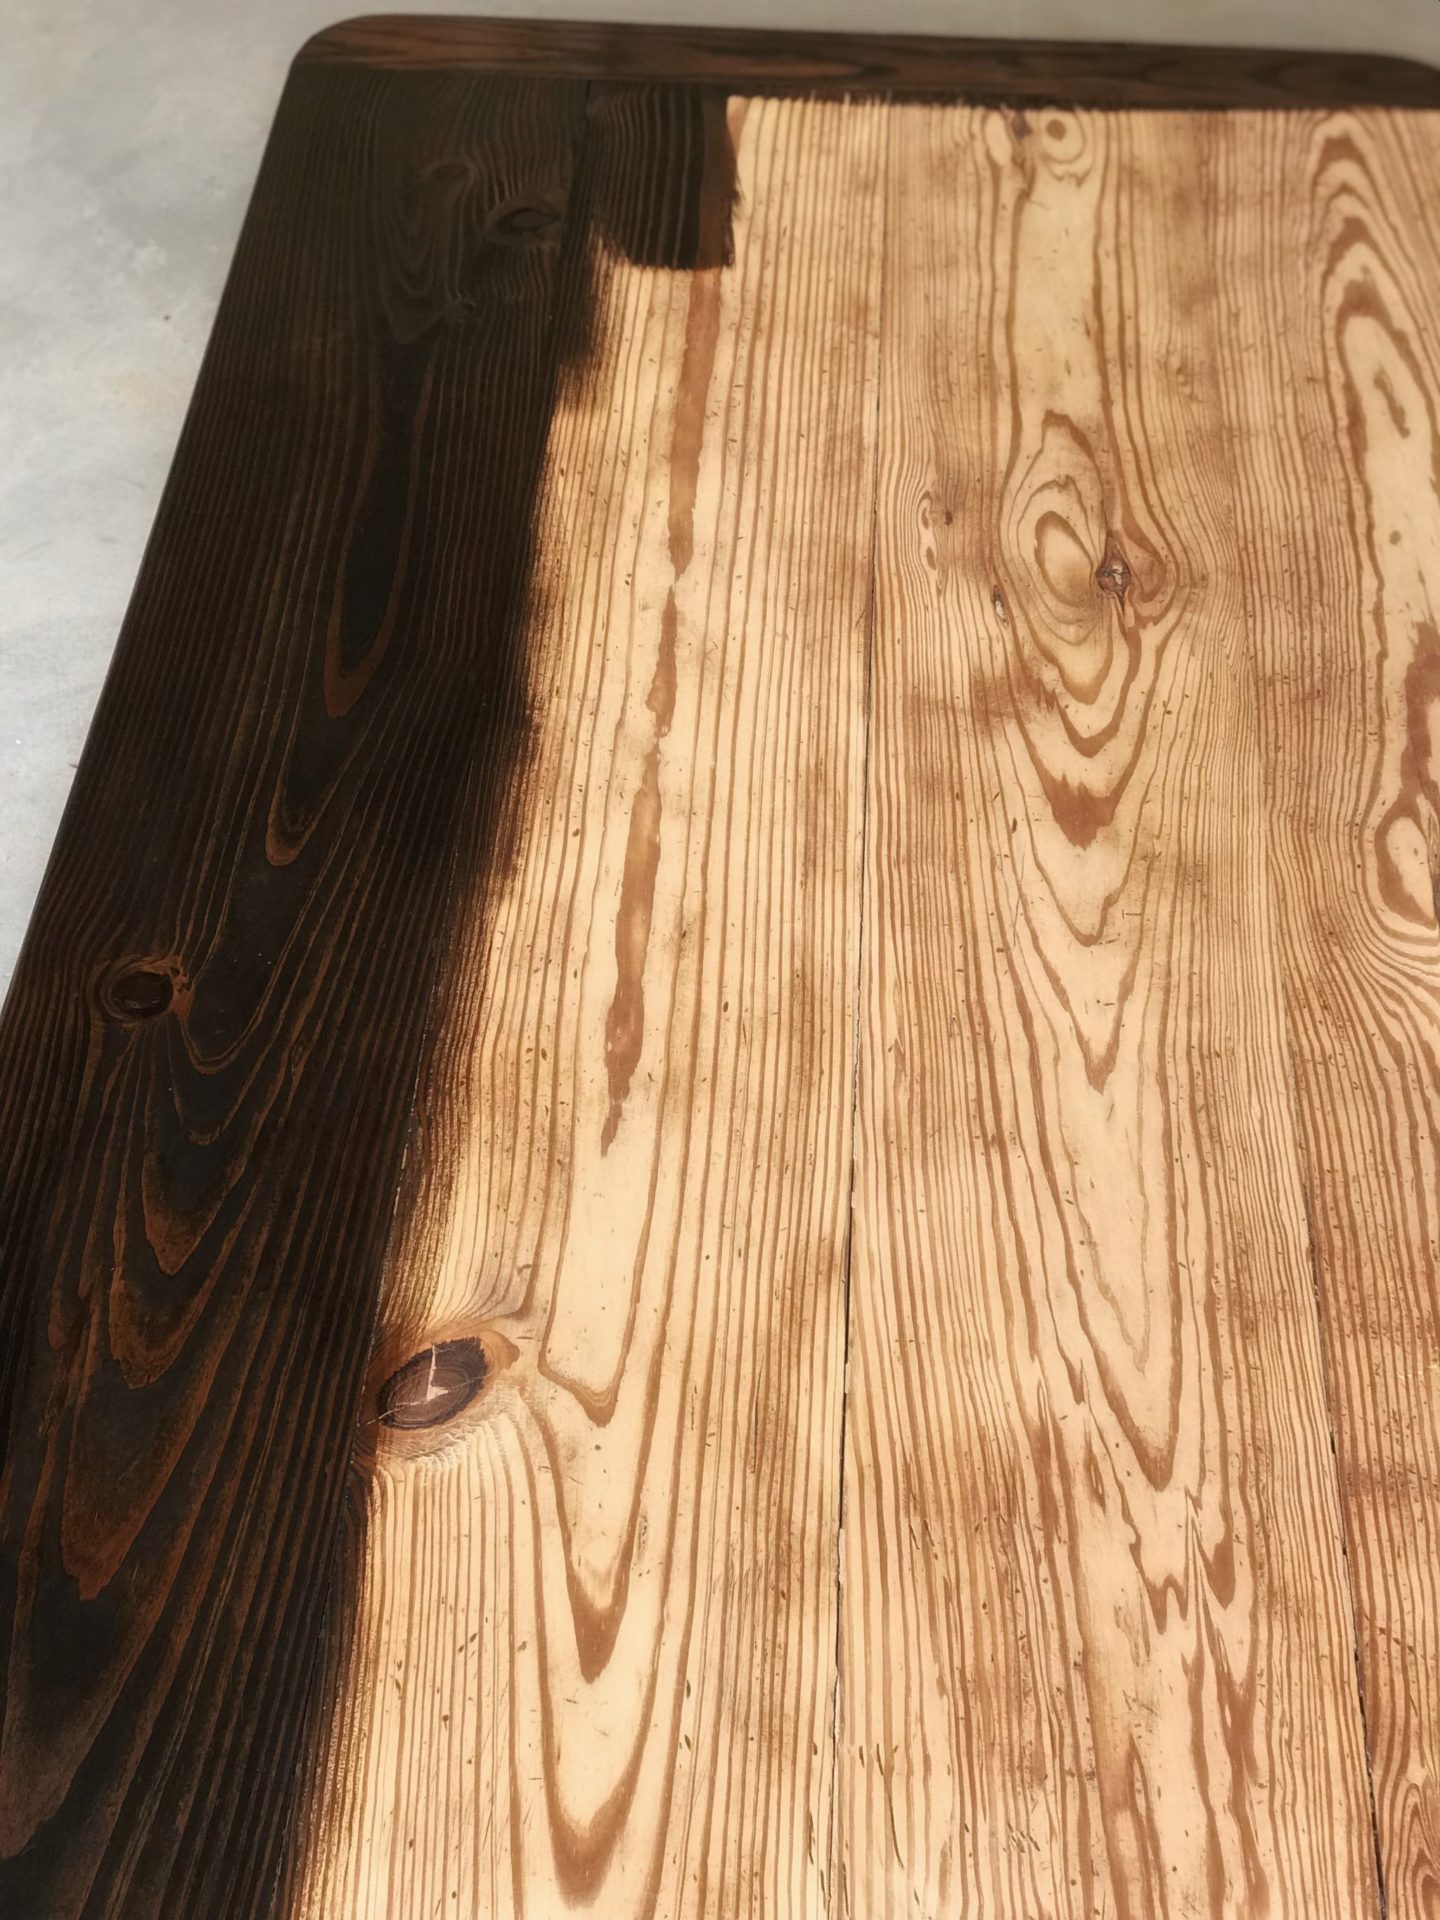
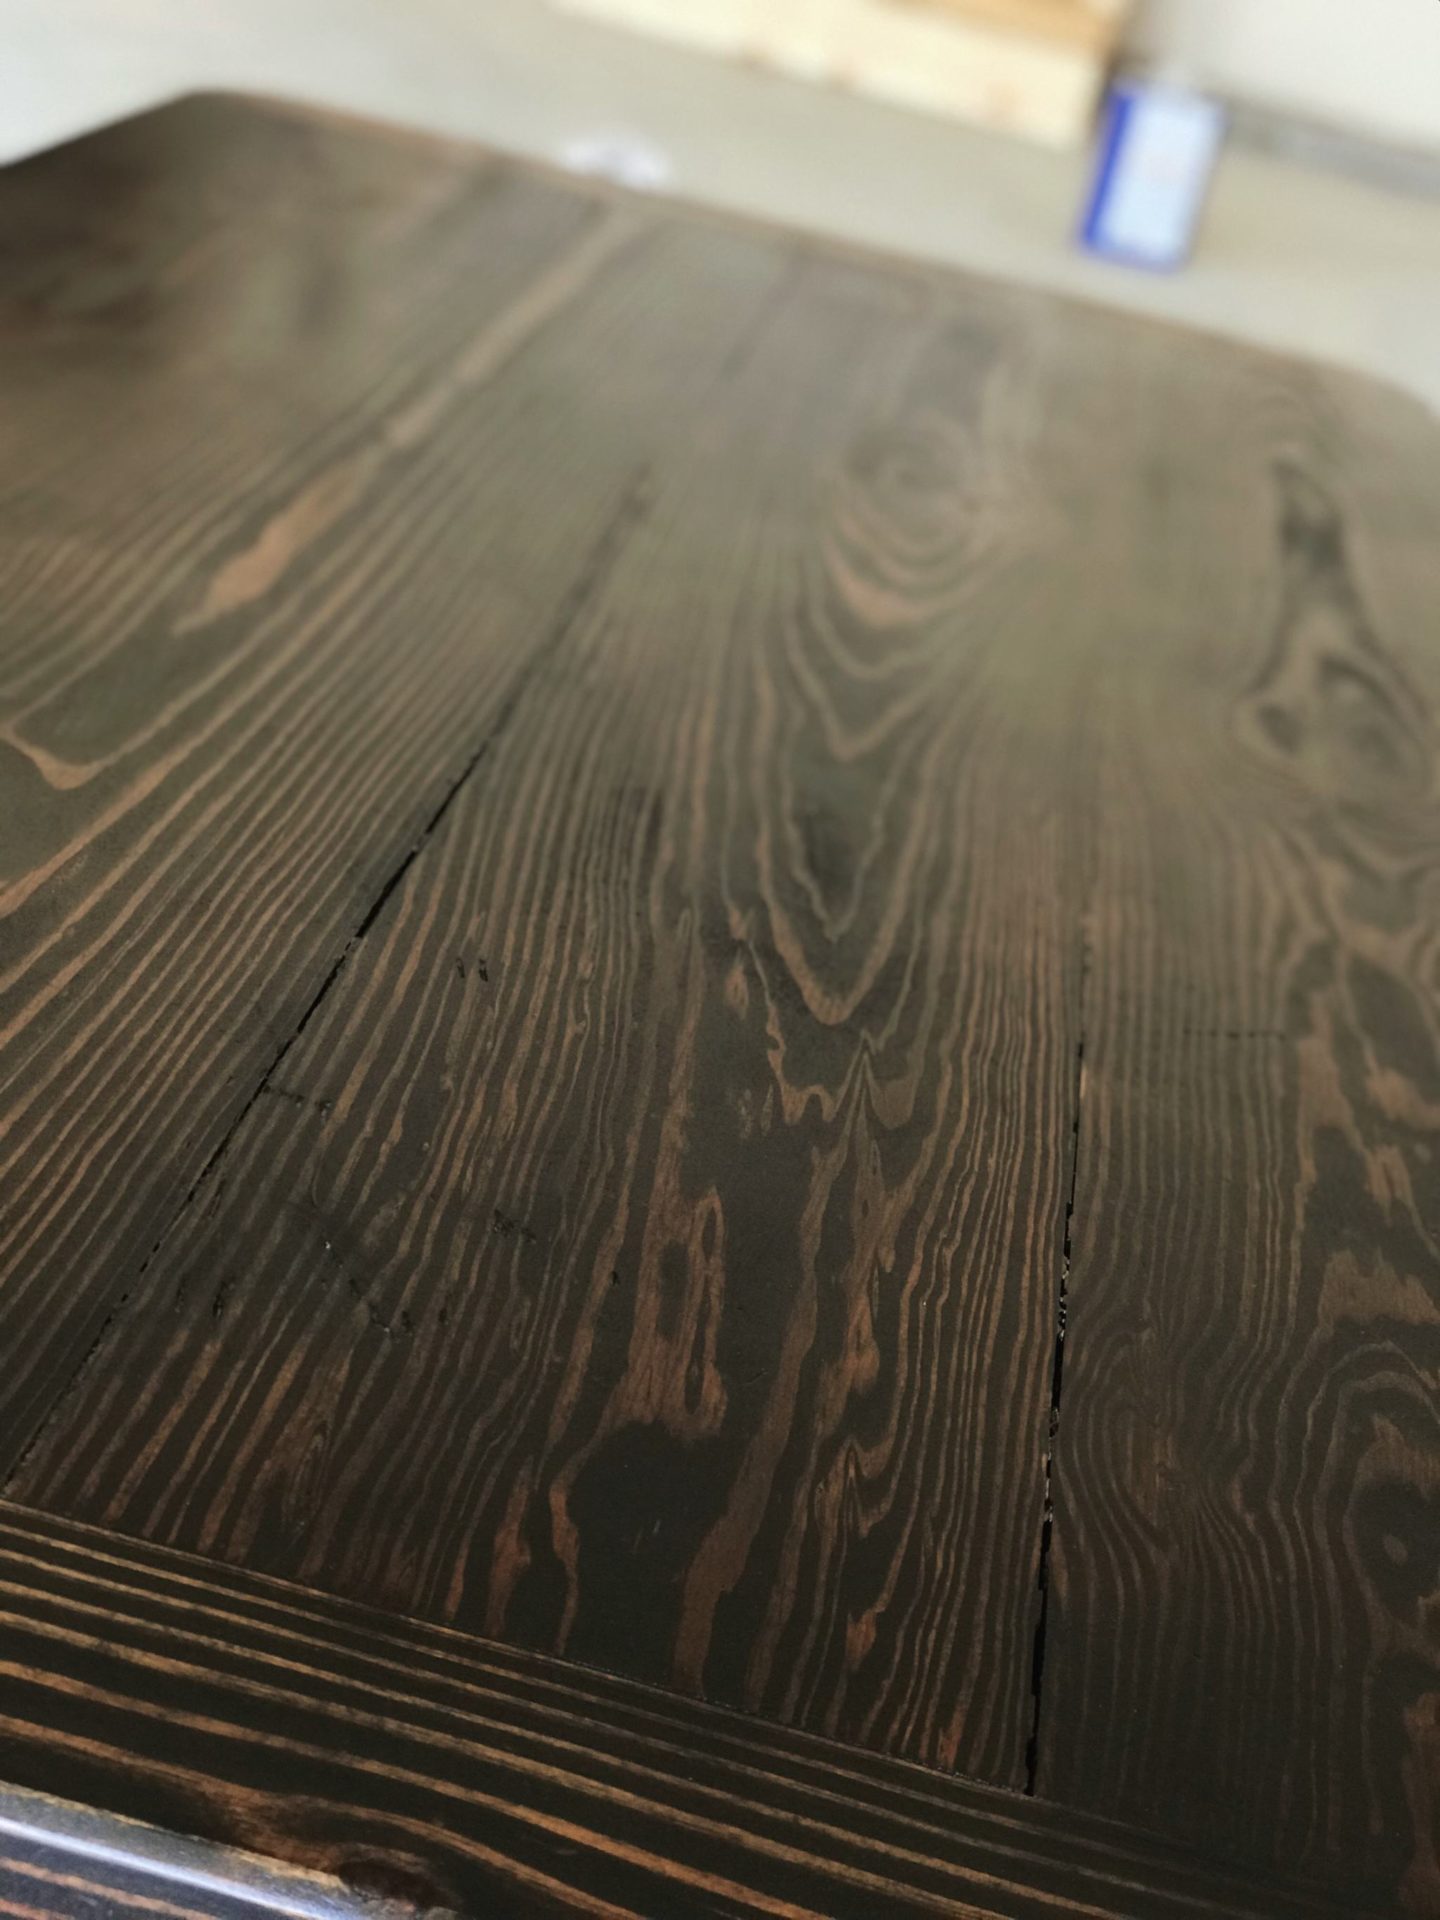
It’s difficult to know what you are really going to get with stains. Every wood type takes stain differently. What you think you are getting may not actually be what you think on your piece of wood. That being said, it’s a good idea to buy the tiny can and test a little area before you buy the big can. Once you have settled on a color, go to work.
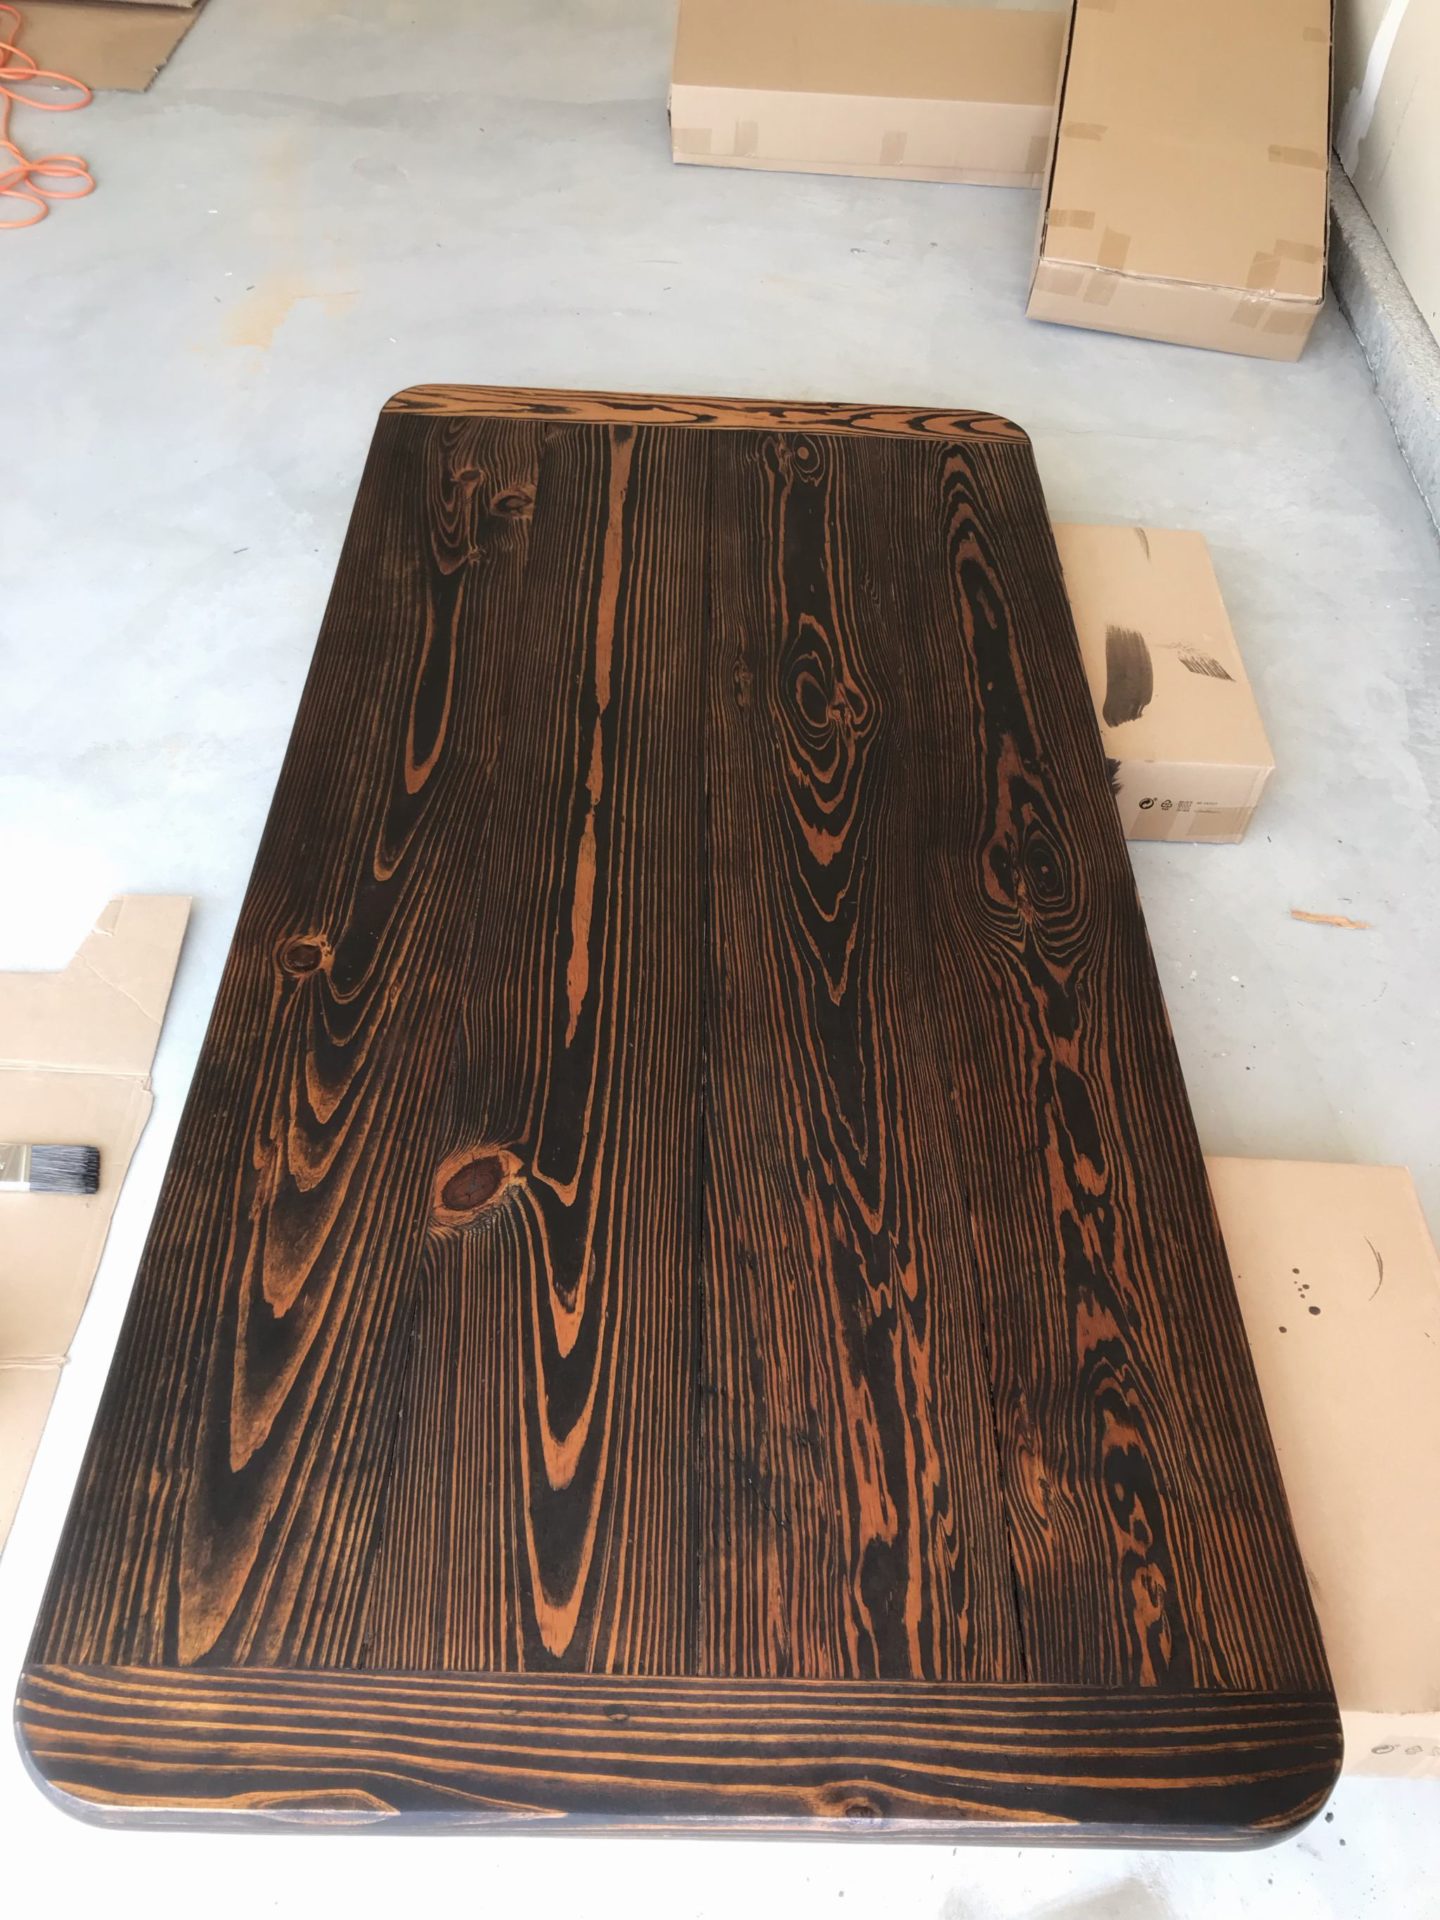
I like using a brush rather than a rag for stain. I just feel like it goes on more smoothly. After the stain has set, you’ll remove the excess with a rag. It will look like you are taking all the color off, but you aren’t. No worries. I actually put a second and third coat of stain on to achieve my desired color. Letting it cure in between each coat, of course. The stain we used is linked here.


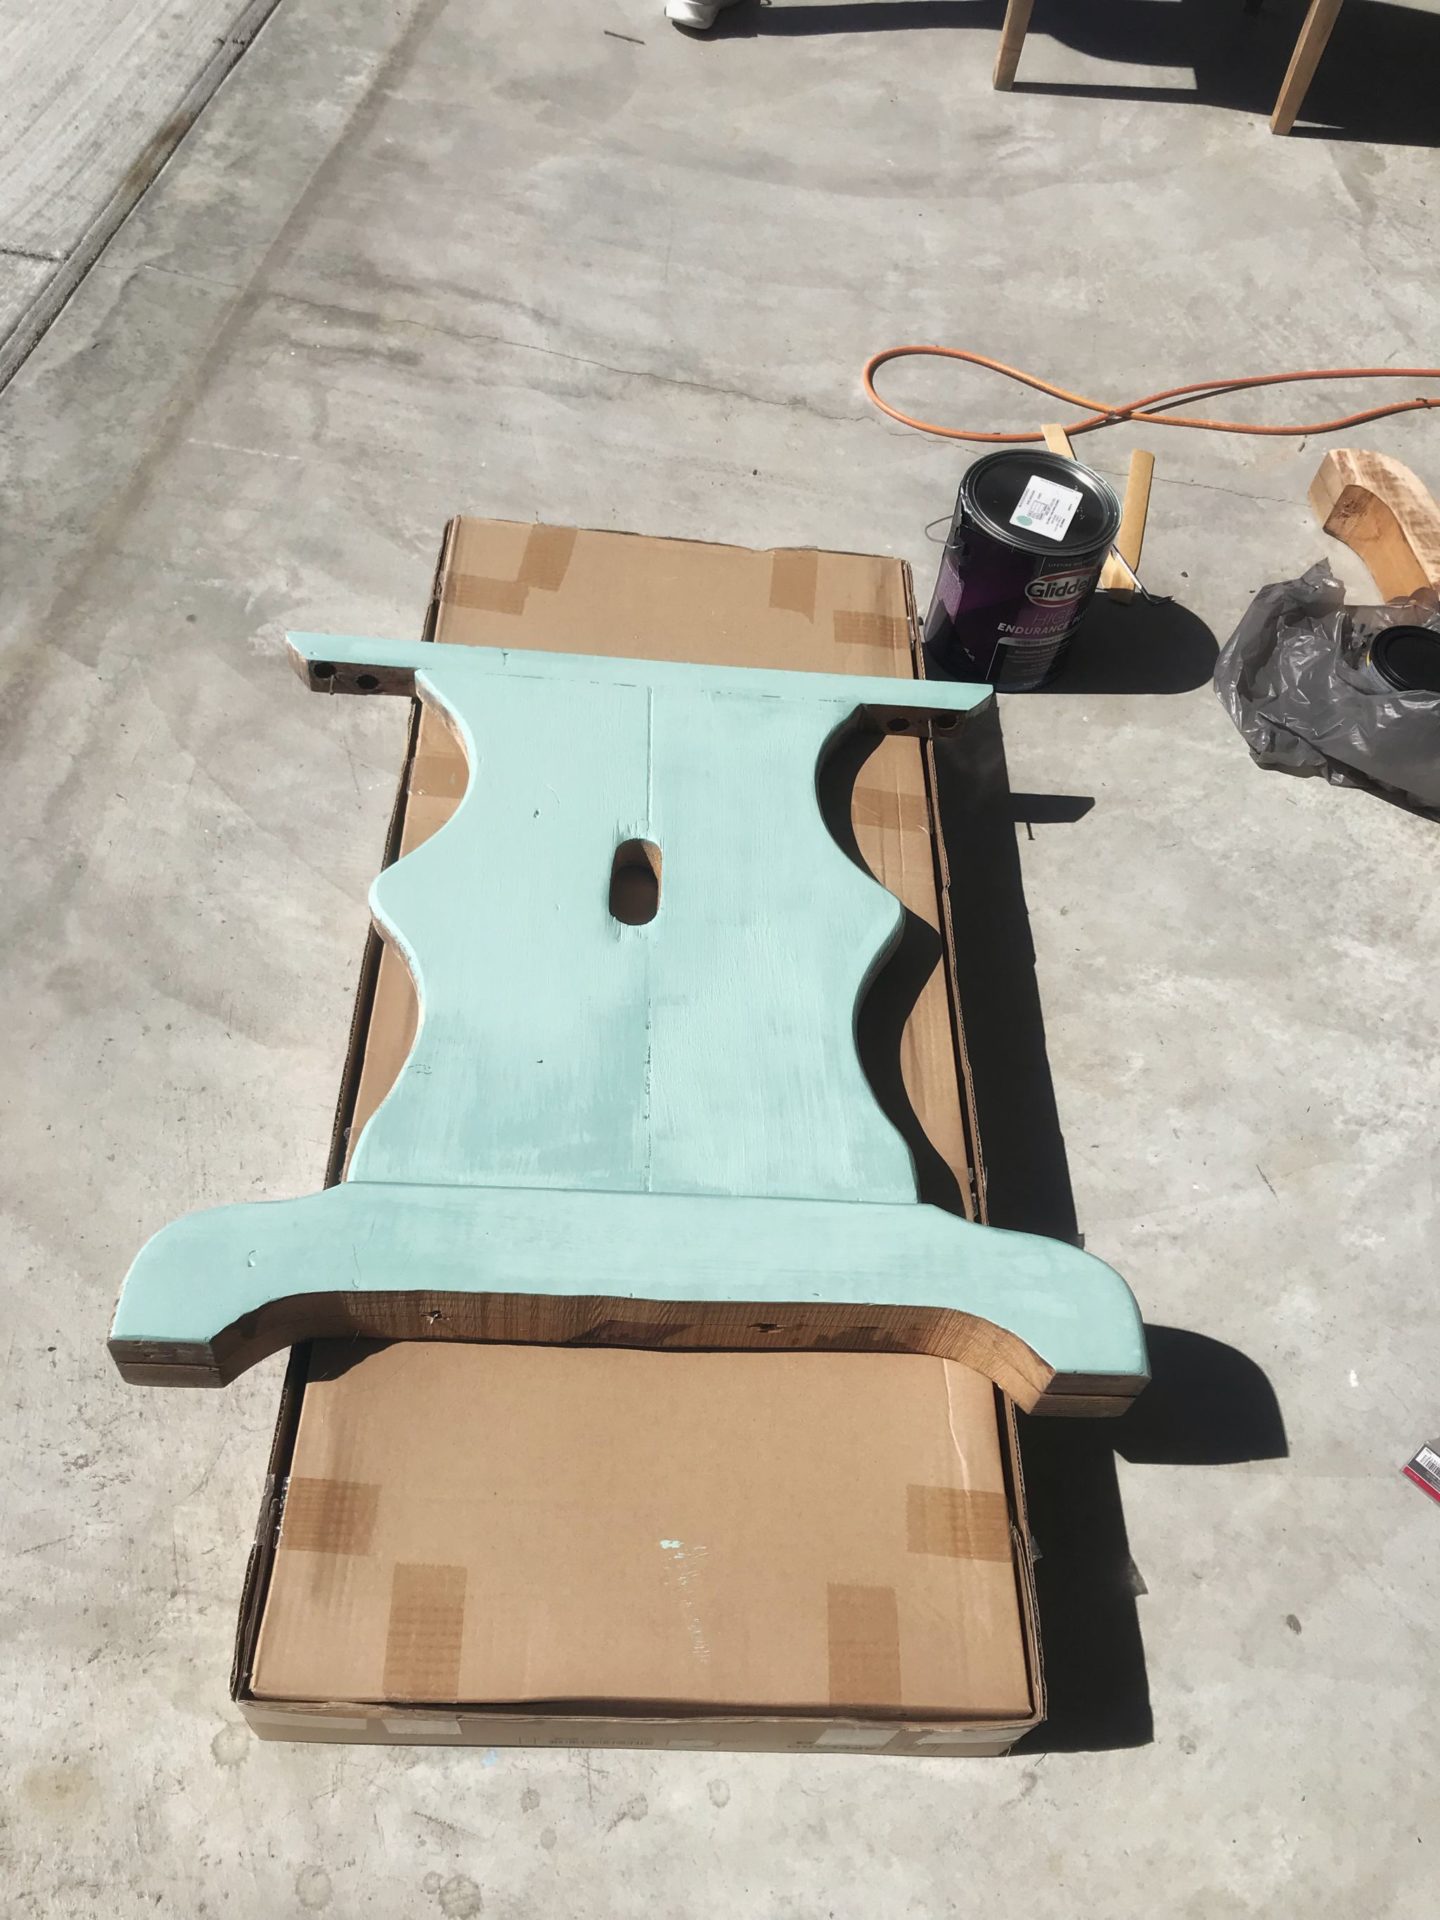
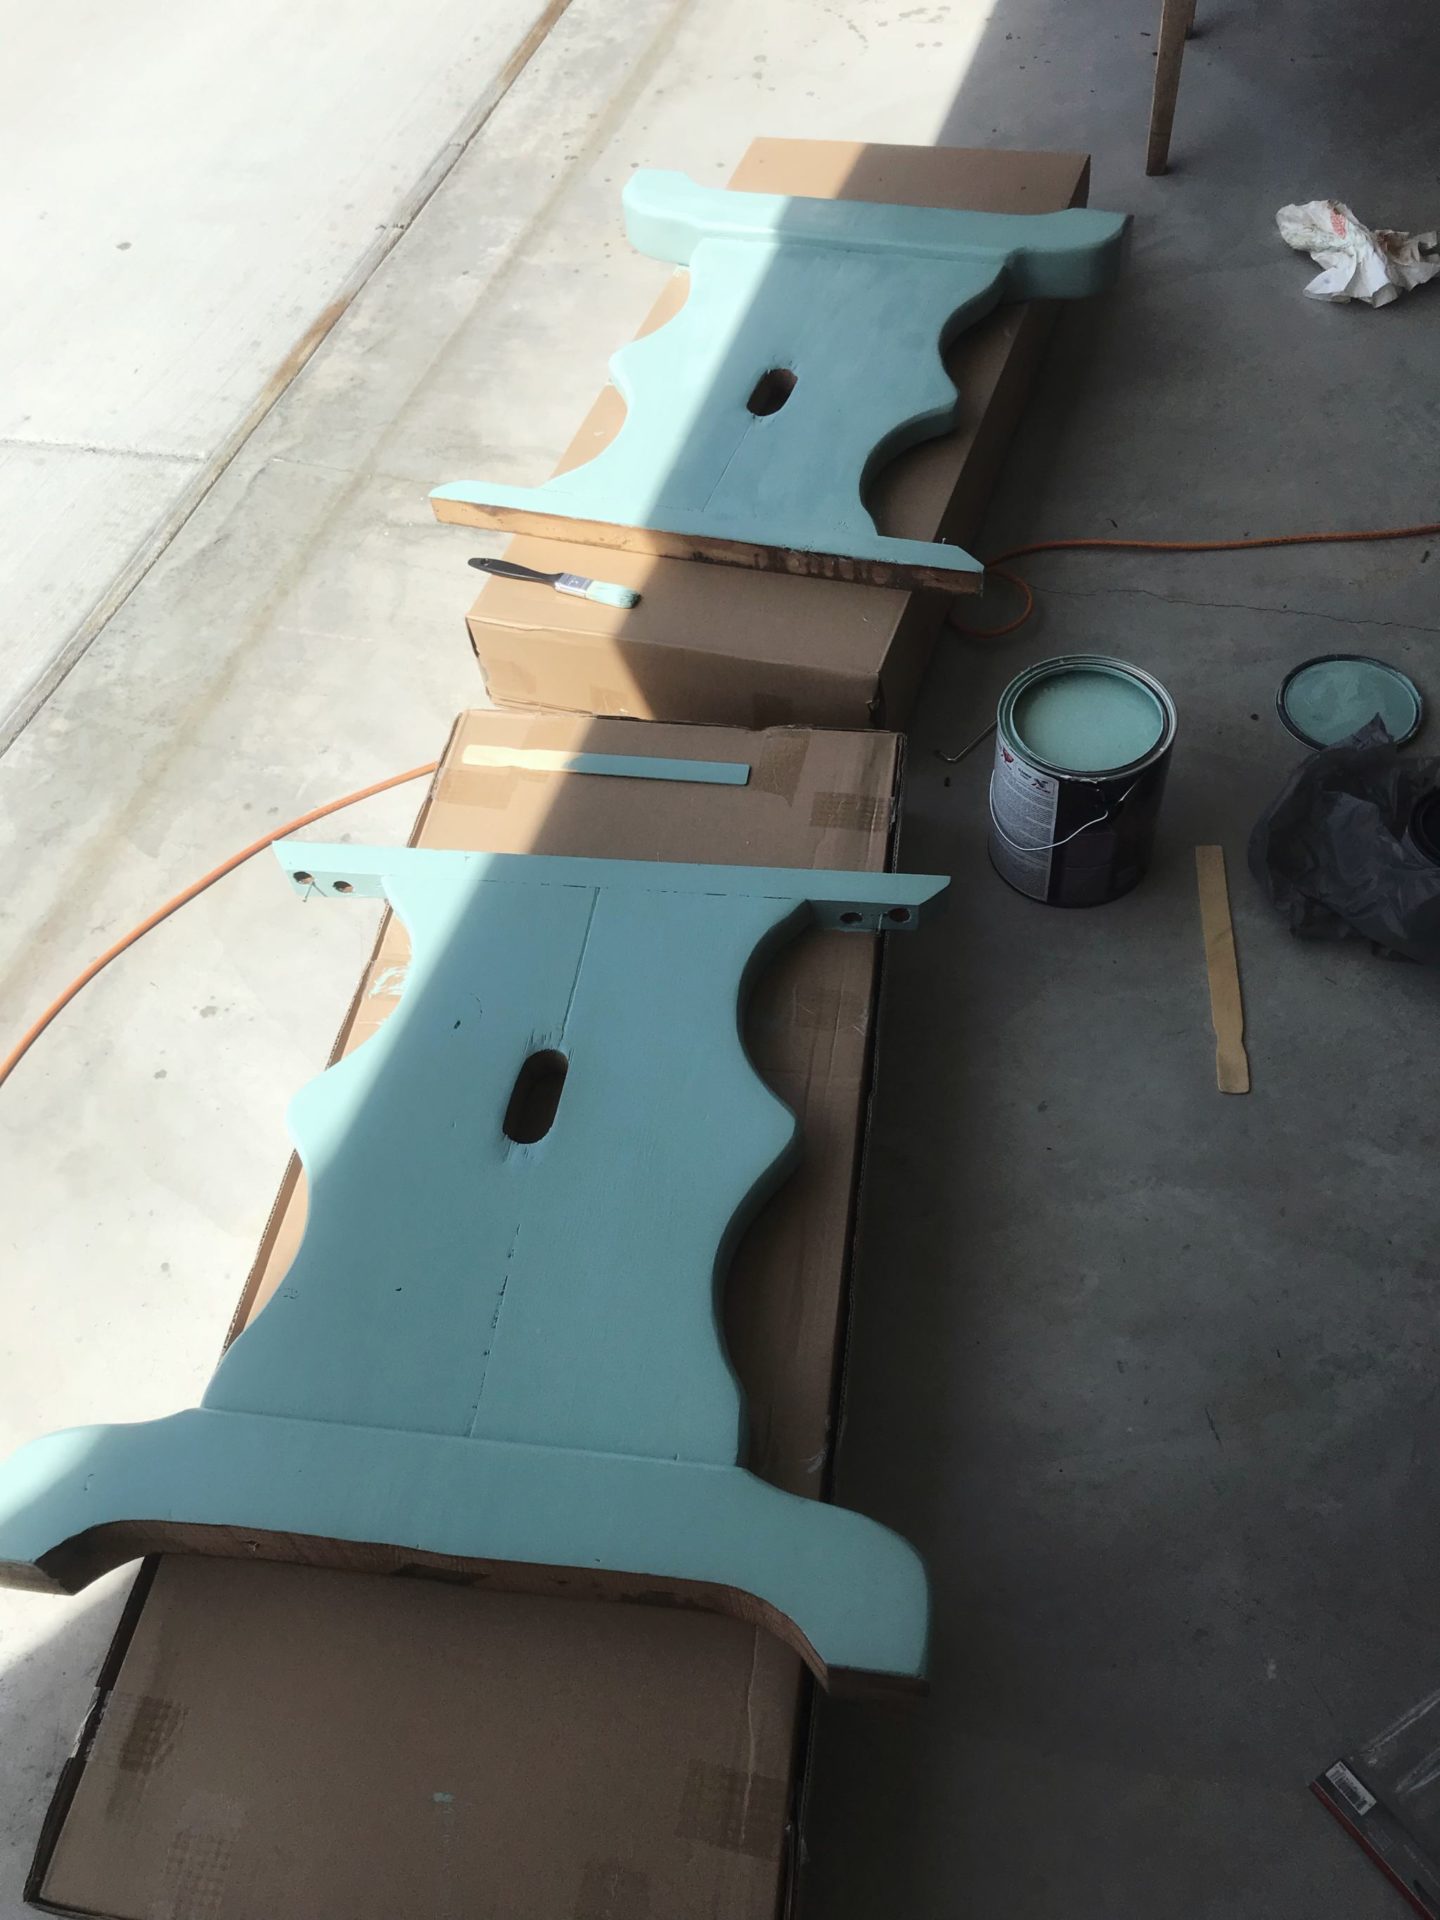
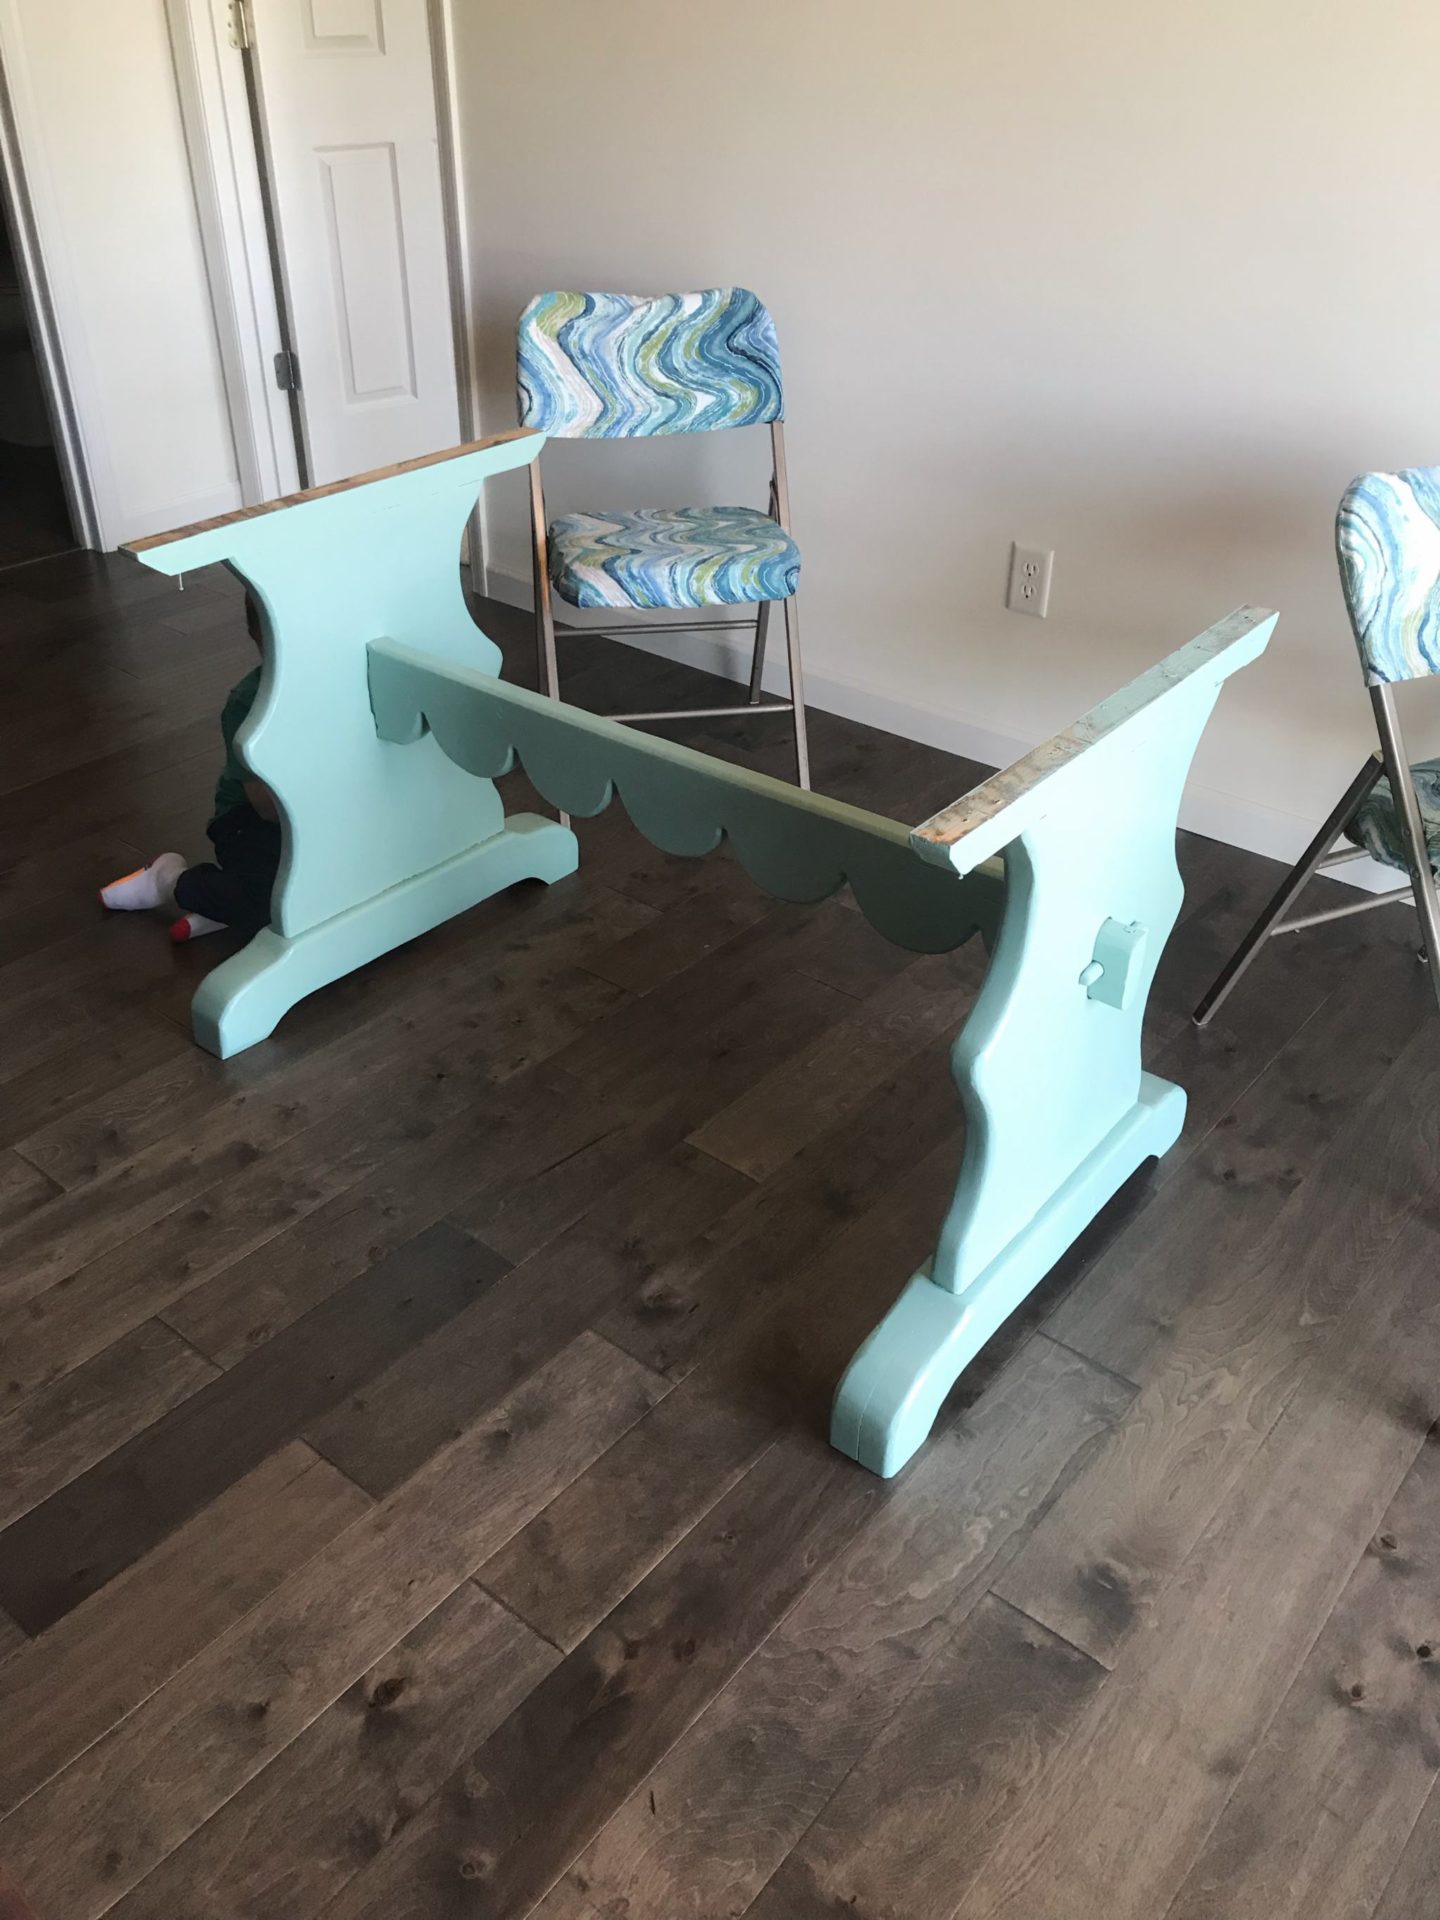
Painting the Legs
After the top was done, I moved onto painting the legs. We went with “Kentucky Blue”, but it sure has a lot of green in it. I’d probably describe it as “minty sage” if I didn’t know what they wanted it to be called.
The wood absorbed it super fast, so I applied 2 coats to make sure it was even. Then we put the base back together.
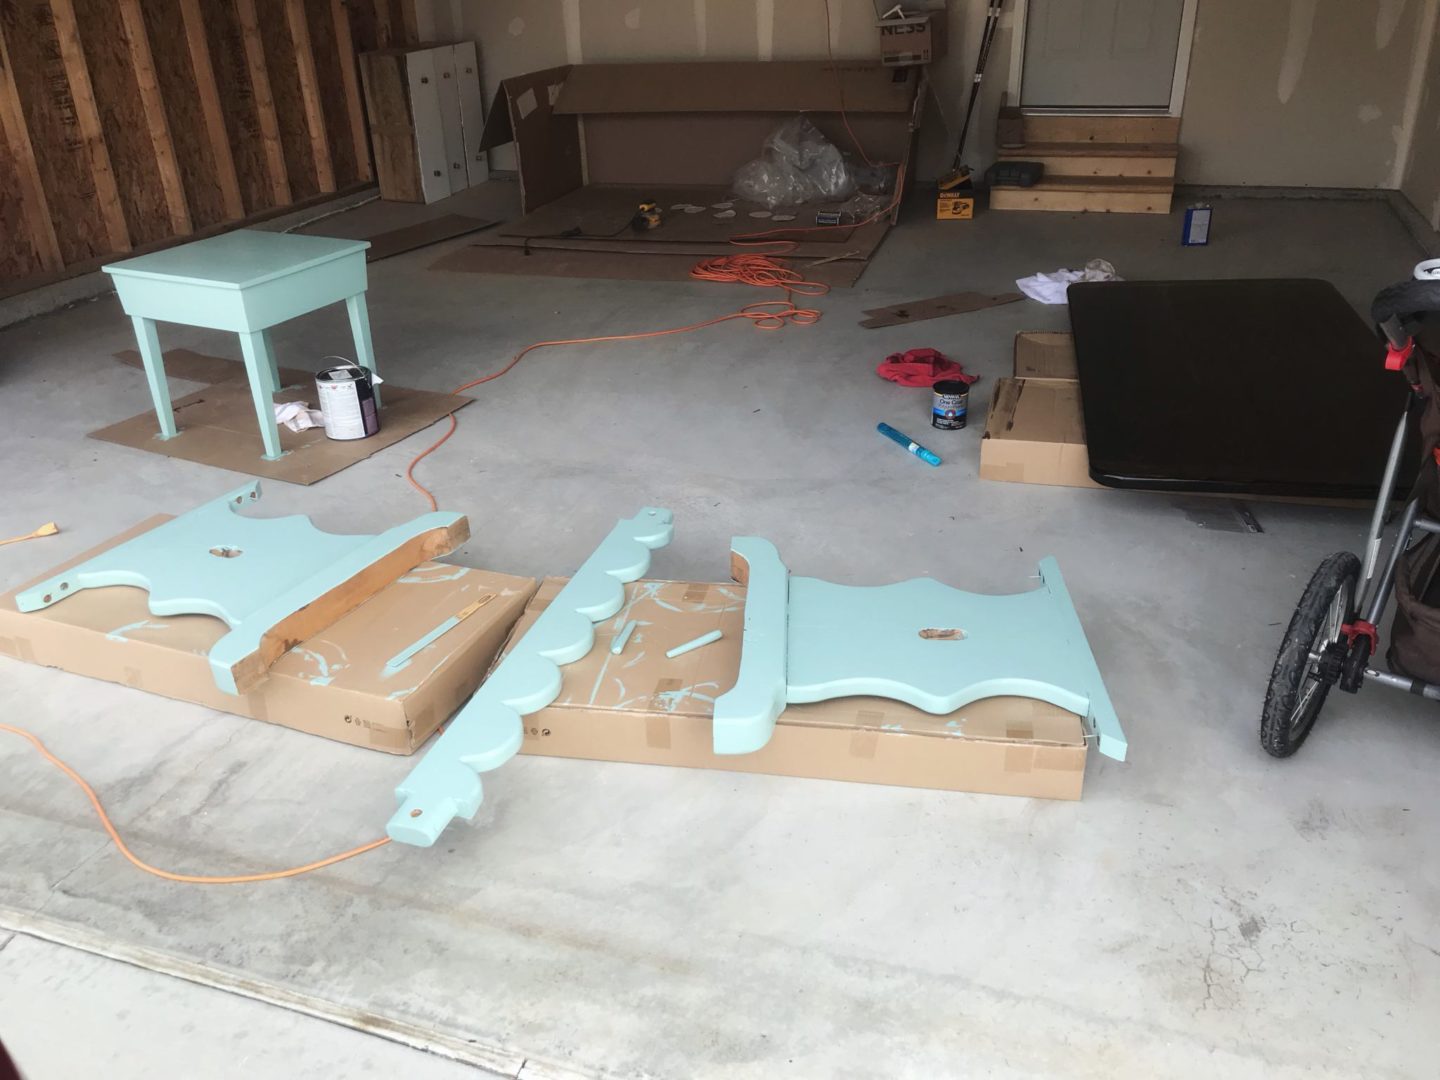
Polyurethane for Protection
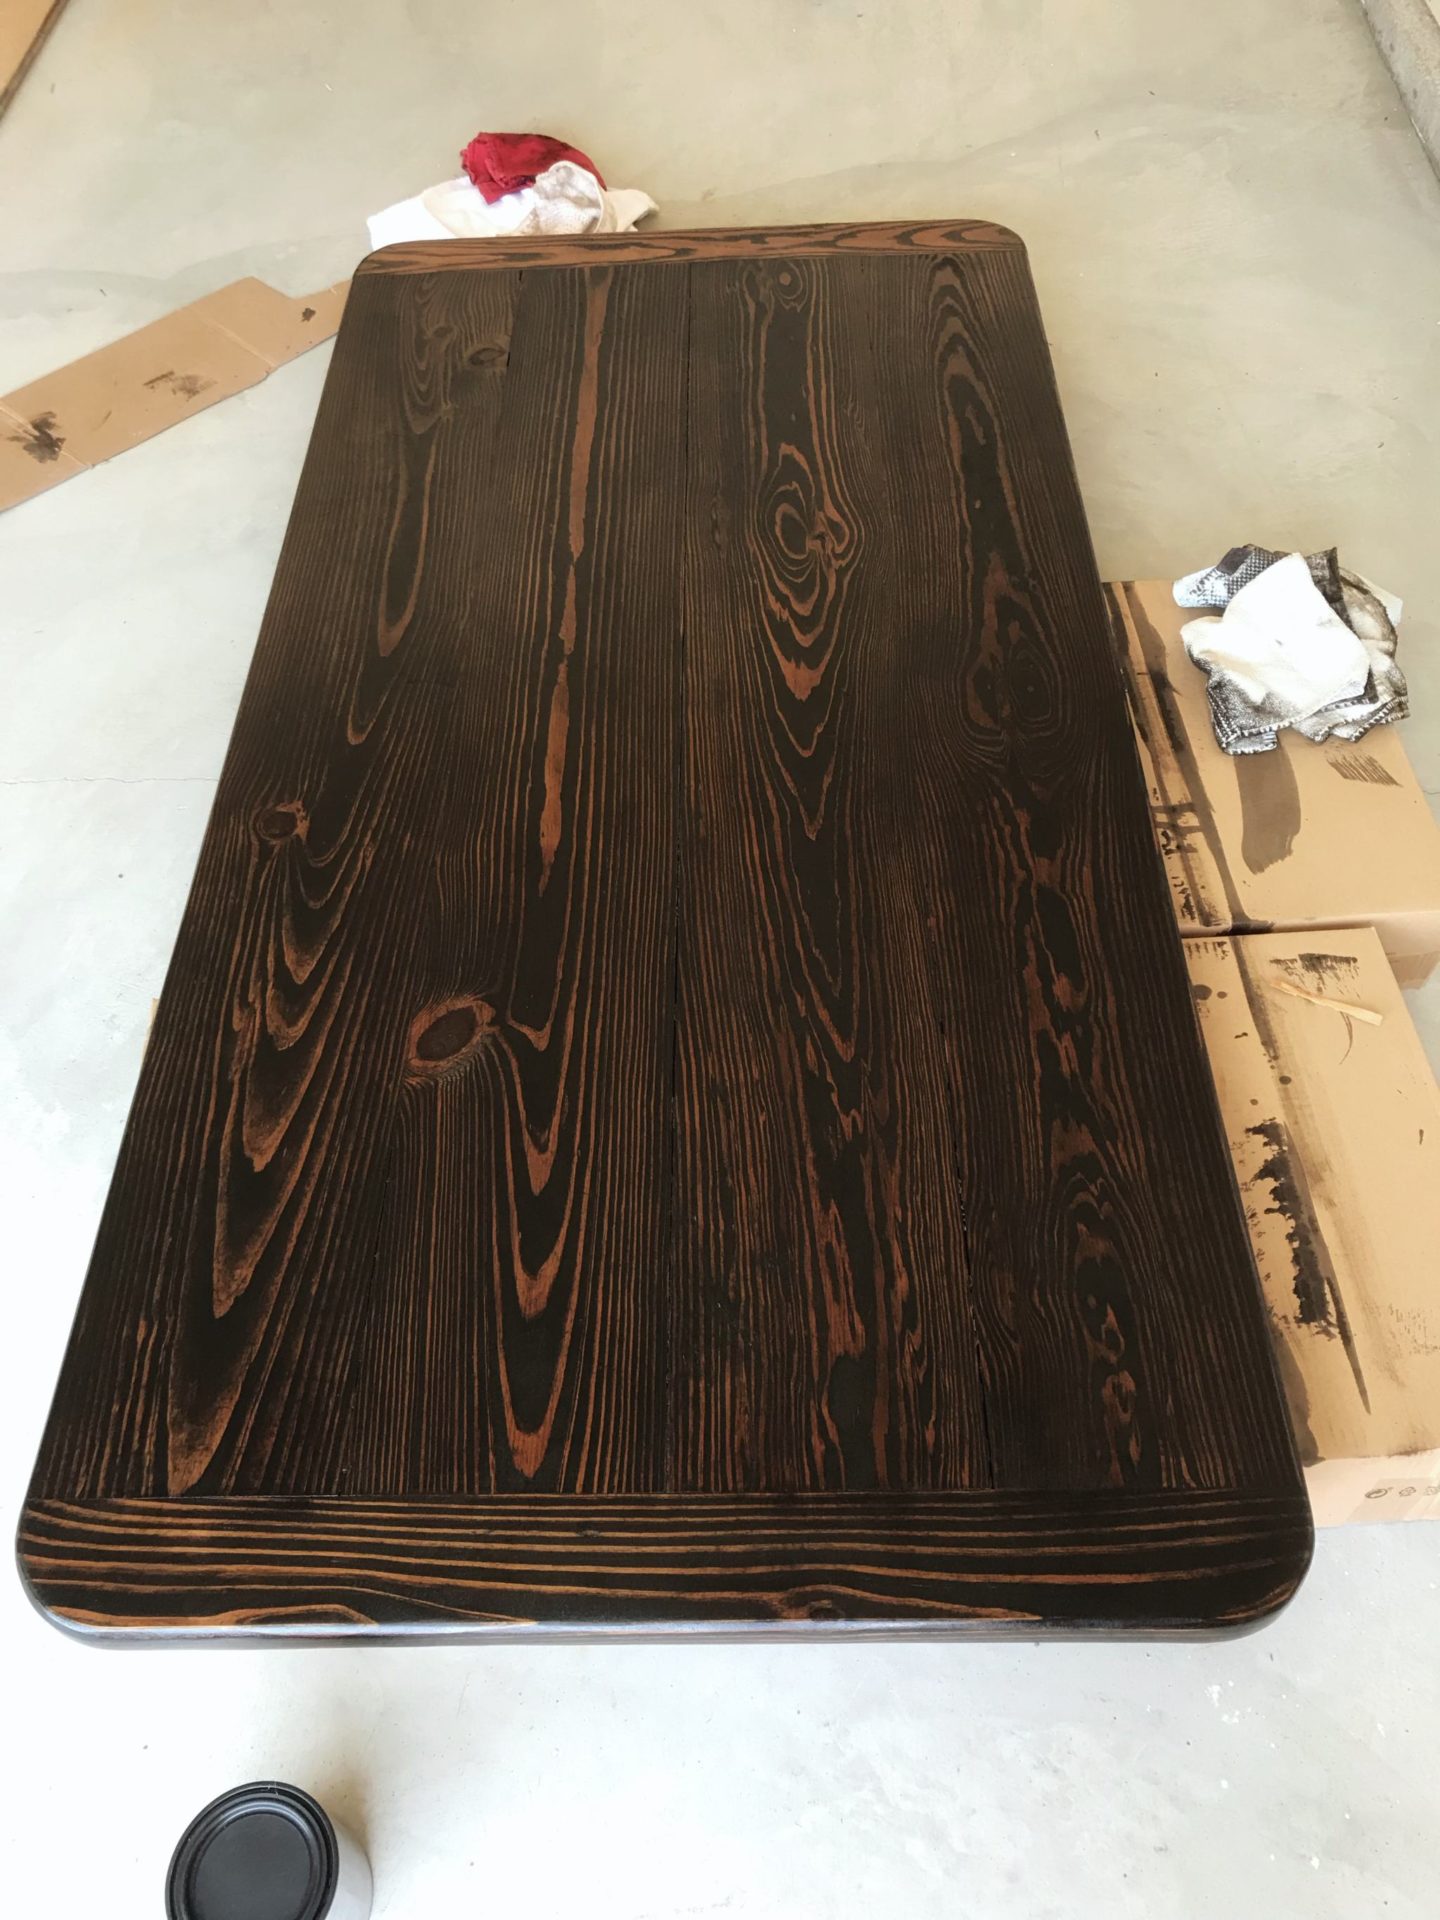
While the legs dried, I applied a good coat of polyurethane to the top for protection. You don’t need this step if you won’t be using it a lot or if it won’t be getting wet. Knowing this was a kitchen table, we wanted to keep it protected. And it gave it an amazing shine. Poly comes in several finishes to give you the look you want! We used semi-gloss linked here.h
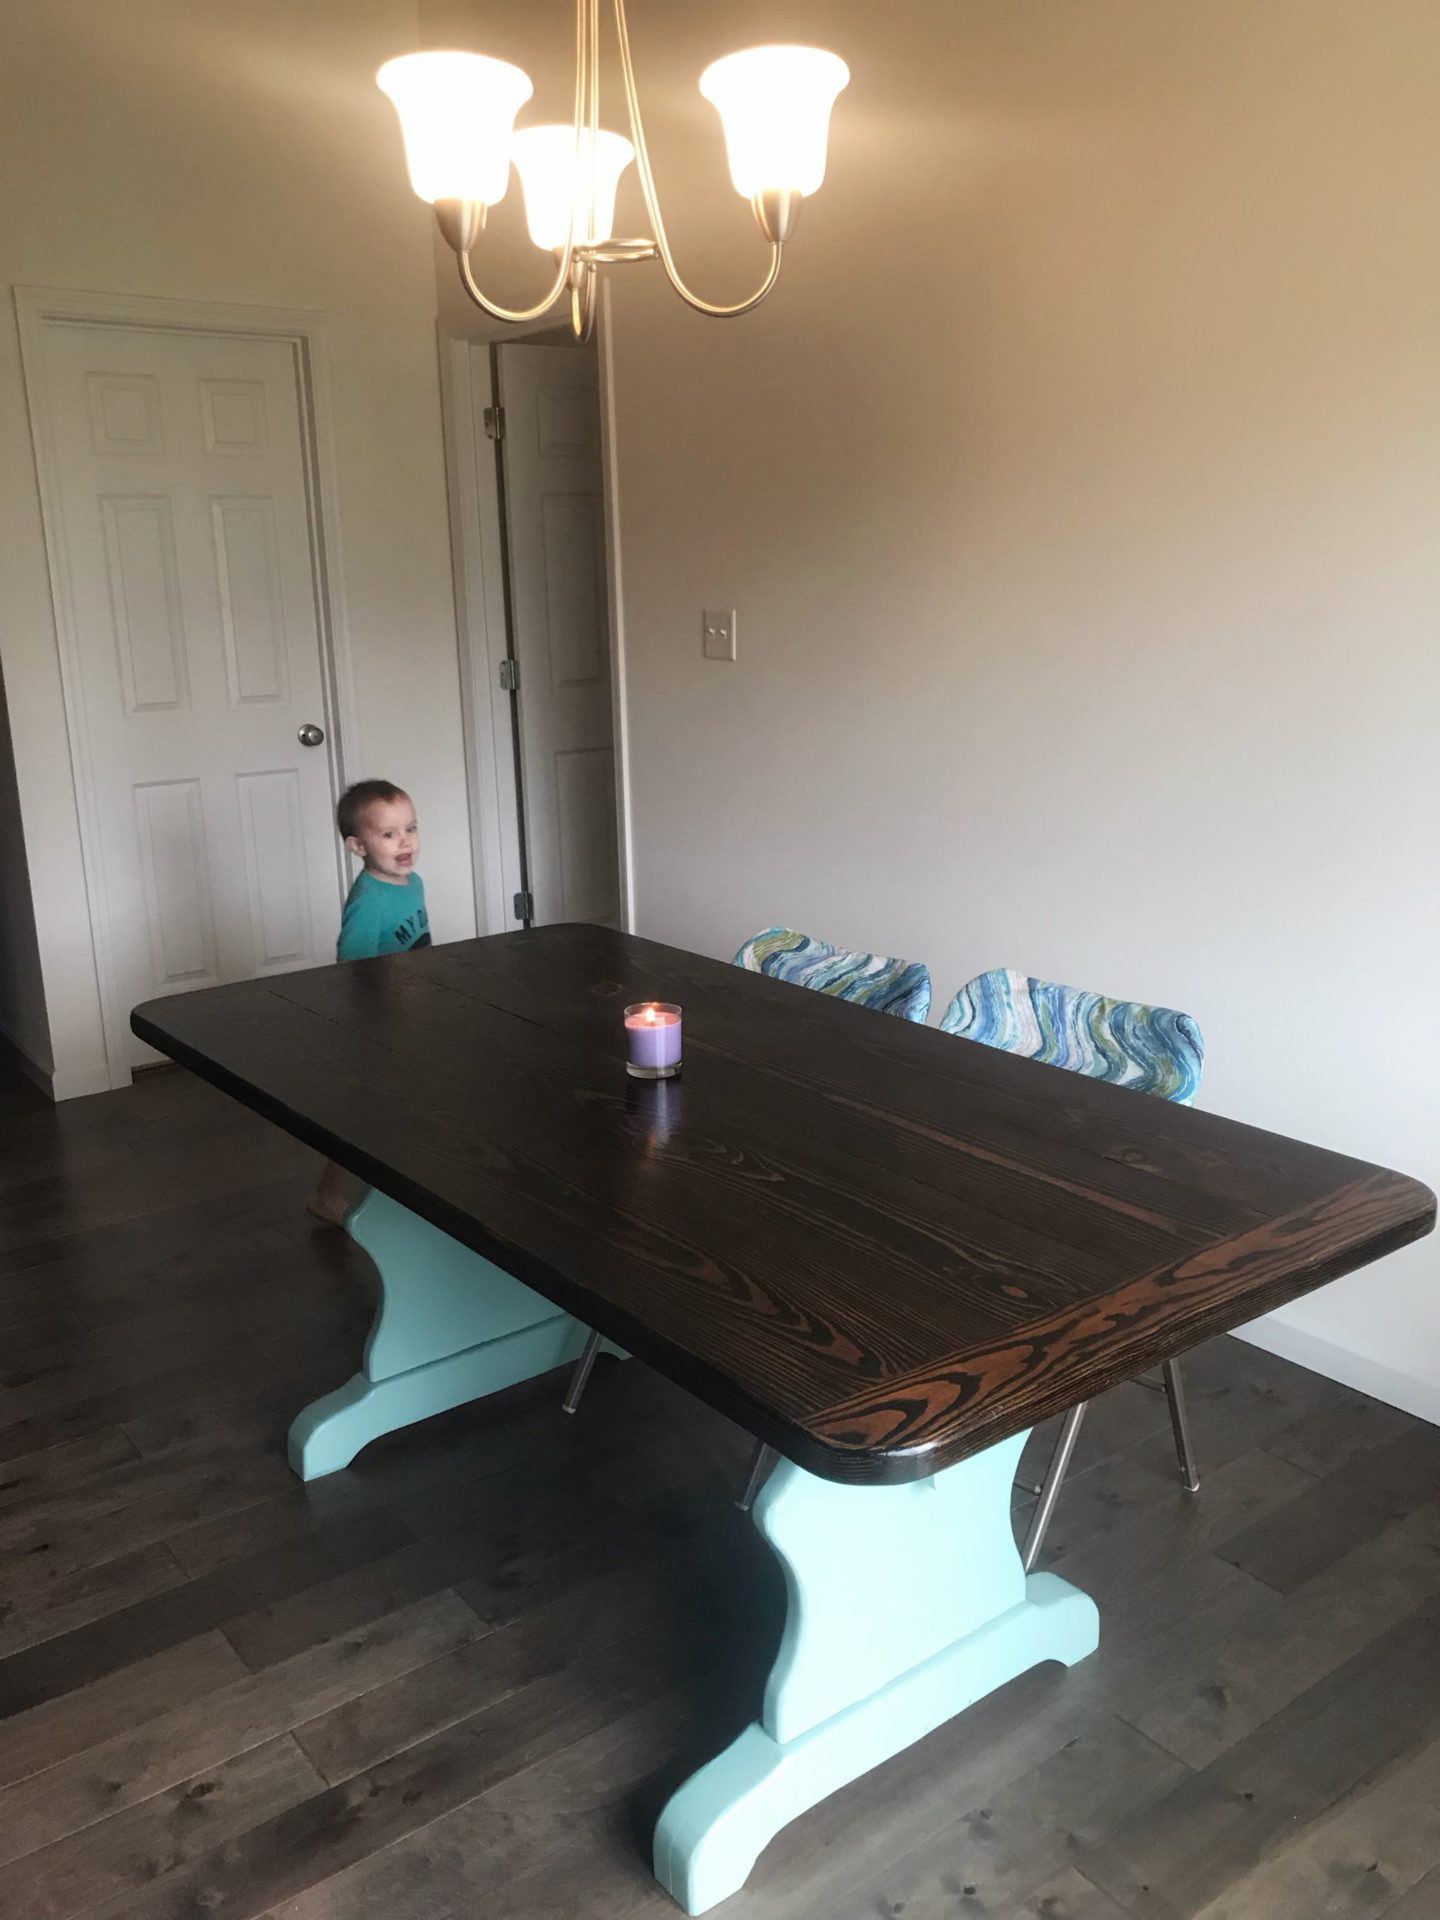
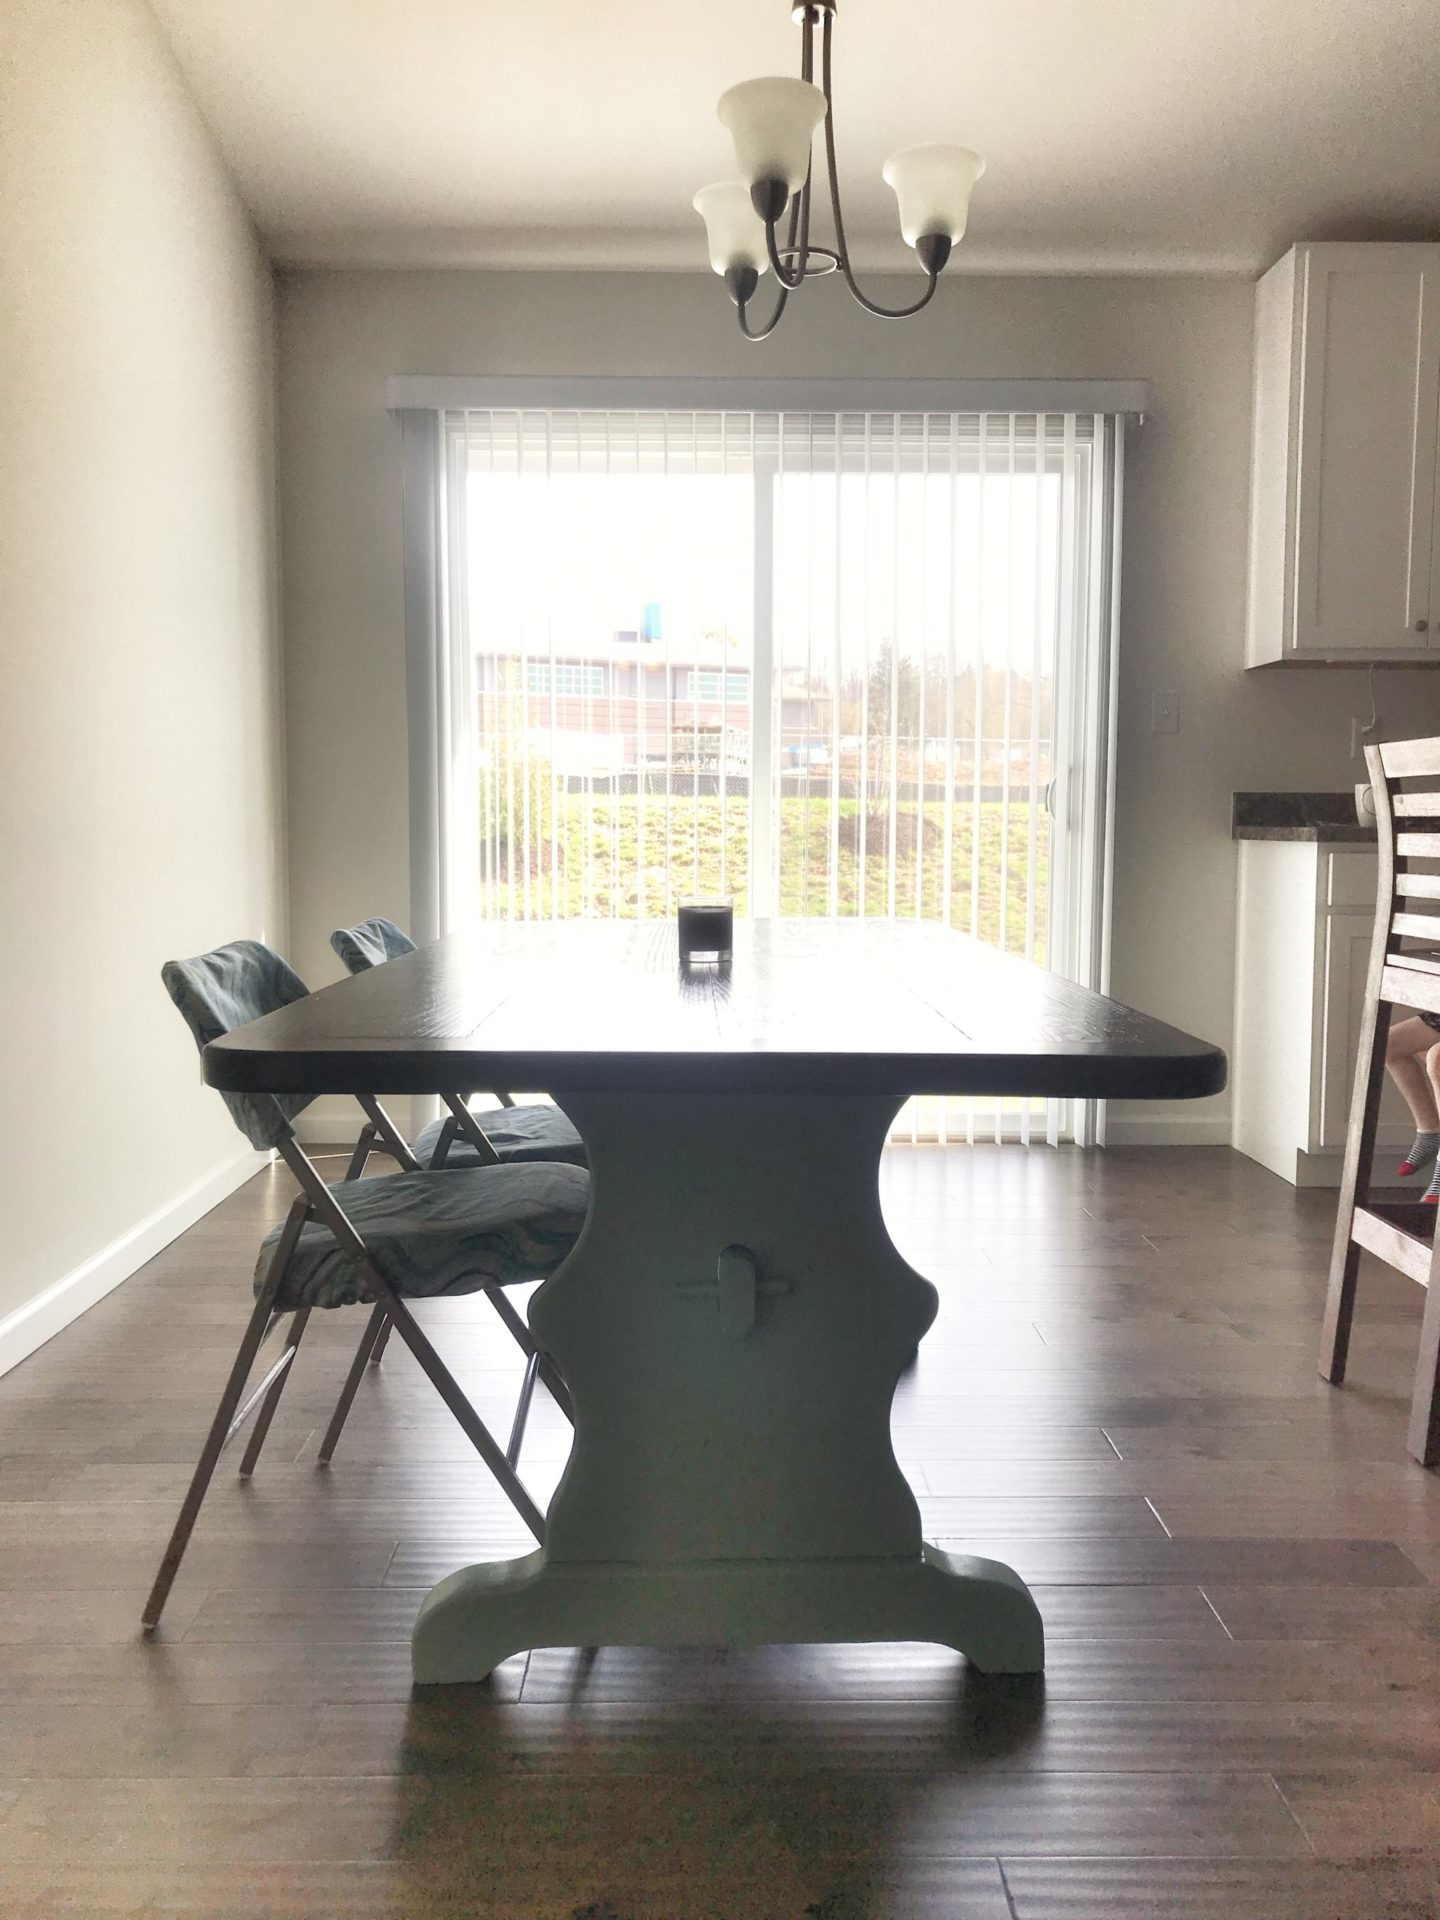
The Finished Product
I’m loving the outcome! It looks like brand new table! The kids didn’t waste anytime putting it to good use either. I think they christened it with ice cream!


Wow! That’s beautiful.
Love the makeover, it’s awesome and not so difficult as it seems from your article. Would try the trick 😁😁😁
Cheers
Somika